RV Toilet Maintenance: 4 Steps That Prevent Clogs and Odors
The short version of RV toilet maintenance is five habits. Add plenty of water before and after every flush. Clean the bowl with RV-safe products. Lubricate the ball valve seal once a year. Treat the black tank with an enzyme-based product every time you dump. Dump when the tank is at least half full, black tank first, then gray. Those habits prevent most clogs, leaks and odors, and they cost very little.
The problem is that an RV toilet looks like a home toilet but behaves nothing like one. It flushes with a cup or two of water, drops everything into a small holding tank, and relies on a rubber seal that dries out. Skip the routine and you get a solid mound of waste under the bowl, a cabin that smells like the tank, or a black tank sensor that reads full when it isn't. Fixing any of those at a campground is a miserable afternoon.
This guide starts with how the system works and what to keep on hand. Then it walks through four steps: flushing and bowl care, the ball valve seal, the black tank, and troubleshooting. At MobileRVService.com we connect RV owners with mobile technicians, and tank cleaning is one of the service categories owners search for. So the last step also tells you when a DIY fix stops being worth your time.
Why an RV toilet needs its own routine
An RV toilet needs its own routine because it uses far less water than a household toilet and empties into a small holding tank, not a sewer. Three parts decide whether it works well: the water supply, the ball valve seal, and the black tank.
How your RV toilet works
Most RV toilets have a foot pedal on the base. Pressing the pedal halfway fills the bowl, and pressing it all the way opens the ball valve and drops the contents into the black tank. The toilet only flushes when the water system is under pressure, so your pump must be on with a filled fresh tank, or you must be connected to city water.
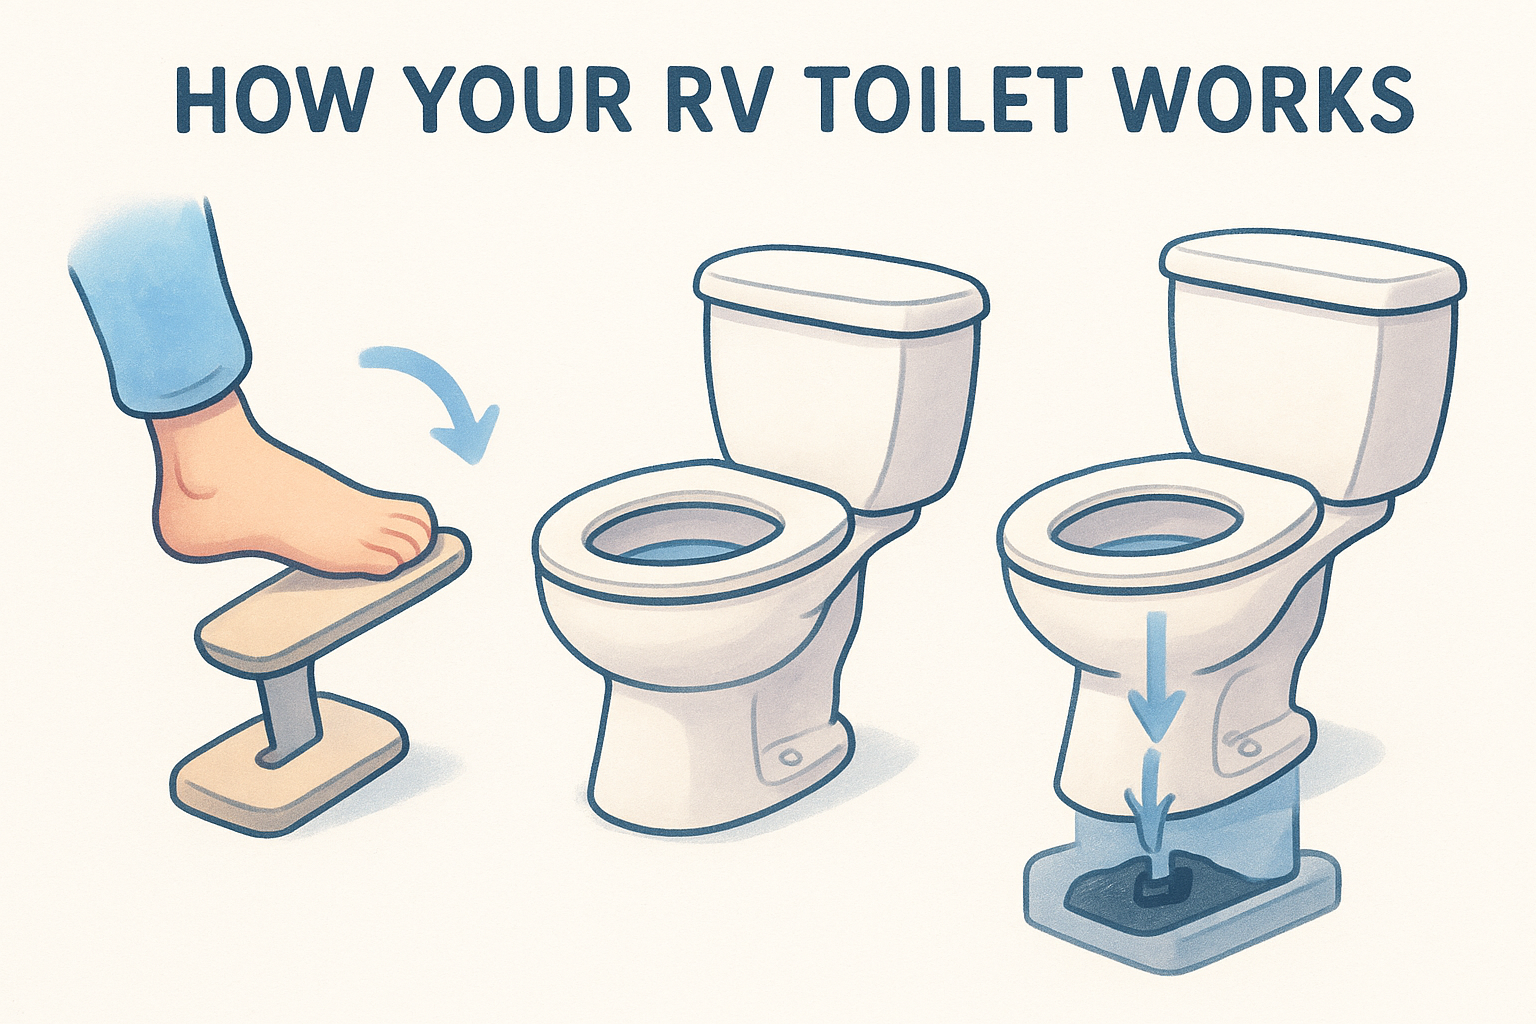
The rubber seal around the ball valve does two jobs. It holds water in the bowl, and it blocks gas from the black tank. When that seal dries out, you get leaks and odors. Some models use an electric flush button and need 12-volt power, but the care routine below is the same.
What to gather before you start
You do not need much. Collect these before you begin:
- Disposable gloves
- An RV-safe, non-abrasive toilet bowl cleaner
- An enzyme-based black tank treatment
- A seal lubricant or conditioner made for RV toilets
- A soft cloth and a dedicated toilet brush
- A clear jar with a lid, for the toilet paper test
- Your toilet's manual (Thetford and Dometic both publish theirs online)
What never goes in the toilet
Only human waste and toilet paper belong in an RV toilet. Paper towels, napkins, diapers, feminine hygiene products and rags clog the system. Wipes do too, even when the package says "flushable."
Chemicals matter just as much as solids. Bleach, abrasive cleaners and any product containing petroleum distillates can damage rubber seals and dump valves, according to Airstream's owner's manual. Bleach also kills the bacteria that other people's septic systems depend on when you dump.
Treat the toilet as a small, fragile system: waste and paper in, nothing else.
Step 1. Flush right and keep the bowl clean
The core of RV toilet maintenance is to add water before and after every use, flush with paper that breaks down, and rinse the bowl before residue sets.
Add water before and after you flush
Pre-fill the bowl to at least a quarter of its capacity before each use. For solid waste, Airstream's guidance is to fill it between a third and a half. Press the pedal only until water flows, so the bowl fills without flushing.
After you finish, flush and hold the pedal down a few extra seconds so the bowl rinses and the tank gets enough water to carry waste. Skimping on water is how solids stack up into a pyramid under the toilet. Between uses, leave an inch or two of water in the bowl so the seal keeps odors in the tank.
Water is the cheapest tank maintenance you will ever do, so use more than feels necessary.
Pick toilet paper that breaks down
You do not need paper sold as "RV toilet paper." Plain single-ply paper works if you use it sparingly and flush with enough water. What matters is how fast it falls apart.
Test any brand with a jar. Drop a few squares into a jar half full of water, close the lid, and shake for about 20 seconds. If the paper turns to shreds, it is safe to flush. If it stays in sheets, switch brands. Paper is also the most common cause of false tank sensor readings. Some RVers skip flushing it altogether and use a covered trash can, which saves tank space and keeps sensors cleaner.
Keep the bowl clean
Rinse the bowl after each use. If your toilet has a built-in sprayer, run it until the bowl is clear. If not, keep a small cup nearby and pour water around the bowl as you flush.
Clean the bowl properly once a week if you live in your rig, or after every trip if you don't. Use an RV-safe cleaner and a dedicated brush. Then flush several times so no cleaner residue ends up in the tank. Skip bleach and abrasive powders, which wear down the seal and the bowl finish.
Step 2. Clean and lubricate the ball valve seal
Once a year, clean the ball valve seal with warm water and mild detergent, then lubricate it with a product your toilet manufacturer approves. A healthy seal is the difference between a dry bowl that stinks and a bowl that holds water.
Know when the seal needs attention
A dry seal gives you three clues. The bowl slowly loses its water. A sewer smell rises from the toilet. Or you can see cracking and stiffness when you open the valve.
Seals dry out faster in winter and during long storage. Tie this job to your annual winterizing routine so it never gets skipped. Put a little RV antifreeze in the bowl before storage so the seal does not dry out while the rig sits.
Clean and lubricate the seal
Follow these steps:
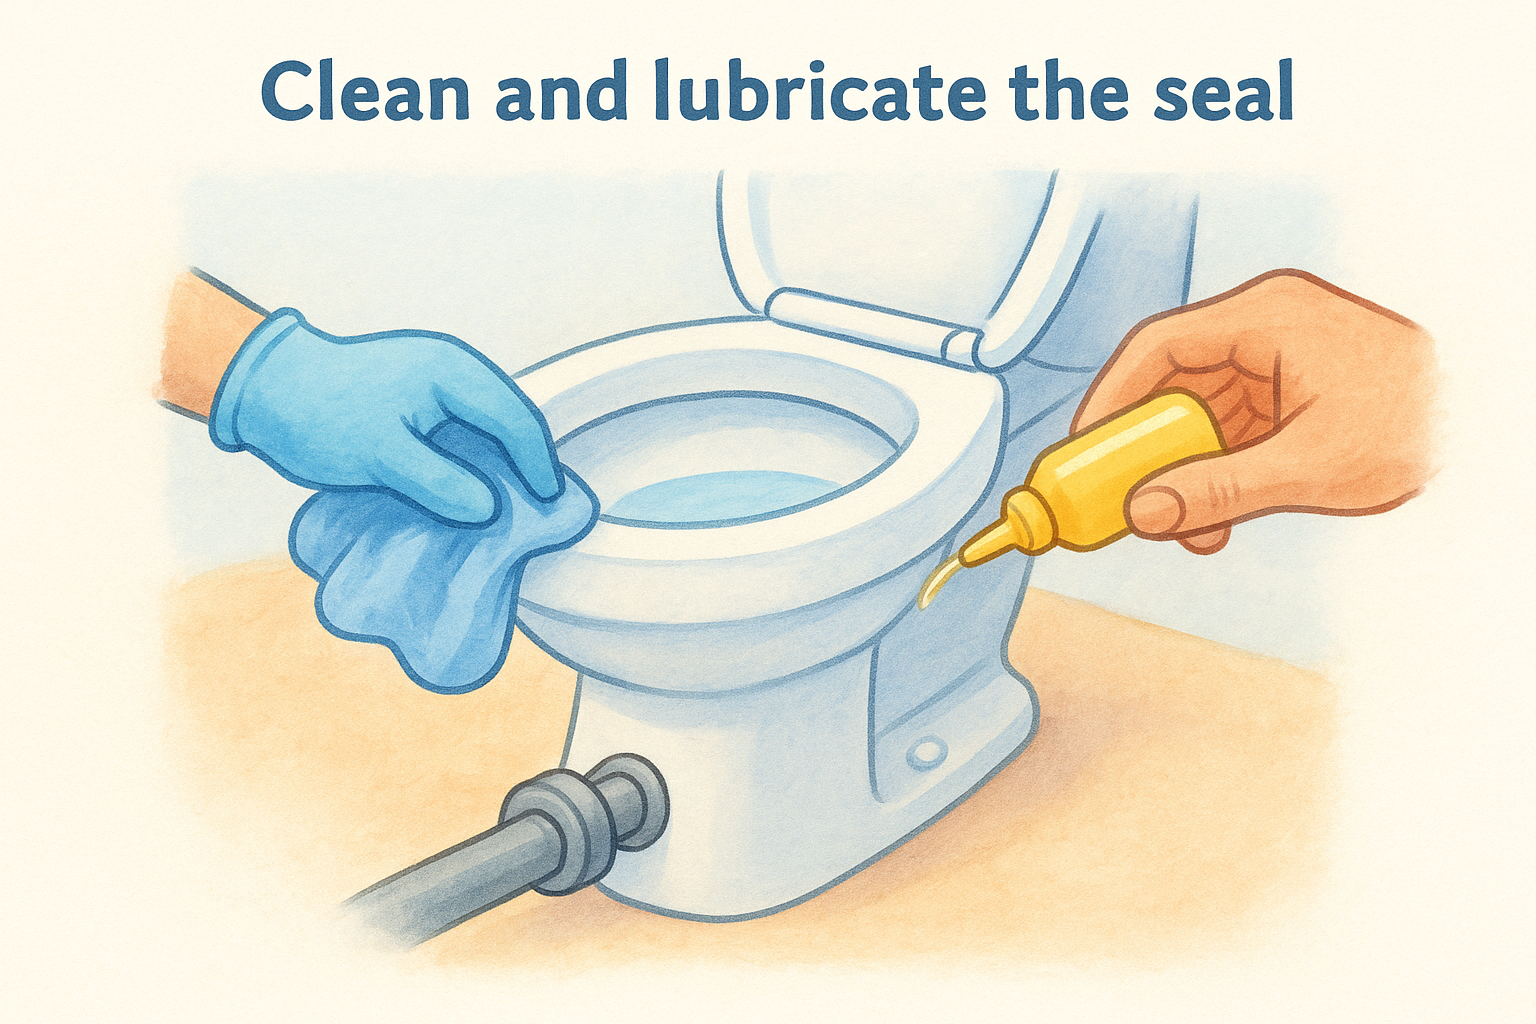
- Dump and rinse the black tank so it is mostly empty. This cuts odor while you work.
- Put on gloves and press the pedal all the way down to open the ball valve and expose the seal.
- Wipe the seal and the ball with a soft cloth, warm water and a mild detergent.
- Apply a thin coat of lubricant around the top of the seal.
- Release the pedal, fill the bowl partway, and watch for leaks.
Some guides recommend petroleum jelly. Airstream's owner's manual warns that petroleum distillates attack toilet rubber, so use a seal conditioner made for RV toilets, or whatever product your manual names. Do not confuse plumber's grease with plumber's putty.
Test the seal and fix leaks
Fill the bowl with a little water and wait 15 to 20 minutes. If the water stays, the seal is good. If it drains away, wipe the ball again, flush a few times, and check that the band clamp holding the assembly is snug. Tighten it if it has loosened.
If the bowl still will not hold water, replacing the seal is the next step. The toilet usually has to come off its floor flange for that job, so check your manual for the procedure or a guide on how to replace an RV toilet. Parts for popular Thetford and Dometic models are easy to find. If removal sounds like more than you want to take on, hand it to a technician.
A seal that holds water is the cheapest odor control you have.
Step 3. Treat and dump the black tank
Treat the black tank after every dump with an enzyme-based product, dump only when it is at least half full, and always empty the black tank before the gray. This keeps waste liquid enough to flow out in one rush.
Pick the right tank treatment
Look for a treatment made for RV holding tanks. Enzyme or bacteria-based, biodegradable and septic-safe is the right family. Liquids and drop-in pods both work, so pick whichever you will actually use, and follow the dose on the label. More is not better.
Use it this way after every dump:
- Dump and rinse the tank.
- Add a couple of gallons of water through the toilet.
- Add the treatment.
- Flush it all down.
Two popular fixes do not work. Never use bleach in the black or gray tank. And ice cubes are a myth. Ice does nothing to clean the tank, and once melted it only adds water. Camping World and Airstream both reject it.
Dump in the right order
Keep the black valve closed at a full-hookup site until the tank is at least half to two-thirds full. A 30-gallon tank, for example, should hold around 20 gallons before you dump. Do not trust the sensors alone, since paper skews them. Many owners also dump every few days of typical use.
When you are ready:
- Open the black valve and let the tank empty completely, then close it.
- Open the gray valve. Its soapy water rinses leftover waste out of the hose.
- If your RV has a black tank flush inlet, connect a fresh water hose and rinse the tank.
- Close both valves and put the hose away in its own dirty-hose compartment.
- Add water and treatment as above.
Leaving the black valve open is the classic mistake. Liquid drains out, solids settle, and a pyramid forms. The gray valve is fine to open during a stay.
Keep a simple schedule
Every use Pre-fill the bowl, flush with extra water, rinse the bowl Every dump Add water and tank treatment, flush through Weekly (full-time) or after each trip Clean the bowl with an RV-safe cleaner Monthly (full-time) Confirm you are treating the tank at least this often Once a year Clean and lubricate the seal, check the band clamp Before storage Dump and rinse, add a couple of gallons of water and treatment (summer) or RV antifreeze (winter)Treat the tank every time you dump and you will rarely need a special cleaning.
Step 4. Fix odors, clogs and false readings
Most RV toilet problems trace back to too little water, the wrong paper, a dry seal, or residue on the tank sensors. Find the symptom first, then apply the matching fix.
Match the symptom to the fix
Odor in the cabin Dry seal, empty bowl, low treatment, blocked roof vent Keep water in the bowl, lubricate the seal, treat the tank, check the roof vent Bowl won't hold water Dry or cracked seal, loose band clamp Clean the ball, lubricate, tighten the clamp, replace the seal if needed Slow flush or clog Too little water, wrong paper, flushed wipes Add water, do a hot-water soak, switch paper Sensor reads full after dumping Paper or residue on the sensors Hot-water soak, cleaner, sloshing Toilet won't flush No water pressure, or no power on electric models Turn the pump on, check the fresh tank, check the fuse and batteryIf odor persists after the seal and tank are sorted, look at the plumbing vent on the roof. A blocked vent stops the tank from breathing and pushes smells back up through the bowl.
Clear a clog or poo pyramid
A pyramid forms when solids pile up under the toilet, usually after the black valve was left open, leaving the black tank not draining. Stop flushing first. Then fill the tank with water and a dose of treatment through the toilet and let it soak for several hours or overnight. Take the rig for a short drive so the water sloshes against the buildup, then dump. Repeat if you need to.
For sensor residue, pour hot water into the tank and let it soak for 5 to 10 minutes before flushing. The steam helps loosen debris. A tank of water and cleaner plus a short drive also works. Avoid caustic drain cleaners, which can damage seals and valves.
Know when to call a mobile tech
Call a professional when two soak-and-slosh rounds do not clear the tank, the seal replacement means pulling the toilet, the floor flange leaks, a dump valve sticks, or you suspect a cracked tank. Don't tow your rig to a shop for these.
Through MobileRVService.com you can search for a mobile technician who comes to your campsite, driveway or roadside. The service lists 3,200+ technicians, and finding one costs you nothing. Technicians give fixed-price quotes and on-the-spot diagnostics, and repairs carry a 30-day labor warranty.
If a soak and a drive won't clear it, a technician is cheaper than a damaged valve.
Make the routine a habit
RV toilet maintenance comes down to water, the right paper, a lubricated seal, a treated tank and the correct dump order. Do those consistently and you will rarely deal with clogs, leaks or odor. When something does go wrong, match the symptom to the fix before you spend money.
If a repair is beyond a weekend DIY job, you do not have to haul your rig anywhere. See what RV owner membership includes and find a qualified mobile technician who can handle your toilet and tanks where you are parked.