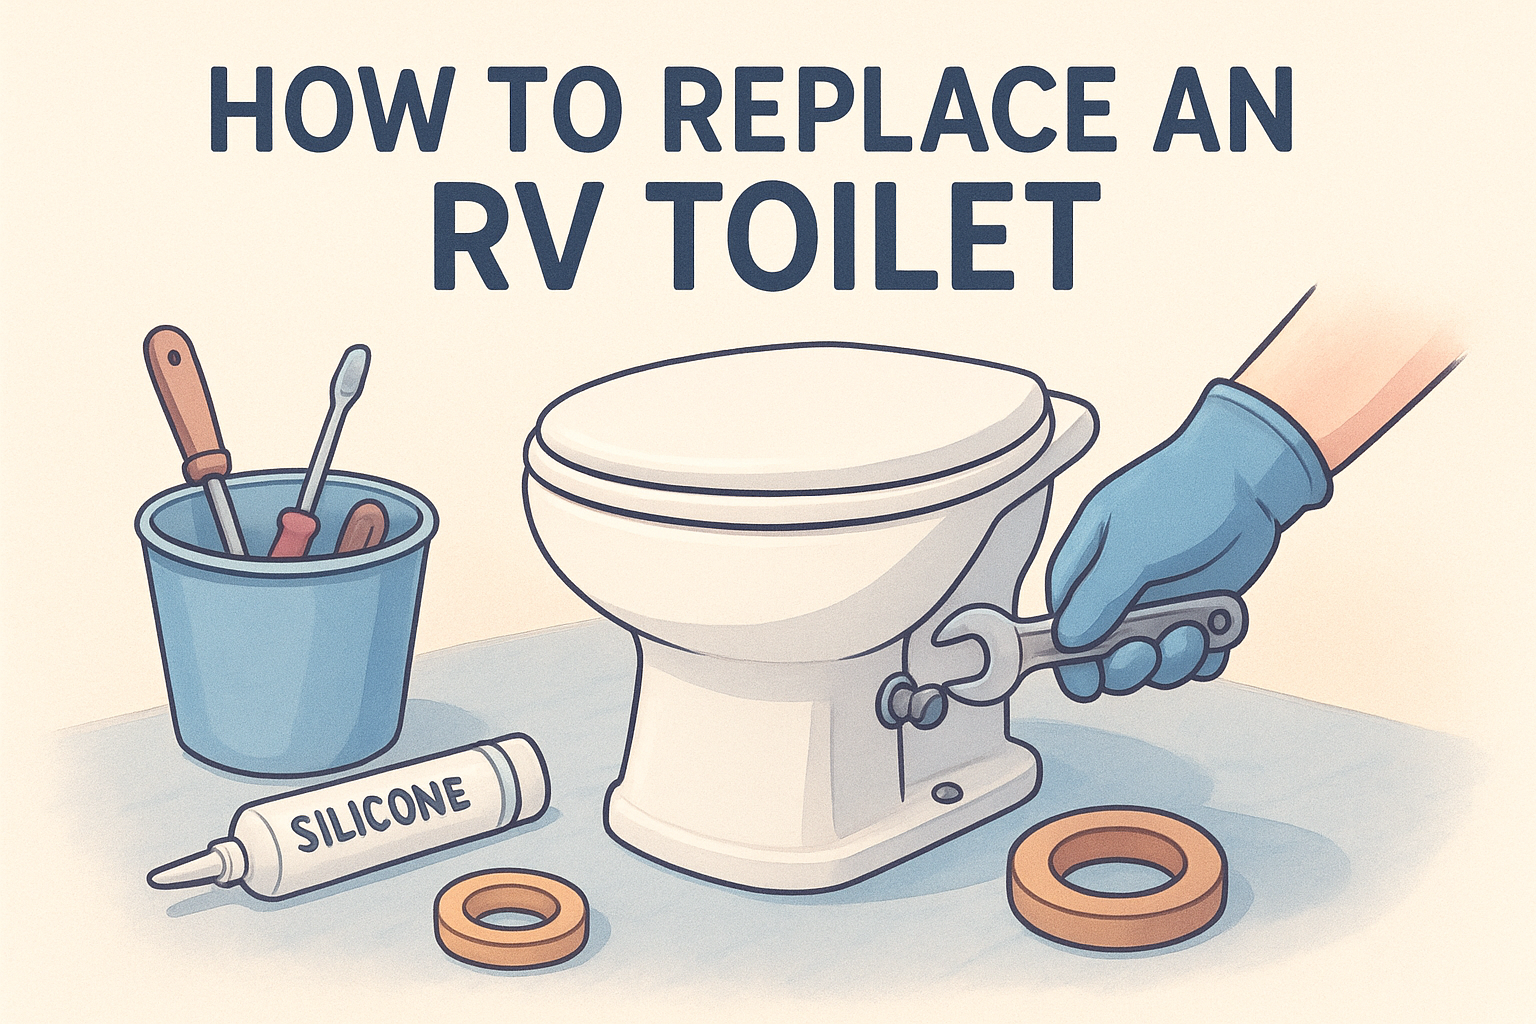
How to Replace an RV Toilet: A Step-by-Step Guide
A cracked base, a wobbly seat, or a valve that won't seal anymore usually means one thing: it's time to learn how to replace an rv toilet. The good news is that this isn't a job that requires a service call. With basic hand tools and about an hour of your time, you can pull the old unit and have a new one bolted down and ready to use before your next stop.
This guide walks you through the entire process, from shutting off the water supply to sealing the new base against the floor. You'll learn how to disconnect the water line safely, remove the old toilet without damaging the flange, and install the replacement so it doesn't leak or shift while you're driving. We'll also cover the common mistakes that lead to callbacks, like using the wrong wax-free seal or overtightening the bolts.
If you get partway through and hit a snag, or you'd rather have a professional handle the install, MobileRVService.com connects you with mobile RV technicians near your campsite who can finish the job on-site, no towing required, and it helps to know what mobile RV repair includes and what it costs before you call.
What you'll need before replacing your RV toilet
Gathering everything upfront saves you from tracking mud through the bathroom twice. Most RV toilets bolt down the same way, using a T-bolt flange system or a floor-mounted mounting plate, so the tool list stays short no matter which brand you're installing. Before you shut off the water, check your new toilet's box for a mounting hardware kit; some models include the bolts and seal, others don't, and you can order RV parts online if yours came up short.
Tools and supplies checklist
- Adjustable wrench or channel-lock pliers
- Phillips and flathead screwdrivers
- Putty knife or plastic scraper
- Rubber gloves and a face mask (holding tank fumes are no joke, especially if your black tank isn't draining)
- Bucket, towels, and a trash bag for the old unit
- Wax-free seal or rubber flange gasket rated for RV use
- New mounting bolts, nuts, and washers (T-bolts if your model uses them)
- Silicone sealant (non-corrosive, RV-safe formula)
- Flashlight for checking under the flange
A wax ring made for household plumbing will melt and leak in an RV; always use a wax-free or foam seal rated for mobile use.
Choosing the right replacement toilet
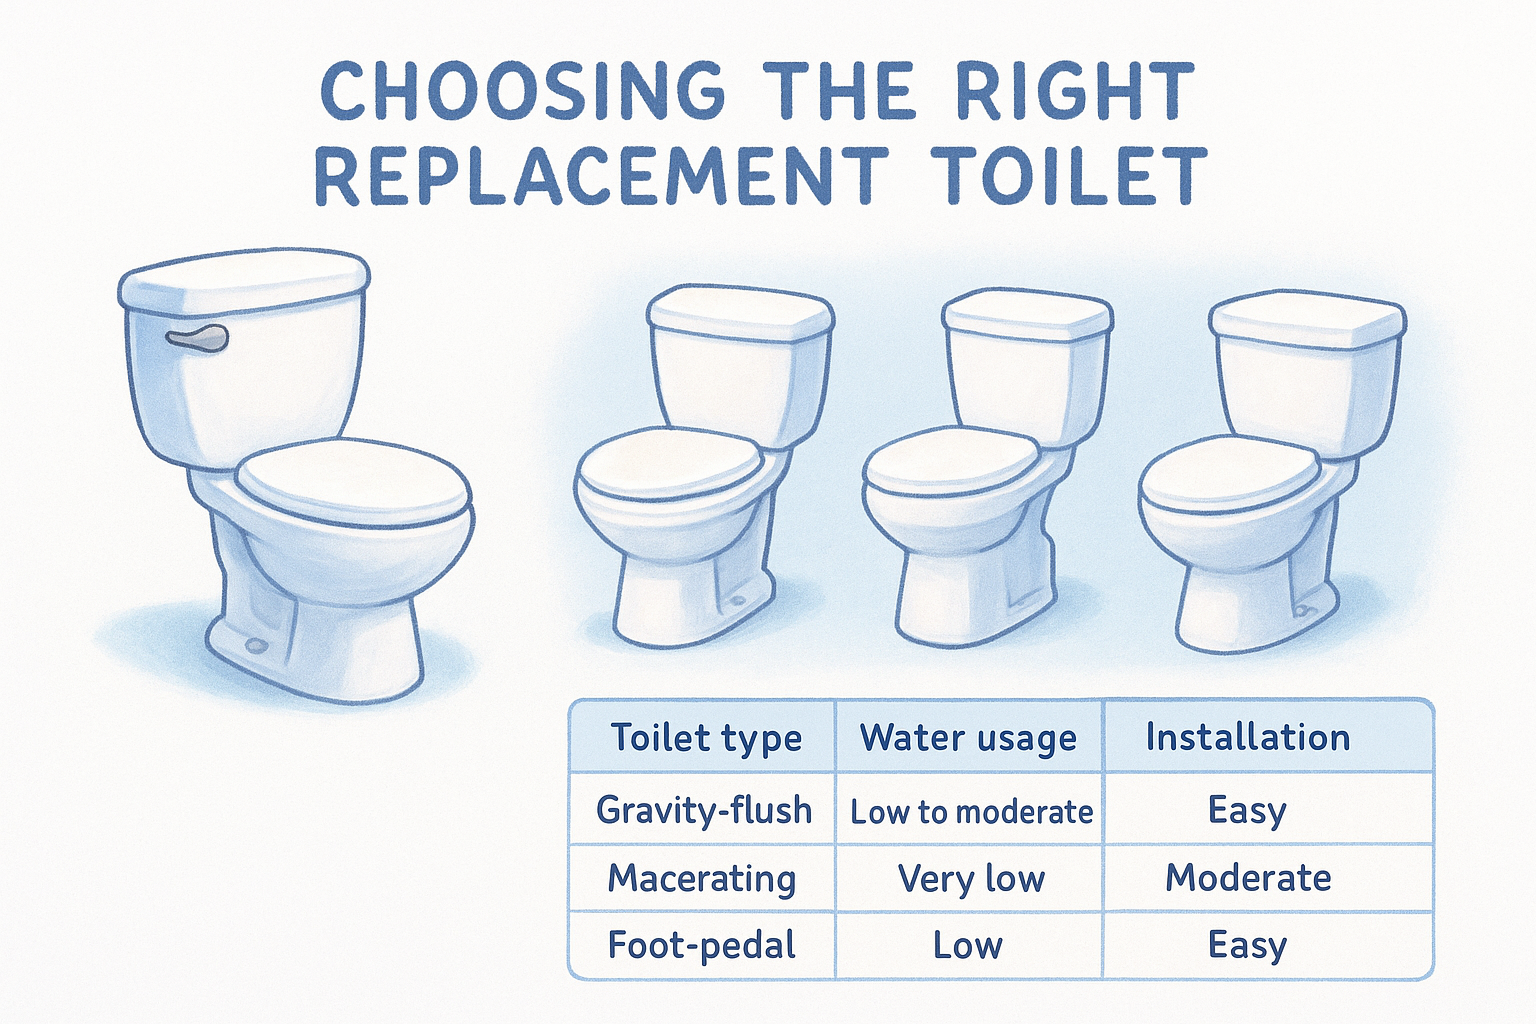
RV toilets come in a few different styles, and picking the wrong one means redoing the plumbing connections or fighting with a mismatched flange. Gravity-flush models are the simplest and most common, relying on water weight to clear the bowl. Macerating toilets grind waste before pushing it into the tank, which lets you route plumbing through tighter spaces but adds an electrical connection to the job. Measure your existing toilet's base footprint and bolt spacing before you order, since footprints vary between manufacturers even when the height looks similar.
Once you've confirmed the seal type, bolt pattern, and toilet style match your setup, lay everything out within arm's reach of the bathroom. Reaching around a cramped RV bathroom for a forgotten wrench wastes time you don't need to lose, especially if you're working in a campground bathroom with limited space to maneuver.
Step 1. Turn off the water and drain the toilet
Start by shutting off the water source before you touch a single bolt. Locate the water pump switch on your control panel and flip it off, then find the shutoff valve at the toilet's base, usually a small knob where the water line meets the fixture, and turn it clockwise until it stops. If your rig doesn't have a dedicated valve at the toilet, shut off the main water pump and city water inlet instead, the same shutoffs you use when flushing and sanitizing the RV water system.
Next, flush the toilet a few times to clear the bowl and drain as much water as possible from the line. Hold the flush pedal or lever down for several seconds on the last flush to push out any remaining water sitting in the valve assembly.
Disconnect the water line
Place towels and a bucket underneath the connection point, since water will drip out even after draining. Use your wrench to loosen the water supply hose or fitting where it meets the toilet's base, then pull it free and let it hang into the bucket.
Skipping the drain step is the number one reason people end up with a soaked bathroom floor mid-install.
Quick checklist before moving on
- Water pump is off
- Shutoff valve or main line closed
- Toilet flushed dry
- Supply line disconnected and draining into a bucket
- Towels down to catch drips
Once the line is capped or clamped off, you're ready to remove the old rv toilet itself without water spraying everywhere.
Step 2. Remove the old toilet
With the water line disconnected, look for the mounting bolts hiding under plastic caps at the base of the toilet. Pop those caps off with a flathead screwdriver, then use your wrench to back out the nuts securing the toilet to the floor flange. Most RV toilets use two bolts, one on each side of the base, so this part goes fast once you find them.
Break the seal and lift straight up
Once the bolts are out, the toilet is only held in place by the wax-free seal underneath. Grab the bowl with both hands and rock it gently side to side to break that seal loose. Don't yank it straight up right away, since a stubborn seal can tip the bowl and splash residue on the floor. Lift the toilet straight up and off the flange in one motion once it comes free, then set it on a towel or directly into a trash bag.
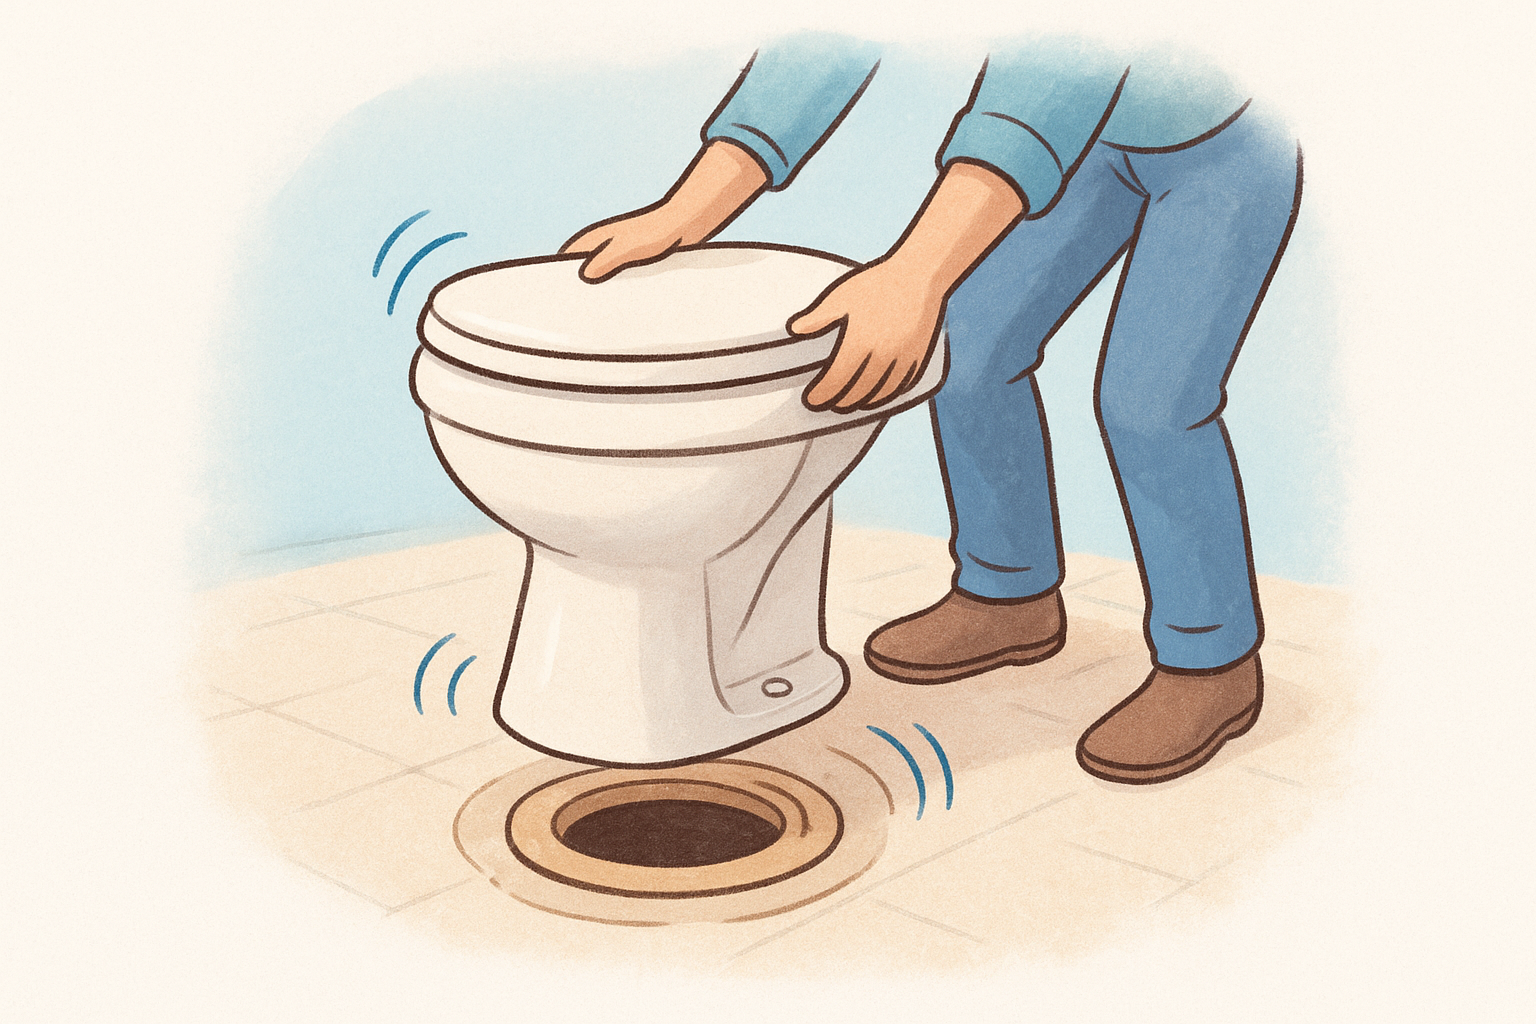
Rocking the toilet gently before lifting prevents cracked flanges and keeps waste residue contained.
Clean up the old seal material
Scrape off whatever's left of the old seal with a putty knife, working around the flange opening until you hit bare plastic or metal. Check the checklist below before moving on:
- Bolts and caps removed and set aside
- Toilet lifted clear without cracking the flange
- Old seal scraped away completely
- Flange area wiped down and dry
Inspect the flange itself for cracks before you go any further.
Step 3. Prepare the floor flange for the new toilet
Before you set the new bowl in place, take a close look at the floor flange itself. Cracks, warping, or a chipped bolt slot mean the flange needs replacing before you go any further, since a damaged flange won't hold a seal no matter how good the new gasket is. Run your fingers around the edge and check that both mounting holes are intact and free of old caulk or debris.
Clean and inspect the mounting surface
Wipe down the flange and the surrounding floor with a damp rag, then dry it completely. Any leftover moisture or grit under the new seal creates a gap that leaks over time. If you spot soft or discolored subfloor around the flange, that's water damage you'll need to repair, and installing a new toilet on top of it just hides the problem instead of fixing it.
A cracked or soft flange will sabotage even a perfect seal, so fix the base before you set the new bowl.
Set the new seal in place
Position your wax-free seal or foam gasket centered over the flange opening, following the manufacturer's instructions for orientation since some seals are directional. Press it down firmly so it sits flush against the flange without bunching on one side.
- Flange checked for cracks or warping
- Old caulk and debris cleaned away
- Subfloor inspected for soft spots
- New seal centered and pressed flat
Once the seal is seated, you're ready to lower the new toilet into place.
Step 4. Install the new toilet and check for leaks
Lower the new toilet straight down onto the flange, lining up the mounting holes with the bolts already seated in the flange or T-bolt track. Press down evenly on both sides of the base until you feel the seal compress and the bowl sits flush against the floor. Guessing at alignment here just tears the new seal, so take a second look before you apply any weight.
Bolt it down without cracking the base
Thread the nuts onto the bolts by hand first, then snug them down with your wrench in small, alternating turns, like tightening lug nuts on a tire. Stop as soon as the toilet feels solid and doesn't rock, since overtightening is the single biggest cause of cracked porcelain and plastic bases in RV bathrooms. Snap the plastic caps back over the bolt heads once you're satisfied with the fit.
A toilet bolted too tight cracks quietly, then fails loudly on a bumpy road.
Reconnect the water line and test
Reattach the water supply hose to the base fitting and tighten it snug with your wrench, no need to overdo it here either. Turn the water pump back on, open the shutoff valve, and flush the toilet several times while watching the base closely.
- Check around the base for water seeping onto the floor
- Check the supply line fitting for drips
- Flush at least three times before calling the job done
- Run your hand under the flange area to feel for moisture
If everything stays dry after a few flushes, your new rv toilet is ready for the road.
When it's time to call a mobile RV technician
Most RV owners can swap a toilet with a wrench, some towels, and an afternoon. But cracked flanges, soft subfloor, or a macerating toilet's wiring can turn a simple swap into a bigger repair than you signed up for. If you pull the old unit and find water damage underneath, or the new toilet won't seat flush no matter how you adjust the bolts, stop and get help before you make the problem worse.
That's where MobileRVService.com comes in. You get matched with a vetted technician near your campsite who carries the right seals, flanges, and tools to finish the job on-site, no towing and no waiting for a shop appointment. Whether you're mid-install and stuck, or you'd rather skip the wrenches entirely, see what an RV owner membership includes and how fast you can get a pro to your door.