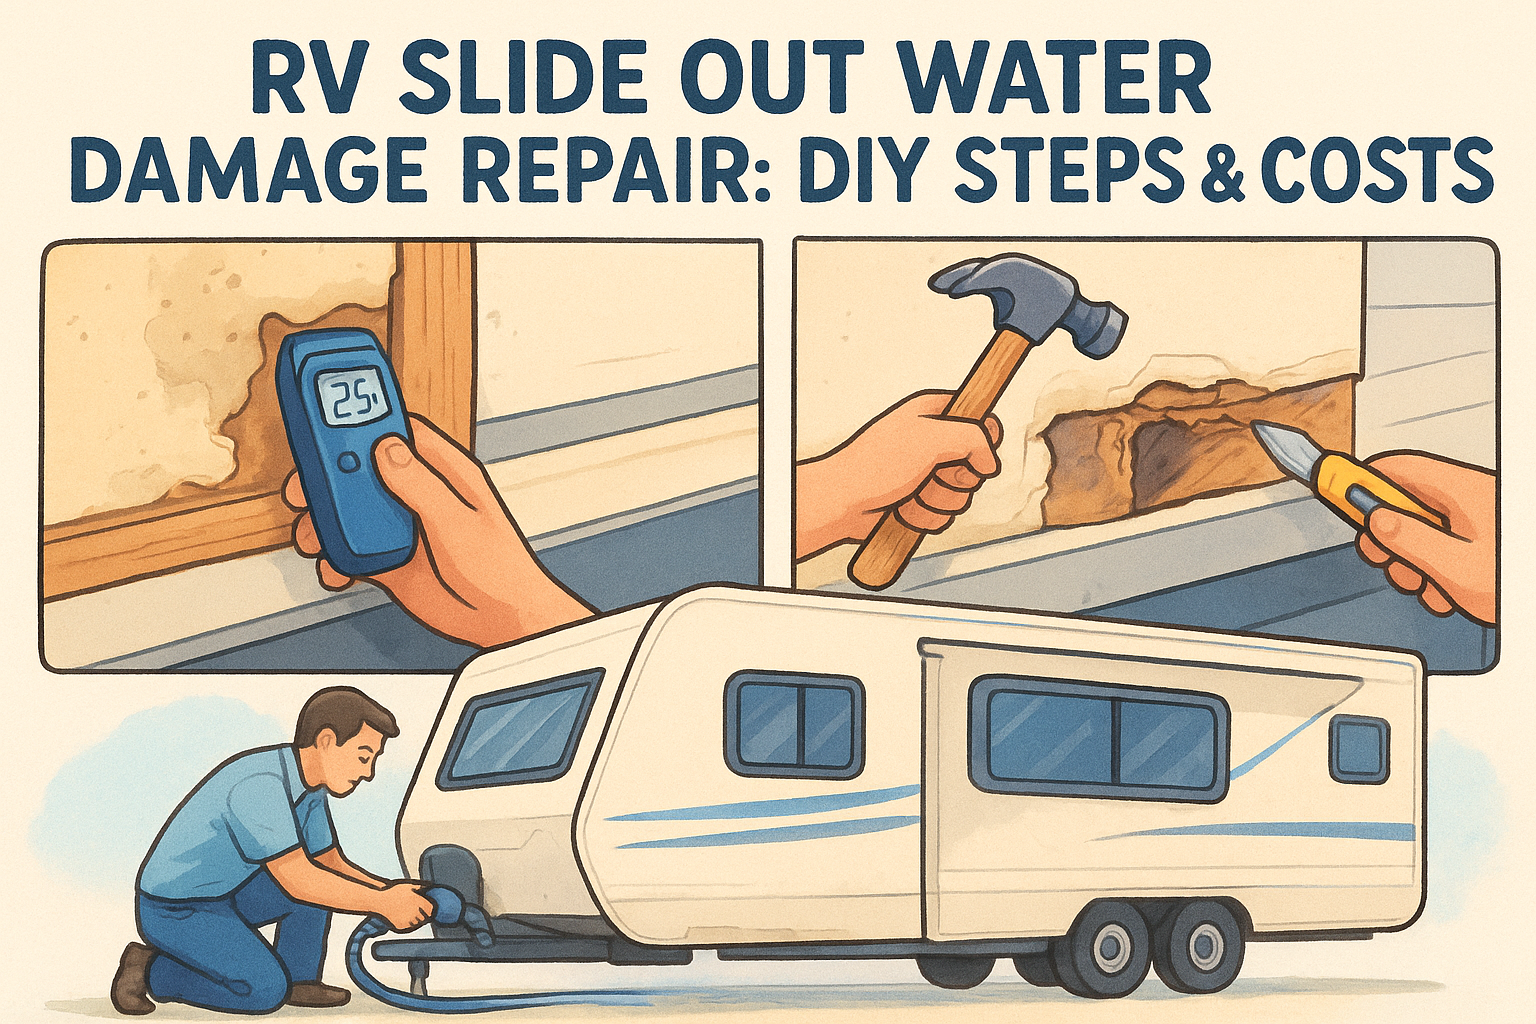
RV Slide Out Water Damage Repair: DIY Steps & Costs
You noticed a soft spot on the floor near your slide, or maybe a brown stain creeping across the ceiling panel above it. That's rv slide out water damage repair territory, and ignoring it for even one more season turns a small fix into rotted subfloor and delaminated walls. Slide-outs are one of the leakiest spots on any RV because of the seals, gaskets, and moving parts involved, and water gets in long before you see the damage.
This guide walks you through diagnosing the source of the leak, from cracked seals to failed roof caulking, and shows you exactly what a DIY repair involves versus when you're better off calling in a professional. You'll get a realistic breakdown of repair costs, ranging from a $20 tube of sealant to a multi-thousand-dollar wall replacement.
We'll cover the tools and materials you need, step-by-step repair instructions for minor damage, and clear signs that mean it's time to stop DIYing and find a qualified mobile technician. If the damage is beyond a weekend project, we'll also point you toward getting help fast, including a VIP concierge option for locating a vetted tech near your campsite.
Why RV slide-outs develop water damage
Every slide-out room has a seam where the RV's wall meets a moving mechanism, and that seam is where the trouble starts. Rubber seals and wiper gaskets compress every time you retract the slide, and over a few seasons of sun exposure and flexing, they crack, shrink, or pull away from the frame. Once that seal fails, rain doesn't need a storm to get in. A slow drizzle while you're parked at a campsite is enough to soak the wood framing behind the wall, and you won't see a stain until the damage has already spread.
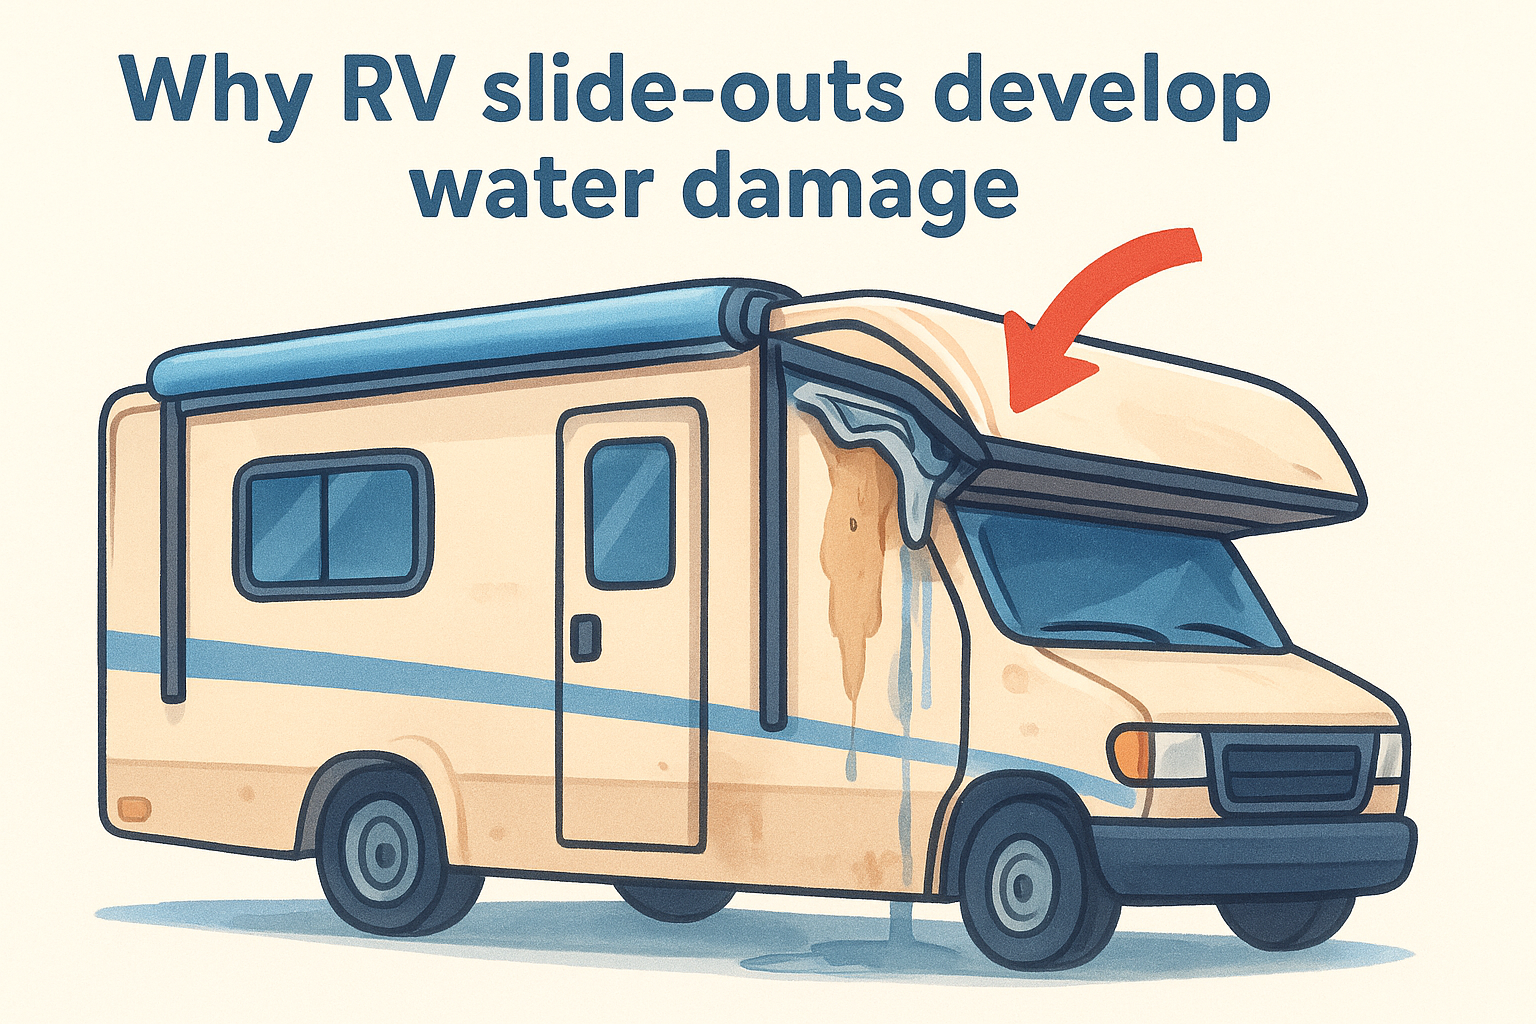
The usual entry points
Most leaks trace back to a handful of predictable spots, and knowing them speeds up your diagnosis later. Here's where to look first:
Slide-out rubber seals UV exposure, age, compression wear Water streaks on interior wall below the slide Roof caulking above slide Sun cracking, RV flexing on rough roads Ceiling stain directly above the slide-out Slide topper (awning) Torn fabric, pooling water, ice damage Water dripping when slide extends Screw holes and trim Loose fasteners, missing sealant Localized soft spots near edges Slide mechanism gaskets Wear from repeated in-and-out cycles Dampness felt during or after travelA slide-out doesn't need a downpour to rot from the inside. One cracked seal and a few weeks of morning dew can do the job.
Why the damage hides so well
Manufacturers build most RV walls with a laminated construction, sandwiching thin luan or fiberglass over wood framing and foam insulation. Water that gets past a seal doesn't pool visibly, it wicks into that wood framing and sits there, soaking the structure from the inside while the outer skin looks fine. By the time you spot a bubble in the wallpaper or a spongy patch on the floor, the framing underneath has often been wet for months. This is exactly why routine seal inspections matter more than waiting for visible symptoms, a point backed up by the National Highway Traffic Safety Administration's general guidance on regular vehicle maintenance reducing failure risk (https://www.nhtsa.gov/).
Travel stress makes it worse
Constant driving flexes the RV's body more than most owners realize, and that movement works old caulk and seals loose faster than a stationary camper would experience. Vibration loosens screws around trim and slide mechanisms, opening tiny gaps that widen with every trip. Full-timers and frequent travelers should treat slide-out seals as a wear item, not a set-it-and-forget-it feature, and plan on inspecting them at least twice a year.
Step 1. Diagnose the source and extent of the damage
Before you pull a single screw, you need to know how far the water traveled. Moisture meters are the fastest way to check this, and a cheap pin-style meter from any hardware store gives you a reliable read on wood moisture content without opening the wall. Press it into the floor near the slide, along the wall base, and around the ceiling seam above the room. Readings above 20% mean the wood is wet enough to start rotting, and anything over 30% usually means active decay is already underway.
Map the damage before you cut
Work through the RV systematically instead of guessing. Check each of these spots and note the readings:
- Floor: press around the slide's edges, not just the center, since water tends to pool at the perimeter
- Walls: test at the base and about a foot up, where wicking usually stops
- Ceiling: check directly above the slide and a few feet out in each direction
- Slide mechanism area: look for rust or corrosion on gears and rails, a sign water reached the hardware
If your moisture meter reads over 20% anywhere near the slide, assume the damage extends further than what you can see.
Confirm the leak source outside
Once you know the extent inside, go back outside and inspect the seals, gaskets, and roof caulking discussed earlier. Run your hand along the rubber wiper seal, feel for cracks, and check the roof seam with a flashlight for gaps in the caulk. A simple hose test, running water slowly over the suspected area while someone watches inside, confirms exactly where water enters before you commit to tearing anything apart. Skipping this step is the most common DIY mistake, since resealing the wrong spot means the leak keeps going after you've already patched the floor.
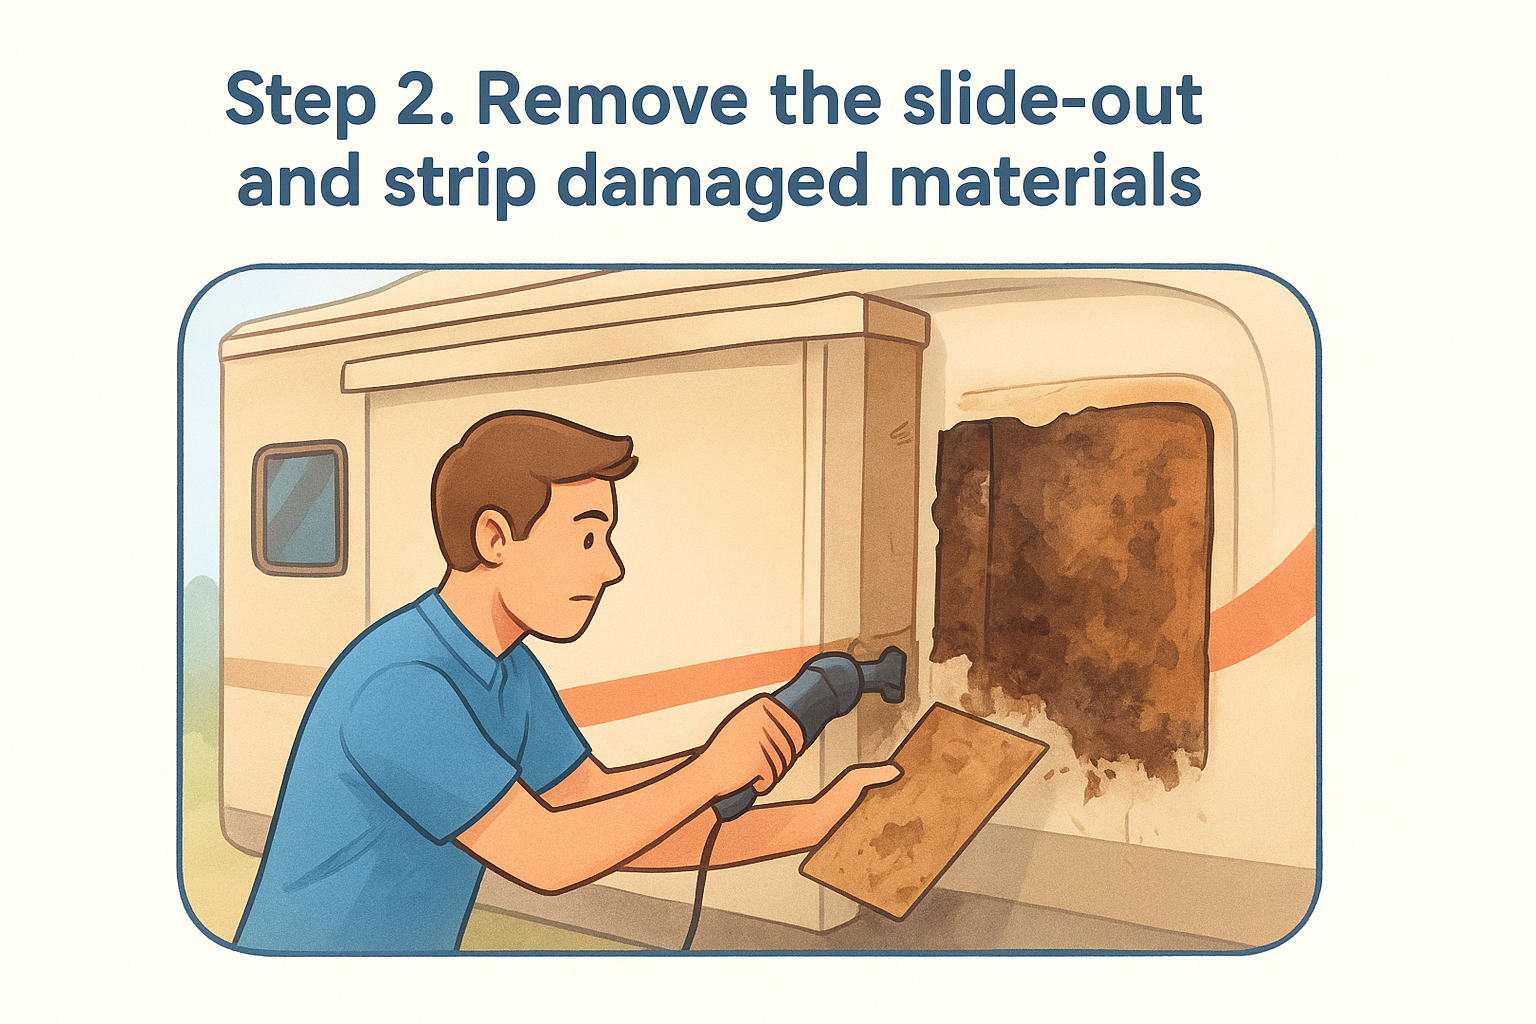
Step 2. Remove the slide-out and strip damaged materials
Extending the slide fully before you cut anything gives you the access you need without fighting the mechanism halfway through the job. Slide-out repair work goes faster when you disconnect the room's power to the motor first, so nobody accidentally retracts it while you're standing inside a wall cavity. Pull the interior trim, screen mesh, and any cabinetry bolted near the damaged wall so you can see the full extent of the rot before you start cutting.
Cut back to solid material
Grab a oscillating multi-tool and cut through the luan or fiberglass skin around the wet section, working a few inches past where your moisture meter read dry. Rotted wood spreads mold spores and structural weakness beyond the visible stain, so trimming too conservatively just means reopening the same spot next season.
Cutting a few extra inches of good material now costs you a strip of luan. Cutting too little costs you a second repair next year.
Remove everything wet, not just the obvious spot
Strip out every layer that's holding moisture, checking as you go:
- Interior wall skin (luan or fiberglass panel)
- Foam or fiberglass insulation batts, which hold water like a sponge
- Wood framing members showing soft spots, delamination, or dark staining
- Subfloor decking around the slide's base if your meter flagged high readings there
- Old sealant and butyl tape around the slide-out frame opening
Bag the wet insulation and rotted wood immediately. Letting it sit in the RV even overnight invites mold growth that turns a straightforward carpentry job into a bigger cleanup problem.
Step 3. Rebuild the subfloor and reseal the slide-out
Now that the wet material is gone, you're building back stronger than the factory did. Cut pressure-treated plywood or marine-grade lumber to match the removed framing dimensions exactly, since a loose fit lets the new wood flex and crack the seal you're about to apply. Screw the new studs and subfloor sections into place with exterior-rated fasteners, checking that everything sits flush before you close the wall back up.
Layer in insulation and the wall skin
Replace the insulation with closed-cell foam board instead of the original fiberglass batt if you can. Closed-cell foam won't wick water the way fiberglass does, so a future small leak won't turn into another rotted section. Cut new luan or fiberglass skin to size, glue and screw it into the frame, and reinstall any trim or cabinetry you removed earlier.
Seal every gap before you extend the slide
This is where most DIY slide-out repairs succeed or fail. Skipping proper resealing means the water comes right back in, and you'll be cutting into fresh wood within a year.
A rebuilt subfloor means nothing if the seal that let water in the first time never gets replaced.
Work through this checklist before you call the job finished:
- Apply new butyl tape around the entire slide-out frame opening
- Install a fresh rubber wiper seal along the slide's perimeter
- Recaulk the roof seam above the slide with self-leveling lap sealant
- Replace or patch the slide topper fabric if it's torn or sagging
- Run the hose test again before you trust the repair on the road
Let everything cure fully, per the sealant manufacturer's instructions, before you retract the slide for the first time.
DIY costs vs. professional repair costs
Money is usually the deciding factor in whether you tackle this yourself or call a technician, so let's put real numbers on the table. Materials alone for a small slide-out repair run surprisingly cheap, but labor and specialized tools shift the math fast once the damage spreads past a single wall section.
What a DIY repair actually costs
A weekend DIY job stays affordable if you already own basic tools and the rot hasn't reached the frame rails. Here's a realistic breakdown:
Butyl tape and sealant $20 to $60 New wiper seal $50 to $150 Plywood/marine lumber $40 to $120 Closed-cell foam insulation $30 to $80 Oscillating multi-tool rental $25 to $50/day Total DIY range $165 to $460When professional repair costs more, but saves more
Professional repairs run from $500 for a minor reseal up to $3,000 to $6,000 when the frame or slide mechanism needs replacement, according to typical RV repair shop estimates. That gap feels steep until you factor in what a botched DIY reseal costs when the leak returns and rots a second wall section.
Paying a technician once usually costs less than paying yourself twice for the same repair.
Signs you should stop DIYing and book a pro:
- Moisture readings above 30% in the frame or slide mechanism area
- Rust or seized components on the slide gears
- Delamination spreading across more than one wall panel
- No confidence in matching the factory seal profile
A mobile technician found through a network like MobileRVService.com can often diagnose and quote the job on-site, saving you the guesswork of estimating scope yourself.
Protecting your RV for the road ahead
Water damage on a slide-out never stays small. What starts as a cracked seal turns into rotted subfloor, then a wall replacement, if you wait too long to act. You now know how to spot the warning signs, test moisture levels, and decide whether a weekend of DIY work makes sense or whether the rot has gone too deep for a hand tool and a tube of caulk.
Twice-a-year seal inspections catch problems while they're still a $30 fix instead of a $3,000 rebuild. Keep that moisture meter in your toolbox and use it before every long trip, not just after you spot a stain. When the damage is beyond your comfort level, or you're parked somewhere unfamiliar and need a vetted tech fast, check out the remote assistance options for RV owners to get connected with help before a small leak becomes your next big repair bill.