RV Water System Maintenance: Cleaning, Flushing & Sanitizing
A neglected water system can turn your RV into a breeding ground for bacteria, mold, and foul-tasting water. Proper rv water system maintenance isn't just about comfort, it's about protecting your health and preventing costly plumbing repairs that can sideline your travels.
Whether you're a full-timer or a weekend warrior, your freshwater tank, hot water heater, and plumbing lines all need regular attention. Sediment builds up, sanitizer breaks down, and seals deteriorate, often without any obvious warning signs. A structured cleaning and flushing routine keeps your water safe to drink and your system running the way it should. This guide walks you through every step of that process, from sanitizing your freshwater tank to inspecting lines and fittings for hidden leaks.
And if you run into a problem that's beyond a DIY fix, a cracked fitting, a failed pump, or persistent contamination, MobileRVService.com connects you with mobile RV technicians who can diagnose and repair water system issues right at your campsite, no tow required.
What you need before you start
Starting rv water system maintenance without the right supplies wastes time and can leave the job unfinished. Before you open a valve or pour anything into your freshwater tank, gather everything you need so you can move through each step without interruption. Having the correct tools and chemicals on hand also means you won't improvise with products that can damage rubber seals or leave residue in your drinking water lines.
Supplies and chemicals
You need a specific set of materials to do this job correctly. Plain unscented household bleach with 5.25% to 8.25% sodium hypochlorite is the standard sanitizing agent for RV freshwater systems. You also need a potable water hose (white or blue hoses are typically rated for drinking water use), a water pressure regulator, a plastic funnel, and basic plumbing tools like channel-lock pliers and Teflon tape for resealing any fittings you disturb during the process.
Never use bleach products that contain added scents, thickeners, or splash guards. These additives leave residue that is difficult to flush out and can affect the taste of your water long after sanitizing is complete.
Here's a complete checklist to keep at your side:
- Unscented household bleach (5.25%–8.25% sodium hypochlorite)
- Dedicated potable water hose (white or blue)
- Water pressure regulator (set to 40–50 PSI)
- Inline water filter (carbon block or sediment type)
- Channel-lock pliers
- Teflon (PTFE) tape
- Plastic funnel
- Non-toxic RV antifreeze (for winterizing steps only)
- Charged power source or fresh batteries for your water pump
- Clean bucket and measuring cup for mixing bleach solution
Safety basics
Protecting yourself during this process takes only a few extra minutes. Wear protective gloves when handling bleach or inspecting older connections, and make sure the area around your water heater has adequate ventilation when you flush chemical solutions through the lines. You should also turn off your water heater before draining the system to protect the heating element from running dry, which can burn it out and require a costly replacement.
Before you introduce any sanitizer into the lines, confirm your water pump builds pressure normally. A pump that runs without reaching 40–50 PSI points to a possible air leak or a failing pump head. Catching that problem now saves you from repeating the entire flush and sanitize sequence after discovering the fault halfway through the job.
Step 1. Identify your RV water system setup
Before you drain or sanitize anything, you need to know exactly what you're working with. RV water systems vary significantly depending on the manufacturer, model year, and whether your rig is a motorhome, fifth wheel, or travel trailer. Knowing your tank capacity, line routing, and water heater type upfront lets you calculate the correct bleach ratio and drain everything in the right order without missing a branch line.
Know your tank size and plumbing layout
Your freshwater tank capacity is listed in your owner's manual or on a specification sticker inside a cabinet or near the entry door frame. Most tanks fall between 30 and 100 gallons, and that number directly determines how much bleach solution you mix when sanitizing. Trace your cold and hot water lines from the tank forward to each faucet, toilet, and exterior shower connection so you know which valves to open when flushing the system completely.
Travel Trailer 30–50 gallons Fifth Wheel 40–80 gallons Class A Motorhome 60–100 gallons Class B / Van Conversion 15–30 gallonsCheck your water heater type
Tankless and tank-style water heaters require different steps during flushing and rv water system maintenance overall. Standard tank heaters, typically 6 or 10 gallons, have an anode rod and a threaded drain plug you remove to empty the unit before sanitizing. Tankless units have no storage reservoir, but their incoming supply lines still need a full flush with fresh water to clear any chemical residue.
Pull up your water heater's model number and locate the manufacturer drain procedure before you start, so you do not guess at the correct plug location or torque when reinstalling.
Step 2. Drain and flush the tank and lines
Draining the system fully before sanitizing is not optional. Any standing water left in the tank or low points in your lines will dilute your bleach solution later and reduce its effectiveness. Start by turning off your water pump and opening every faucet in the rig, both hot and cold, to release pressure from the lines before you pull any drain plugs.
Empty the freshwater tank completely
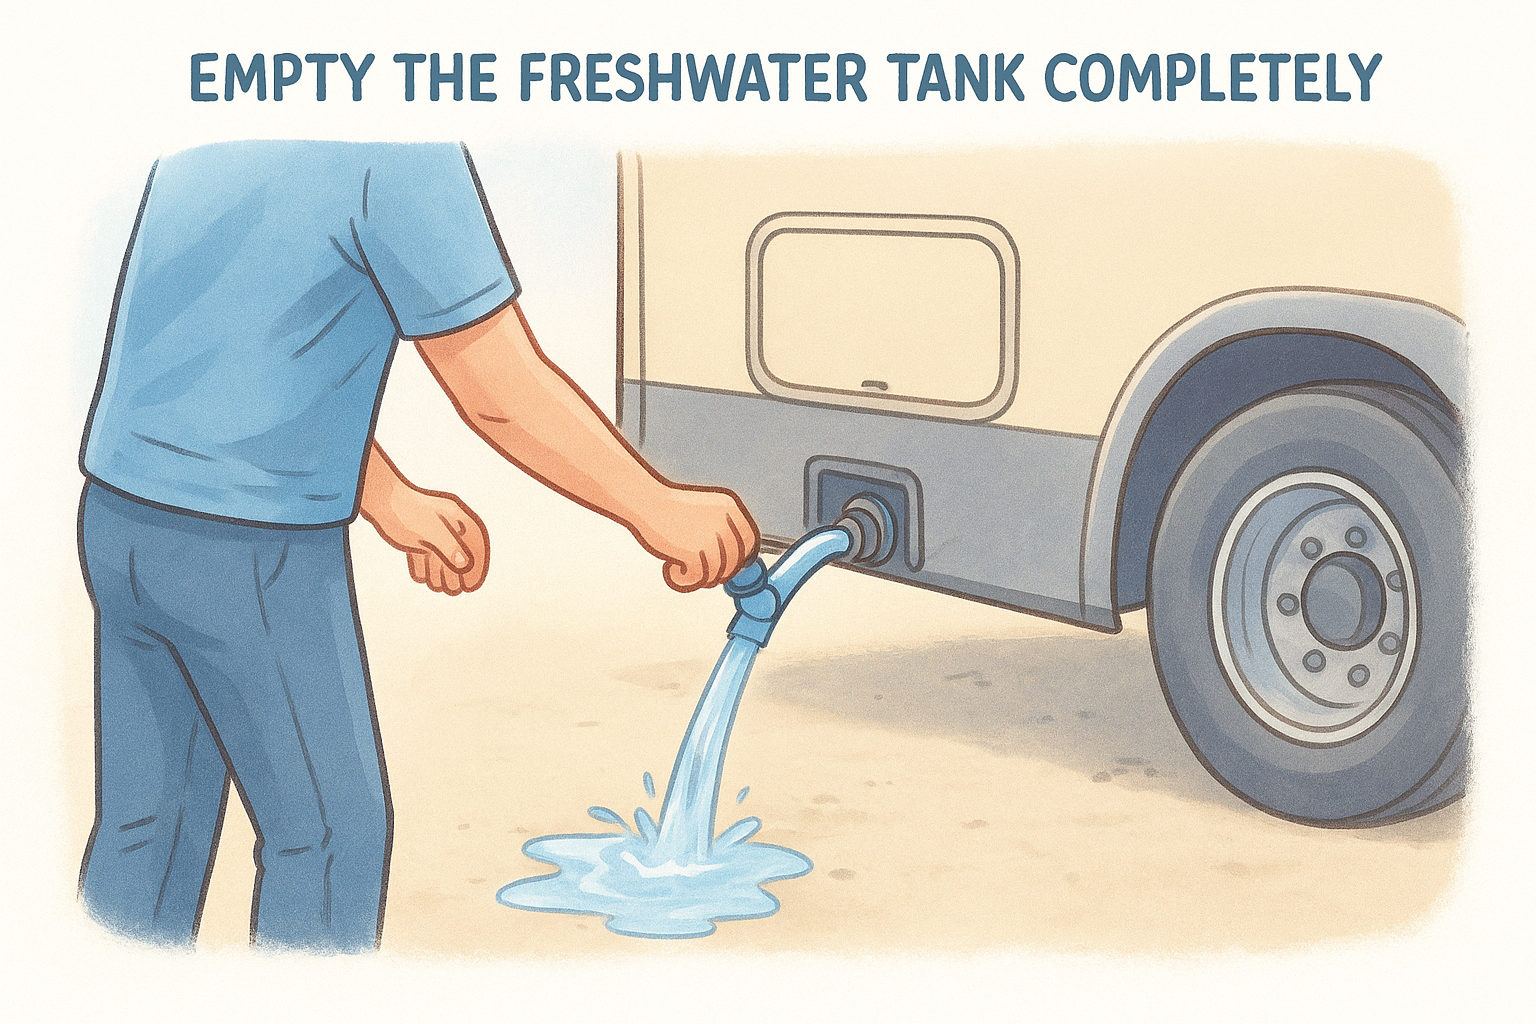
Locate your freshwater tank drain valve, which is typically on the underside of the tank toward the rear of the chassis. Open it fully and let gravity do the work. While the tank drains, go inside and open your lowest faucet to allow air into the lines so water flows out without creating a vacuum. Once flow stops, briefly run the water pump for two to three seconds to push out any remaining water trapped near the pump head. Then shut the pump off immediately to avoid running it dry.
Do not let your water pump run longer than five seconds with empty lines. Running it dry even briefly can damage the pump's internal diaphragm.
Flush the lines from tank to tap
Refill the freshwater tank with 10 to 15 gallons of clean potable water and run the pump to circulate fresh water through every line. Open each faucet one at a time, starting farthest from the pump, and let water flow for 30 seconds before moving to the next. Include your exterior shower, toilet, and any icemaker connection in this sequence. Drain the tank again once all faucets have been flushed. This two-pass process is a core part of solid rv water system maintenance, and it clears loosened sediment before sanitizer goes in.
Step 3. Sanitize the system the right way
With your tank empty and lines flushed, sanitizing is the step that actually kills bacteria and eliminates the biofilm that builds up on tank walls over time. This is the most critical part of rv water system maintenance, and getting the bleach ratio right is what separates a truly clean system from one that still carries risk.
Mix and add the bleach solution
Your bleach dose depends directly on your tank capacity. The standard ratio is 1/4 cup of unscented bleach per 15 gallons of freshwater tank capacity. Use the table below to find the right amount for your rig:
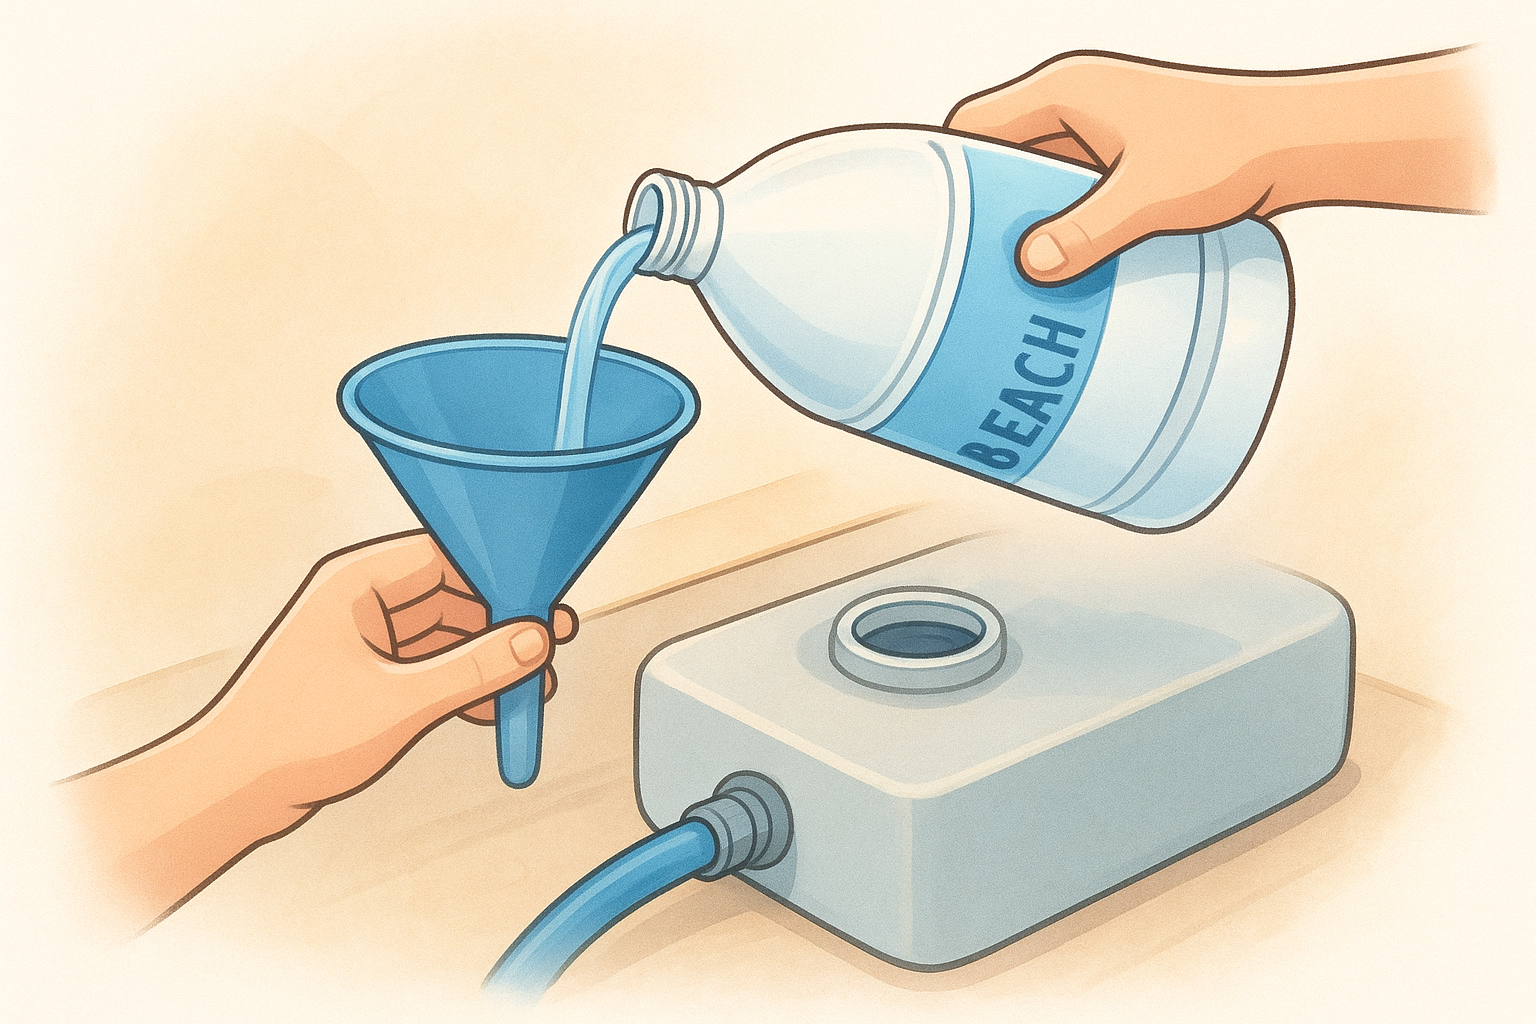
Pour the measured bleach into your plastic funnel and add it directly to the freshwater tank fill port, then fill the tank completely with potable water.
Run the solution through every line
Turn on your water pump and open each faucet one at a time until you smell bleach at every outlet, including your hot water lines, toilet, and exterior connections. Once the solution reaches every tap, close all faucets and let it sit for at least four hours. Overnight works better for systems that haven't been sanitized in a full season.
Do not run your water heater during this soak period. Heating a bleach solution can damage the tank liner and accelerate corrosion on metal fittings.
Flush the bleach out completely
Drain the tank fully, then refill with fresh potable water. Run the pump and open every faucet again until you can no longer detect any bleach odor at any outlet. If the smell lingers, repeat the fresh water flush one more time before drinking or cooking with the water.
Step 4. Maintain pumps, filters, and the water heater
Sanitizing your tank handles biological contamination, but pumps, filters, and your water heater need separate, hands-on attention to keep the whole system performing reliably. Skipping this part of rv water system maintenance is how small problems quietly grow into failed components and expensive repairs.
Inspect and replace your inline filter
Your inline water filter catches sediment, chlorine, and particulates before they reach your faucets. Most standard cartridge filters need replacement every 3 to 6 months, but if you frequently connect to older campground hookups or well-fed sites, plan to swap cartridges more often. Check the housing for cracks or discoloration each time you swap the cartridge, and wrap the threads with fresh Teflon tape before reinstalling.
A clogged filter drops water pressure noticeably before it fails completely, so any sudden pressure loss at your faucets is your first signal to check the filter immediately.
Service the water pump
Your 12-volt water pump should cycle on and build pressure, then shut off and hold that pressure without short-cycling. If the pump runs continuously or kicks on every few seconds with no faucet open, you likely have a pressure leak somewhere in the line or a faulty pressure switch. Inspect all fittings downstream from the pump for drips or moisture, and tighten any loose connections.
Flush and inspect the water heater
Drain your tank-style water heater at least once per season by removing the anode rod and drain plug. Flush the interior with fresh water until it runs clear. If your anode rod has corroded down to less than 50% of its original size, replace it before reinstalling the drain plug.
Step 5. Winterize, de-winterize, and store safely
Freezing temperatures are one of the fastest ways to crack pipes, split fittings, and destroy your water pump. Winterizing your RV water system correctly before temperatures drop below 32°F is a critical part of rv water system maintenance for anyone storing their rig through cold months or traveling through northern states in the fall.
Winterize with antifreeze or compressed air
Two methods work for winterizing: non-toxic RV antifreeze (pink, propylene glycol-based) or compressed air. Antifreeze is the more reliable option for complex plumbing layouts since it fills every branch line and low point completely. Compressed air pushes water out but can miss traps and low spots if your lines have irregular routing.
To winterize with antifreeze, follow these steps in order:
- Drain your freshwater tank, gray tank, and black tank completely.
- Remove or bypass your inline water filter so antifreeze does not clog the cartridge.
- Connect your antifreeze pump kit to the antifreeze jug and your pump inlet.
- Open each faucet one at a time until pink fluid flows steadily, then close it.
- Flush the toilet until pink fluid appears in the bowl.
- Pour one cup of antifreeze directly into each drain to protect the P-traps.
Never use automotive antifreeze in your RV water lines. It contains ethylene glycol, which is toxic and will contaminate every fitting and faucet it contacts.
De-winterize before your first trip
When spring arrives, flush every trace of antifreeze out of the system before drinking or cooking with the water. Fill your freshwater tank with potable water, run the pump, and open each faucet until the water runs completely clear with no pink tint remaining. Work through every outlet in the same sequence you followed during winterizing.
After flushing, run a full sanitize cycle using the bleach ratios from Step 3 to eliminate any bacteria that settled in the lines during storage. Reinstall your filter cartridge with a fresh replacement unit before you connect to a campground water source.
Keep your RV water safe and reliable
Consistent rv water system maintenance keeps your water drinkable, your pump protected, and your plumbing intact across every season. The steps in this guide cover everything from bleach ratios and filter swaps to winterizing procedures and de-winterizing flushes, giving you a repeatable process you can follow every year without guessing.
Your system will eventually develop a problem that a cleaning cycle cannot fix. A cracked fitting, a failing pump, or a leaking water heater tank all need hands-on repair before they get worse. If you hit a point where the job goes beyond your tools or skill level, find a qualified mobile RV technician near you through MobileRVService.com. A technician comes directly to your campsite, diagnoses the issue on the spot, and gets your water system back in working order without requiring you to move your rig to a shop.