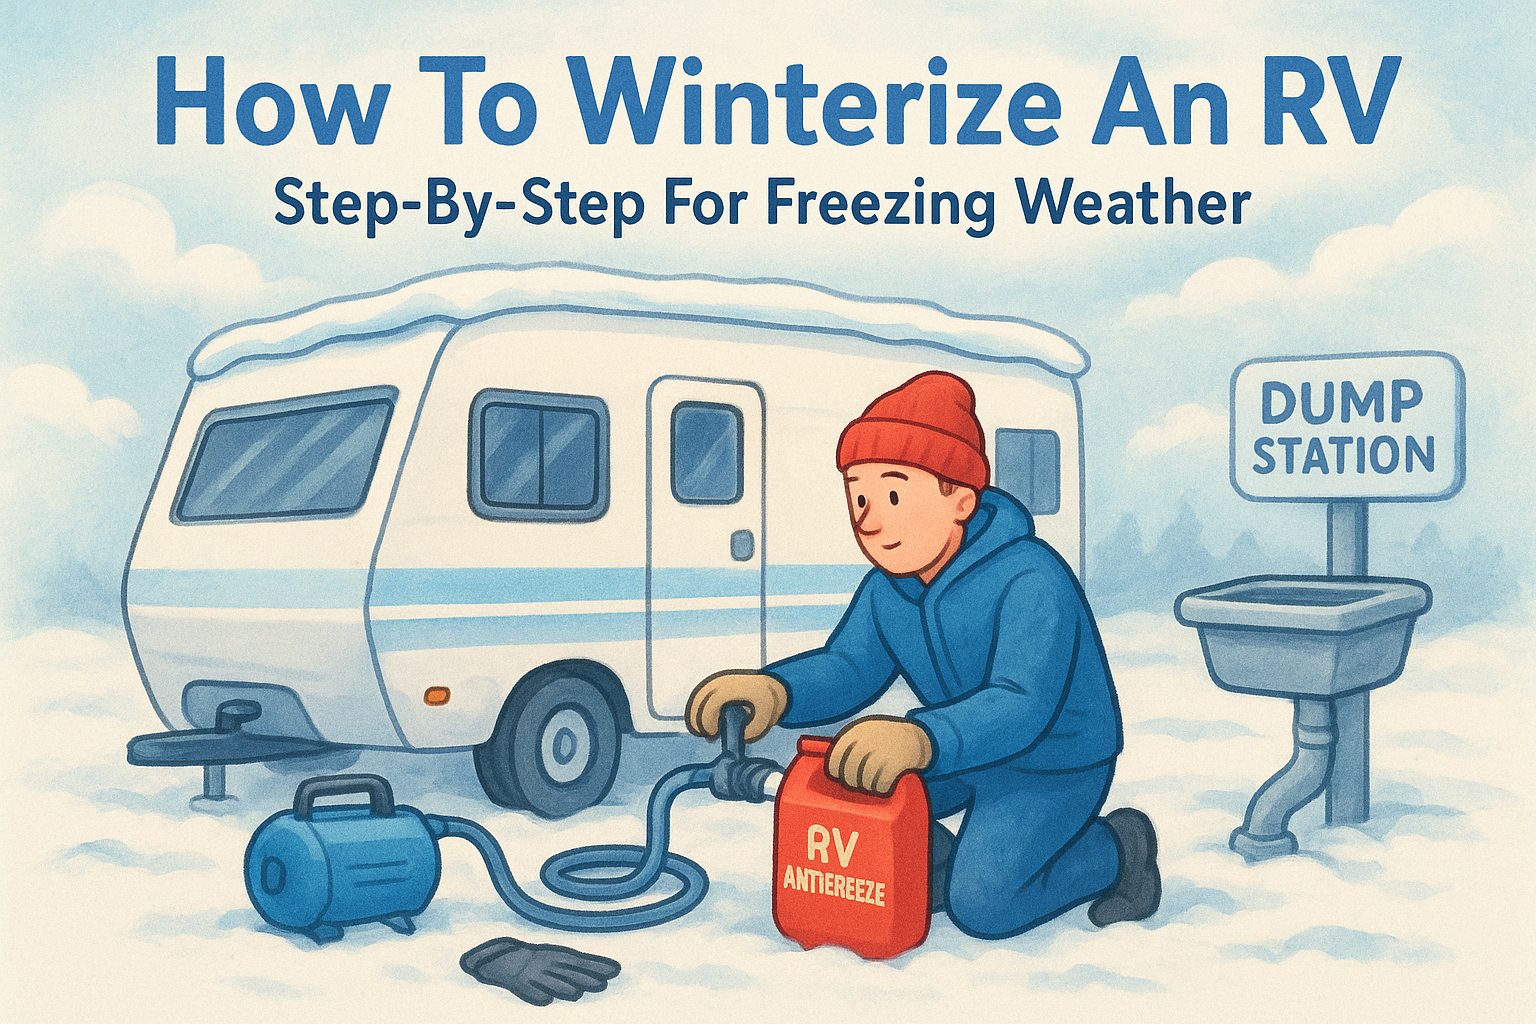
How To Winterize An RV: Step-By-Step For Freezing Weather
A frozen water line can turn a relaxing RV trip into an expensive disaster. When temperatures drop below freezing, the water in your RV's plumbing system expands, potentially cracking pipes, damaging pumps, and destroying water heaters. Learning how to winterize an RV properly is the single most important maintenance task you can perform to protect your investment during cold months.
Whether you're storing your rig for the season or continuing to travel through freezing weather, this guide walks you through every proven method: draining your tanks, blowing out lines with compressed air, and using RV antifreeze. We'll also cover special considerations for full-timers who need to keep their systems functional while protecting them from freeze damage.
At MobileRVService.com, we connect RV owners across North America with over 3,200 mobile technicians who can handle winterization services right at your campsite or storage location. But if you prefer the DIY approach, this step-by-step guide gives you everything you need to safeguard your plumbing system before the first hard freeze hits.
Before you start: temps, tools, and safety
Jumping into winterization without proper preparation wastes time and risks incomplete protection. You need to gather specific tools, understand temperature thresholds, and take safety precautions before you drain a single drop. This prep work ensures your winterization process goes smoothly and protects both you and your RV.
When to winterize your RV
Water begins freezing at 32°F (0°C), but you should start winterization when nighttime temperatures consistently drop to 40°F (4°C) or below. Even brief exposure to freezing conditions can crack pipes and fittings, especially if water sits in low points of your plumbing system.
Check your local weather forecast for upcoming cold snaps, and aim to complete winterization at least 48 hours before freezing temperatures arrive. Full-timers living in their RVs need to monitor conditions daily during shoulder seasons and consider partial winterization methods that protect vulnerable components while maintaining water access.
If you're storing your RV for months, winterize immediately after your last trip rather than waiting for cold weather forecasts.
Essential tools and supplies
Gather these items before you start learning how to winterize an RV:
- RV-specific antifreeze (2-3 gallons of non-toxic propylene glycol, rated to -50°F)
- Basic hand tools (adjustable wrench, screwdrivers, pliers)
- Air compressor with blow-out plug adapter (optional but recommended)
- Water pump converter kit or antifreeze hand pump
- Bucket or container for catching drained water
- Towels and rags for cleanup
- Flashlight or headlamp for checking dark compartments
- Owner's manual for your specific RV model
Your RV may require additional specialty items depending on its water heater bypass configuration. Some units use a three-valve system while others have a single bypass valve, so confirm your setup before starting.
Safety precautions
Turn off your water heater and let it cool completely before draining, typically waiting at least 30 minutes after shutting it down. Hot water under pressure can cause severe burns, and attempting to remove the drain plug prematurely creates a dangerous scalding hazard.
Work in a well-ventilated area when using antifreeze, and never consume or allow pets near RV antifreeze, even though it's labeled non-toxic. Wear safety glasses when working under your RV or using compressed air, as debris and water spray can damage your eyes. Keep your workspace organized to prevent trips and falls while moving between exterior compartments and interior faucets.
Step 1. Dump, flush, and drain your tanks
Removing all water from your RV's holding tanks prevents freeze damage and prepares your system for antifreeze treatment. This first step in learning how to winterize an RV creates a clean slate by eliminating wastewater and stagnant fresh water that could freeze, expand, and crack tank walls or drain valves during cold weather.
Empty black and gray water tanks
Drive your RV to a designated dump station and connect your sewer hose to the facility's inlet pipe. Open your black water tank valve first and let it drain completely, watching for the flow to stop. Close the black valve, then open your gray water tank valve to flush residual waste from the sewer hose. Some RVers repeat this process twice for thorough cleaning.
Rinse your black tank using your built-in flush system or a tank wand inserted through the toilet. Run clean water through the tank for 5 to 10 minutes, then dump again. Your gray tank typically needs less attention, but if you notice slow draining or odors, flush it with clean water too.
Never leave your black tank valve open when connected to a sewer hookup, as this prevents proper waste pyramid formation and can lead to clogs.
Drain the fresh water tank
Locate your fresh water tank's drain valve underneath your RV, typically near the center of the chassis. Place a bucket or container under the valve to catch water, then open the valve completely. Depending on your tank size, expect 30 to 100 gallons to drain out over several minutes.
Keep the valve open until water stops flowing. Some RVs have low-point drain valves separate from the main tank drain, so check your owner's manual to identify all drainage points before moving to the next step.
Step 2. Drain and bypass the water heater
Your RV's water heater holds 6 to 10 gallons of water that will freeze and crack the tank if left inside during cold weather. This step in how to winterize an RV protects one of your most expensive plumbing components while preventing antifreeze waste, since you won't need to fill the entire water heater cavity with protective fluid.
Drain the water heater safely
Confirm your water heater has cooled completely before touching any drain components. Locate the exterior access panel on the outside of your RV, typically on the driver's side near the rear. Remove the panel cover using a screwdriver or by releasing spring clips, depending on your model.
Find the drain plug or petcock valve at the bottom of the tank. Use an adjustable wrench to remove the plug (turn counterclockwise) or open the petcock by rotating the handle 90 degrees. Water will rush out immediately, so position yourself to avoid the spray. Let the tank empty completely, which takes 5 to 10 minutes.
Remove the pressure relief valve on top of the water heater to speed drainage and allow air to enter the tank.
Check inside the tank cavity for sediment buildup using a flashlight. You can flush debris out by briefly turning on your water pump or city water connection with the drain open, though this step is optional during winterization.
Set the bypass valves
Locate your water heater bypass valve system in the same exterior compartment or inside a nearby cabinet. Most RVs use a three-valve configuration: two valves on the hot and cold inlet lines plus one on the bypass line. Turn the inlet valves to the closed position (perpendicular to the pipes) and open the bypass valve (parallel to the pipe).
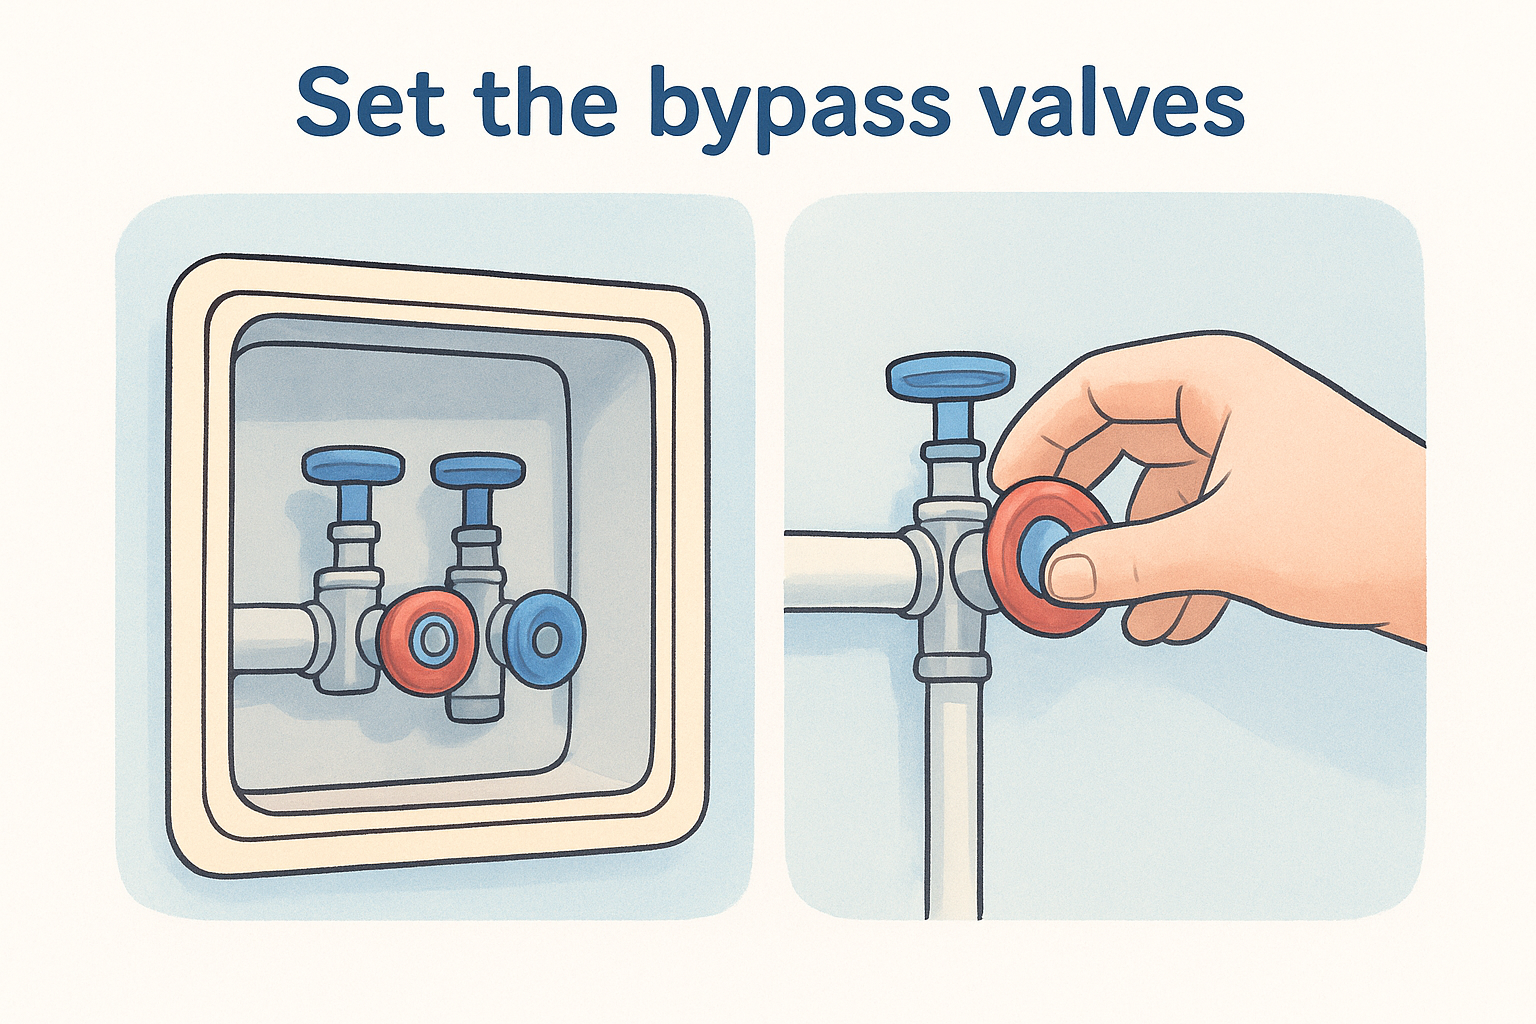
Single-valve systems require you to turn one lever to redirect water flow around the heater. Your owner's manual shows the correct valve position, which prevents antifreeze from entering the drained tank during the next winterization steps.
Step 3. Open drains and clear the plumbing system
Opening your RV's low-point drains and running water through all fixtures removes trapped water from pipes, pumps, and faucets. This critical step in how to winterize an RV prevents ice formation in the hidden sections of your plumbing system where water naturally collects at the lowest points. Even small amounts of remaining water can expand when frozen and create expensive cracks in your lines.
Open all low-point drains
Crawl under your RV and locate the low-point drain valves on both the hot and cold water lines. These plastic or brass valves typically sit near the center of your rig's underbelly, attached to the lowest sections of water pipe. Open both valves completely by twisting counterclockwise or pulling straight out, depending on your valve type.
Position containers under the drains to catch the water flow. You'll see a strong initial rush followed by a steady drip for several minutes. Leave these valves open throughout the remaining winterization process to allow air circulation and complete drainage.
Some RVs have multiple low-point drains for different plumbing zones, so check your owner's manual to identify all drainage locations.
Clear water from all fixtures
Walk through your RV and open every faucet to the mid-position between hot and cold. Start with the kitchen sink, then move to bathroom sinks, shower heads, and outdoor connections. Turn on your water pump for 30 seconds to push remaining water toward the open drains, then shut it off immediately.
Flush your toilet several times until the bowl stays dry. Press the pedal or lever all the way down to open the valve completely and allow trapped water to drain from the toilet's supply line into your black tank.
Step 4. Protect lines with air or RV antifreeze
You have two proven methods to protect your plumbing system from freeze damage: compressed air blow-out or RV antifreeze circulation. The compressed air method removes all water mechanically, while antifreeze displaces water and provides chemical protection. Many RV owners combine both approaches for maximum security, using air first to clear most water, then adding antifreeze for extra insurance in how to winterize an RV.
Using compressed air (blow-out method)
Connect an air compressor to your RV's city water inlet using a blow-out plug adapter, which threads directly into the connection point. Set your compressor to 30 PSI maximum to avoid damaging seals, check valves, and plastic fittings throughout your plumbing system.
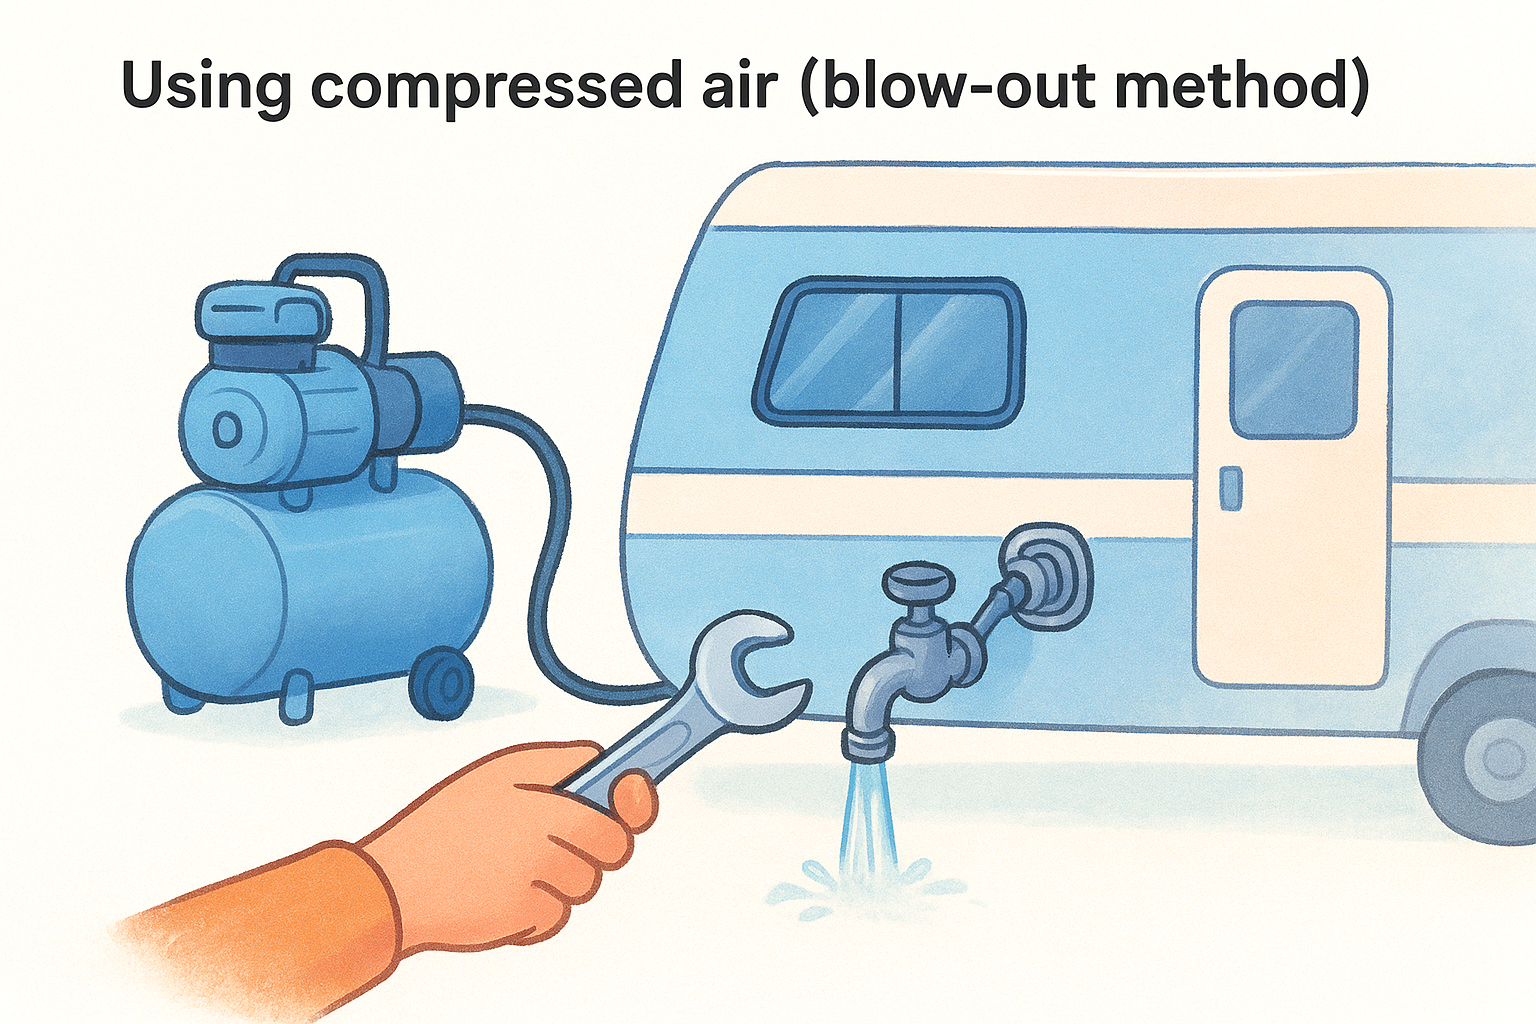
Turn on one faucet at a time, starting with the fixture farthest from the water pump. You'll hear air rushing through the lines followed by sputtering water spray. Keep the faucet open until only air flows steadily for 10 to 15 seconds. Move systematically through all hot and cold taps, the shower head, outdoor shower, and toilet flush valve.
Never exceed 40 PSI when using compressed air, as excessive pressure can rupture water lines and destroy bladder-style accumulator tanks.
Using RV antifreeze
Pour RV-specific non-toxic antifreeze into your fresh water tank, or connect a hand pump directly to the antifreeze jug using a water pump converter kit. Turn on your water pump and open the nearest faucet on cold only. Watch for the clear water to change to bright pink fluid (the standard antifreeze color), which takes 15 to 30 seconds.
Close that faucet and repeat the process at every fixture, including both hot and cold sides. Pour one cup of antifreeze down each drain and into your toilet bowl to protect P-traps and flush mechanisms.
Ready for the freeze
Your RV's plumbing system now has complete protection against freezing temperatures. You've drained all holding tanks, bypassed the water heater, opened low-point drains, and circulated antifreeze or compressed air through every line. These steps prevent thousands of dollars in freeze damage and give you peace of mind whether you're storing your rig or continuing to travel through winter conditions.
Mark your calendar to reverse this winterization process when spring arrives and temperatures stay consistently above 40°F. You'll need to flush all antifreeze from your lines, refill your fresh water tank, and test every fixture for leaks before your first camping trip.
Need professional help with winterization or other RV maintenance? MobileRVService.com connects you with over 3,200 mobile technicians across North America who can handle how to winterize an rv right at your location. Our network provides on-site service so you never have to move your rig to a shop.