RV Black Tank Not Draining: How to Fix a Clog Fast
You pull the black valve, and nothing happens. Or worse, a trickle comes out and then stops cold. An RV black tank not draining is one of those problems that turns a relaxing campsite evening into a stressful mess, especially if you're hooked up at a spot with neighbors nearby. It's almost always one of three things: a solid clog near the outlet, an air lock in the tank, or the dreaded poop pyramid, a solid waste buildup that forms when you don't use enough water with each flush.
The good news is that most clogs can be cleared without pulling the tank or calling a dump truck. This guide walks through the exact troubleshooting steps technicians use to diagnose whether you're dealing with a blockage, a vent issue, or a sensor giving you a false reading, and which fix matches which cause.
You'll get practical methods for breaking up solids, flushing the tank properly, and preventing the same clog from coming back next trip. And if the problem turns out to be bigger than a garden hose and some ice can handle, we'll point you toward getting a mobile RV technician to your rig fast, wherever you're parked.
Why your RV black tank won't drain
Before you grab a wrench or dump a bottle of chemicals down the toilet, figure out which failure mode you're actually dealing with. Most black tank clogs trace back to one of four root causes, and each one needs a different fix. Guessing wrong wastes time and can push solids further into the outlet, making the eventual repair harder.
The poop pyramid effect
This is the classic RV plumbing problem, and it happens when you flush solid waste without enough water to carry it to the bottom of the tank. Over repeated uses, waste piles up directly under the toilet and hardens into a mound, sometimes tall enough to breach the tank's sensor probes or even reach the outlet valve itself. Low water volume is almost always the trigger, whether that's from boondocking habits, a weak flush valve, or simply rinsing with a cup of water instead of a full flush cycle. Once the pyramid forms, it doesn't dissolve on its own. It needs mechanical breakup or a strong flush to knock it down.
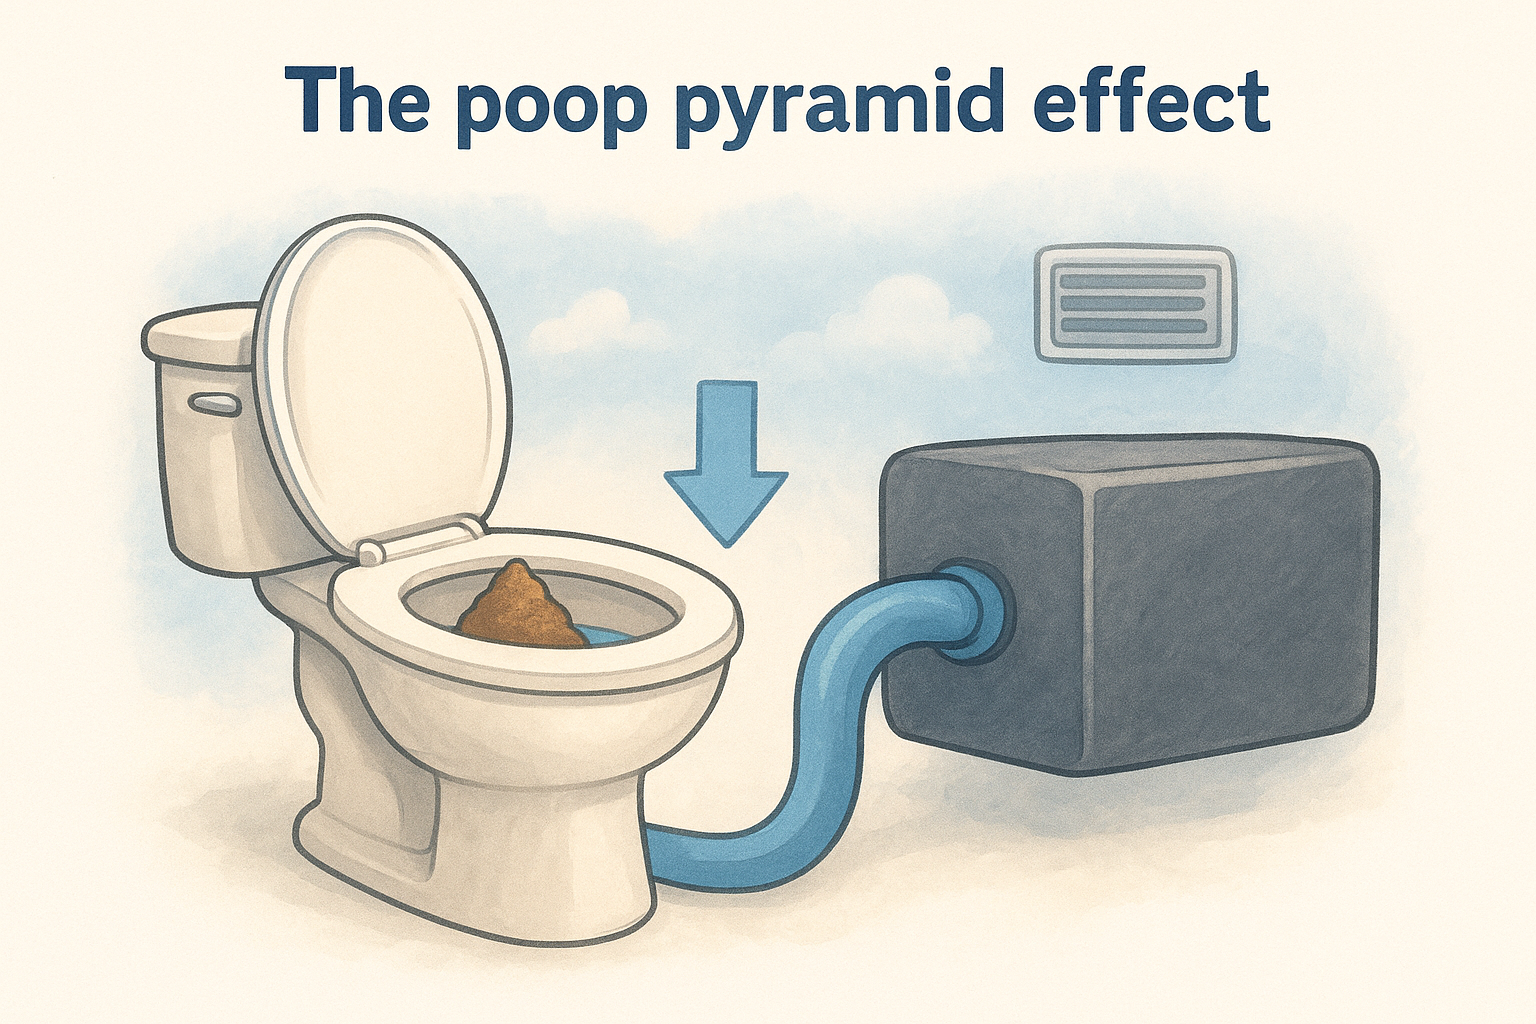
A dry black tank clog isn't a chemical problem, it's a physics problem: not enough liquid to move the solids.
Air locks and vent blockages
Sometimes the tank isn't clogged at all. It's air-locked. When you open the black valve, the tank needs air to flow in through the roof vent to replace the liquid leaving through the outlet. If that vent pipe is blocked by a bird's nest, wasp nest, or even a plastic bag someone tossed up there, you get a vacuum effect. The valve opens, a little waste drains, then it stops because no air can get in behind it. You'll often hear a gurgling or sucking sound from the toilet when this happens, which is a strong clue the vent is the real culprit and not the tank contents.
Mechanical and sensor issues
Not every "full tank" warning means the tank is actually full. Tank sensor buildup is common, especially on tanks without a smooth interior coating, and it can trigger a false full reading even when the tank has room to spare. On the mechanical side, a stuck or partially closed dump valve, a cracked valve seal, or a blade that's corroded in place can all mimic the symptoms of a clog. If your gray tank drains fine but the black tank won't budge, that points toward the valve or outlet rather than the tank itself.
Nothing comes out when valve opens Solid clog or fully stuck valve Trickle, then stops Poop pyramid or partial air lock Gurgling sound from toilet Vent blockage causing air lock Sensor reads full but volume seems low Sensor buildup, not a true clog Gray tank drains fine, black tank doesn't Valve or outlet-specific problemKnowing which row matches your symptoms saves you a lot of wasted effort. A poop pyramid needs agitation and water volume, an air lock needs the vent cleared, and a sensor issue needs cleaning rather than flushing at all. Treating a vent problem like a solid clog, for instance, means you'll be dumping tank treatment and running hoses for nothing while the actual fix, clearing the roof vent, sits ten feet above your head the whole time.
Step 1. Diagnose what's actually blocking the tank
Grab a flashlight before you touch a single valve. Confirming the cause first means you won't waste an afternoon flushing a tank that's actually air-locked or chasing a sensor problem that has nothing to do with waste at all. Start with the cheapest, fastest checks and work your way up to the more involved ones.
Run the checklist in order
Work through these steps one at a time instead of jumping straight to chemicals or a sewer hose. Each one rules out a different cause before you commit time to a fix.
- Check the roof vent from the ground with binoculars or climb up if it's safe. Look for nests, leaves, or a cracked vent cap.
- Listen at the toilet while a helper opens the black valve outside. Gurgling or sucking sounds point to an air lock, not a solid clog.
- Compare gray tank drainage. If gray flows fine and black doesn't, suspect the valve or outlet, not the tank interior.
- Tap the tank exterior near the bottom and sides. A dull thud where liquid should slosh suggests solids piled up in that spot.
- Check the sensor readout against how much you've actually used the toilet. A "full" light after two days of light use smells like sensor buildup, not a true clog.
Skipping the diagnosis step is how a five-minute vent fix turns into an hour of flushing an already-empty tank.
Use your senses before your tools
Smell matters here too. A strong sewage odor inside the rig combined with a slow-draining tank often means waste is sitting higher in the tank than it should, which lines up with a poop pyramid. If the odor is faint and the main symptom is just a stalled valve with no smell change, that leans toward a mechanical or valve issue instead.
Don't skip the visual check on the valve handle itself. Pull it fully open and watch whether it seats all the way. A half-open blade, common on valves that haven't been cycled in a while, lets a trickle through and then jams, mimicking a clog perfectly. Once you've matched your symptoms to a likely cause using the table from the previous section, you're ready to move on to the actual fix instead of guessing your way through it.
Step 2. Loosen the clog with heat, treatment, and movement
Once you've confirmed you're dealing with an actual solid blockage rather than an air lock or sensor glitch, the goal shifts to breaking that mass apart before you try to flush it out. Physical agitation works better than chemicals alone, and combining a few methods at once speeds things up considerably.
Warm water and hose agitation
Fill the tank partway with hot water through the toilet, using several gallons rather than a quick splash. Hot water softens the outer layer of a hardened clog and helps loosen debris stuck to the tank walls. If you have access to a clean garden hose, feed it through the toilet a foot or two into the tank and blast short bursts while the valve stays closed, then let it sit 20-30 minutes before opening.
Enzyme and tank treatment products
Enzyme-based treatments digest organic solids over several hours, unlike bleach, which dries out valve seals and shouldn't be used regularly. Pour the treatment in per label directions, then let the rig sit overnight if possible with a few gallons of water already in the tank. Avoid dumping too soon since these products need dwell time to break waste down properly.
Heat and agitation break down what chemicals alone usually can't touch.
Move the rig to shake things loose
Physical motion helps break up a hardened pyramid mechanically. Try these before your next flush attempt:
- Drive around the campground or a nearby road for 10-15 minutes with the valve closed and several gallons in the tank, letting sloshing do the work.
- Rock the rig side to side manually if towing isn't practical, using leveling jacks or having a couple of people shift weight.
- Take a speed bump or gravel road slowly if one's nearby, since the jostling breaks contact points holding the pyramid together.
Combine methods for stubborn clogs
None of these tricks work in isolation as well as they do together. Run hot water first, add an enzyme treatment, let it sit, then drive the rig before your next attempt to open the valve. This one-two-three combination clears a surprising number of clogs that resist a single method on its own, setting you up for the backflush step if solids are still hanging on.
Step 3. Backflush the tank or use a flush kit
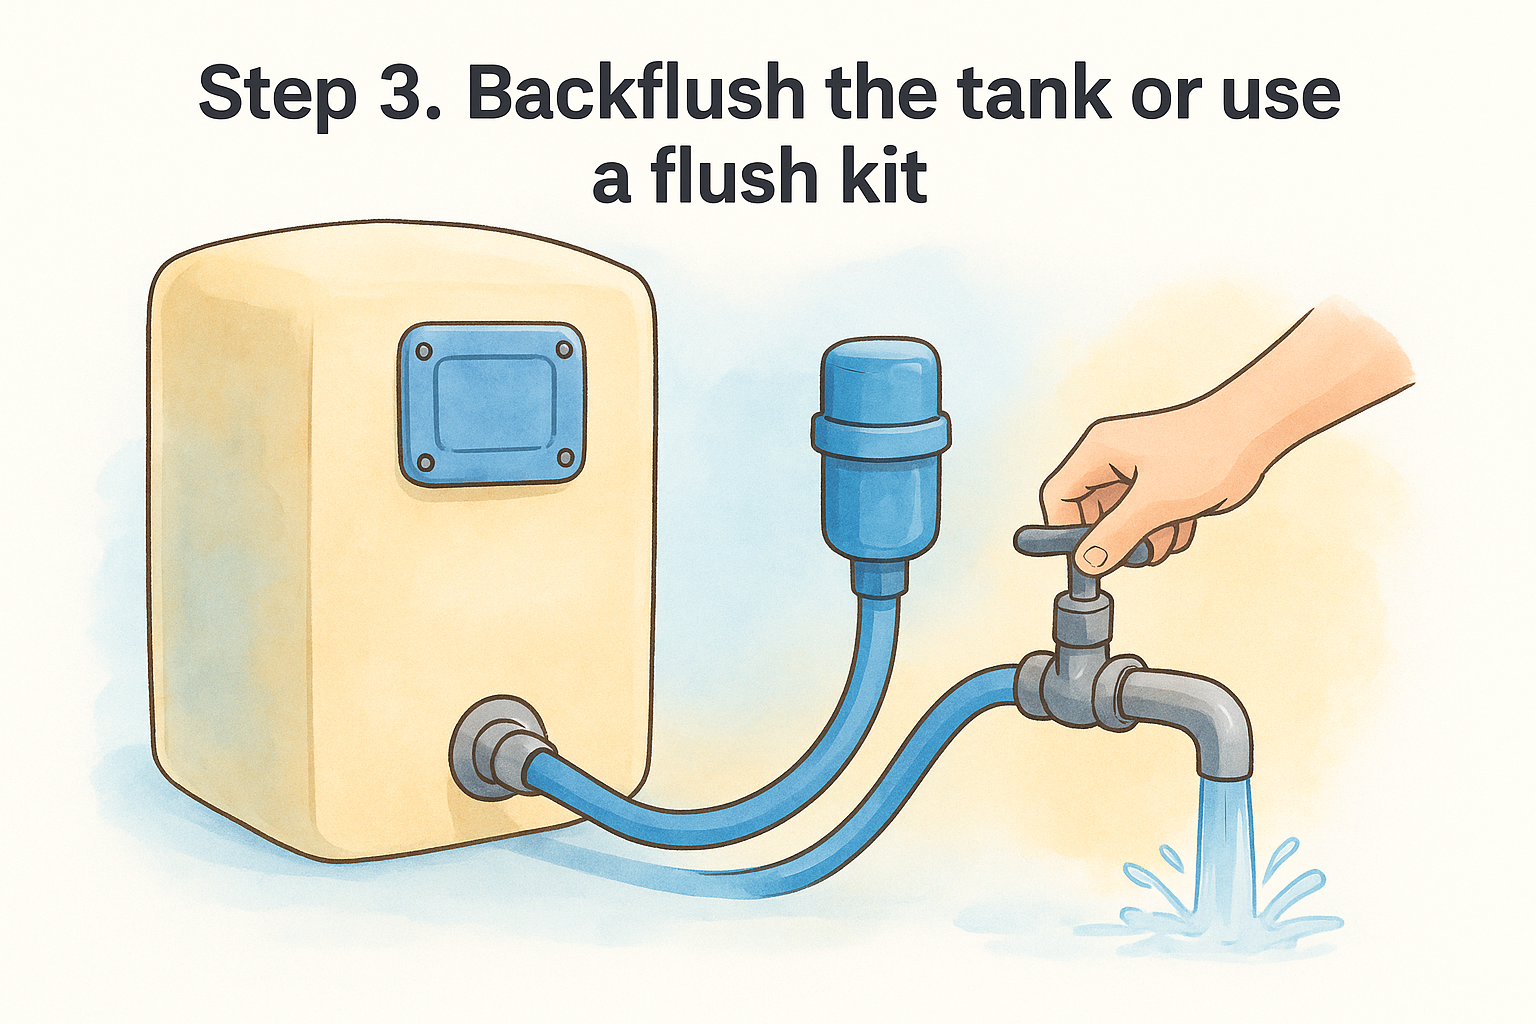
Once agitation and treatment have had time to work, it's time to push water back through the system from the outlet side rather than just dumping from the top. Backflushing forces water up through the valve and into the tank, hitting the clog from the direction it needs to move, which clears blockages that a top-down flush never touches. This step is where a dedicated tool makes a real difference over improvising with a garden hose.
Built-in wands versus external flush kits
If your rig has a built-in tank rinser, usually a small nozzle mounted inside the tank near the top, run it on full pressure for several minutes right after you open the valve. No built-in system? An external black tank flush kit connects to your sewer hose adapter and pushes water backward through the outlet while the valve is open, which is often more effective on stubborn clogs since it attacks the blockage right where it sits.
Built-in tank wand Light to moderate buildup Under 5 minutes External flush kit at outlet Solid clogs near the valve 10-15 minutes Macerator-assisted flush Thick sludge, low water pressure sites 15-20 minutesRunning the backflush cycle
Hook the flush kit to your sewer connection, open the black valve fully, and run water in short, high-pressure bursts rather than one continuous stream. Watch the discharge color and consistency change as you go. Once it runs clear for a full minute, you've cleared the blockage.
Clear water flowing steadily out the valve is the only real sign the clog is gone, not just loosened.
Flush cycle checklist:
1. Connect flush kit to sewer outlet adapter
2. Open black valve fully
3. Run water in 30-second bursts, 5-10 cycles
4. Check discharge color between bursts
5. Close valve once water runs clear for 60+ seconds
6. Refill tank partway and repeat once more as a final check
Repeat the whole cycle once more even after you see clear water, since a partial clog can hide behind a fully cleared section and reappear on your next trip if you stop too early.
Step 4. Prevent future clogs and know when to call a pro
Clearing a clog once feels great, but the same habits that caused it will bring it back next month if you don't change something. Prevention costs almost nothing compared to another afternoon spent flushing a tank on the side of the road, and it starts with how you use water every day, not just on dump day.
Build better habits after every dump
Small changes in daily use stop most repeat clogs before they start:
- Flush with more water than feels necessary, aim for a full bowl each time solids go in, not a quick rinse.
- Add water before every trip, keeping several gallons in the tank so waste has something to move through instead of sitting dry.
- Use enzyme treatments proactively, dropping one in after each dump rather than waiting for a problem to show up.
- Cycle the valve regularly even when the tank isn't full, since a valve that sits closed for weeks corrodes and sticks.
- Check the roof vent each season, especially after parking under trees where nests build up fast.
The cheapest clog prevention is water, used generously every time you flush.
Know when the DIY route has run out
Some clogs won't budge no matter how many rounds of hot water, treatment, and driving you throw at them. If you've run the full backflush cycle twice and the discharge still looks murky, or the valve itself won't seat correctly even after cleaning, you're likely dealing with a hardware failure rather than a waste buildup, think a cracked valve blade, a collapsed outlet fitting, or a tank cracked from freeze damage. Continuing to force water and pressure at that point risks turning a repair job into a full tank replacement.
That's the point to bring in a mobile RV technician who carries the tools and cameras to see inside the tank and outlet rather than guessing from outside. A tech can also confirm whether a sensor is lying to you before you tear into a valve that was never actually the problem. Given how often black tank issues show up mid-trip, at a campground far from your usual dealership, having someone come to your site instead of the other way around saves the whole weekend.
Getting your black tank flowing again
Most black tank clogs come down to three culprits: a hardened pyramid, a blocked vent causing an air lock, or a sensor lying about how full you actually are. Matching the fix to the cause is what separates a quick evening job from a wasted weekend chasing the wrong problem. Work through the diagnosis first, then hit it with heat, agitation, and enzyme treatment before you ever pick up a flush kit.
Once water runs clear through a backflush, you're done, at least until the next dump reminds you to use more water per flush. Build the habits from this guide into your routine and you'll rarely see this problem again.
Still stuck after trying everything here, or dealing with a valve that won't seat right? Skip the guesswork and check out remote assistance from a mobile RV technician who can walk you through it or come to your site directly.