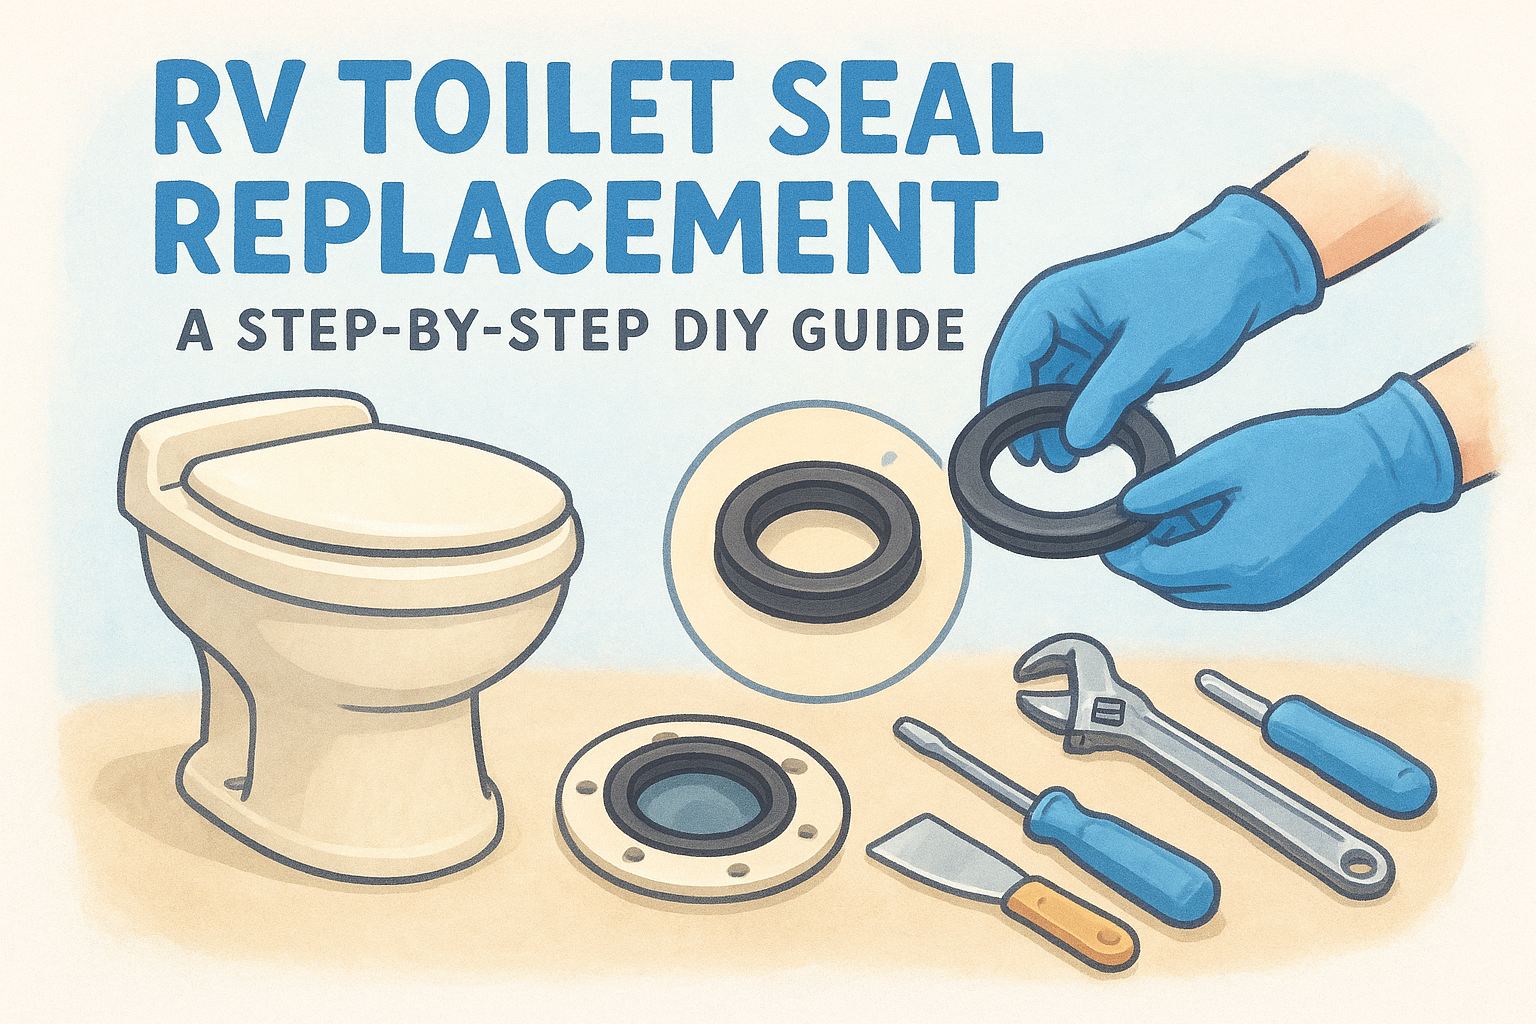
RV Toilet Seal Replacement: A Step-by-Step DIY Guide
That sewer smell creeping into your bathroom, or a puddle forming at the base of your toilet after every flush, usually means one thing: the seal is shot. RV toilet seal replacement is one of the most common repairs rig owners face, and it's also one of the easiest to handle yourself with the right parts and an hour of your afternoon.
This guide walks you through the entire process, from confirming the seal is actually your problem to removing the old toilet without making a mess, to seating the new gasket so it seals correctly the first time. You'll also learn which seal types fit your specific toilet brand, since Thetford and Dometic models use different mounting systems.
We'll cover the tools you need, the exact steps in order, and common mistakes that lead to repeat leaks. And if you get partway through and decide this job isn't for you, or you run into a bigger issue like a cracked flange, mobile RV technicians in our network can finish the repair on-site, wherever you're parked.
What you need before replacing an RV toilet seal
Before you crack open the bathroom floor bolts, spend five minutes confirming you're buying the right part. Most RV toilets fall into one of two camps: Thetford (Aqua-Magic, Style Plus, Style II) or Dometic (300, 310, 320 series), and each brand uses a different base seal design. Thetford toilets typically use a flange-mounted foam or rubber seal that sits between the toilet base and the floor flange, while Dometic models often use a floor-mounted ball valve with its own gasket kit. Flip your toilet's lid and check the base for a model number stamped into the plastic, or pull up any old paperwork from when the RV was purchased. Buying blind almost guarantees a return trip to the parts counter.
Tools and parts checklist
Once you know your toilet's brand and model, gather everything before you start. Nothing kills momentum faster than discovering you're missing a wrench mid-repair, especially if you're parked at a campground with limited hardware access.
- Replacement toilet seal kit matched to your toilet brand and model
- Adjustable wrench or socket set for the floor bolts
- Putty knife or plastic scraper for removing old caulk or sealant
- Rubber gloves and a small bucket or towels for residual water
- Plumber's putty or RV-rated silicone sealant
- Flashlight (bathroom compartments are often poorly lit)
- Shop vac or rags for cleanup
Where to source the right seal
Don't grab a generic household toilet gasket. RV toilet parts are built for lightweight plastic bases and different bolt spacing than residential fixtures, and using the wrong seal is the number one reason for repeat leaks. Order directly through Thetford's or Dometic's parts network, or check with an RV supply store that stocks brand-specific kits. If you're not sure which kit matches your unit, most manufacturer sites list part numbers by model, and it's worth confirming before you order rather than after your toilet is already in pieces on the bathroom floor.
A mismatched seal is the single most common cause of a leak coming back within weeks.
Safety and workspace prep
Clear the bathroom of towels, rugs, and anything that can't get wet. Lay down a towel or drop cloth near the base of the toilet, since even a well-drained tank can leave a small puddle when you tip the bowl. If your RV has been sitting for a while, run the water pump briefly to confirm you have flow before shutting things off, that way you know the system's baseline and can spot any new leaks once you're done.
Step 1. Shut off the water and drain the toilet
Start by locating the water shut-off valve, usually a small lever or knob near the base of the toilet or under the bathroom sink cabinet. Turn it clockwise until it stops, then flush the toilet once to relieve pressure in the line. If your RV doesn't have a dedicated valve for the toilet, shut off the main water pump switch or disconnect from city water for a few minutes while you work.
Draining residual water
Once the water's off, drain whatever's left in the bowl and supply line before you touch a single bolt.
- Hold the flush pedal or lever down until the bowl empties completely
- Use a small cup or turkey baster to remove standing water in the bowl
- Place a towel or bucket under the water line connection to catch drips when you disconnect it
- Disconnect the water supply line from the base of the toilet using your wrench
Skipping the drain step is how a quick seal swap turns into mopping up gray water off the bathroom floor.
Confirm the tank is closed
Check that the black tank valve underneath the toilet is fully closed before you go further. This prevents tank gases and residual waste from venting up into the bathroom once the toilet base is disconnected. Give the area a quick wipe-down with a rag now, since a dry, odor-free workspace makes the next steps, especially lifting the toilet off the flange, much easier to manage without distraction.
Step 2. Remove the toilet from the floor
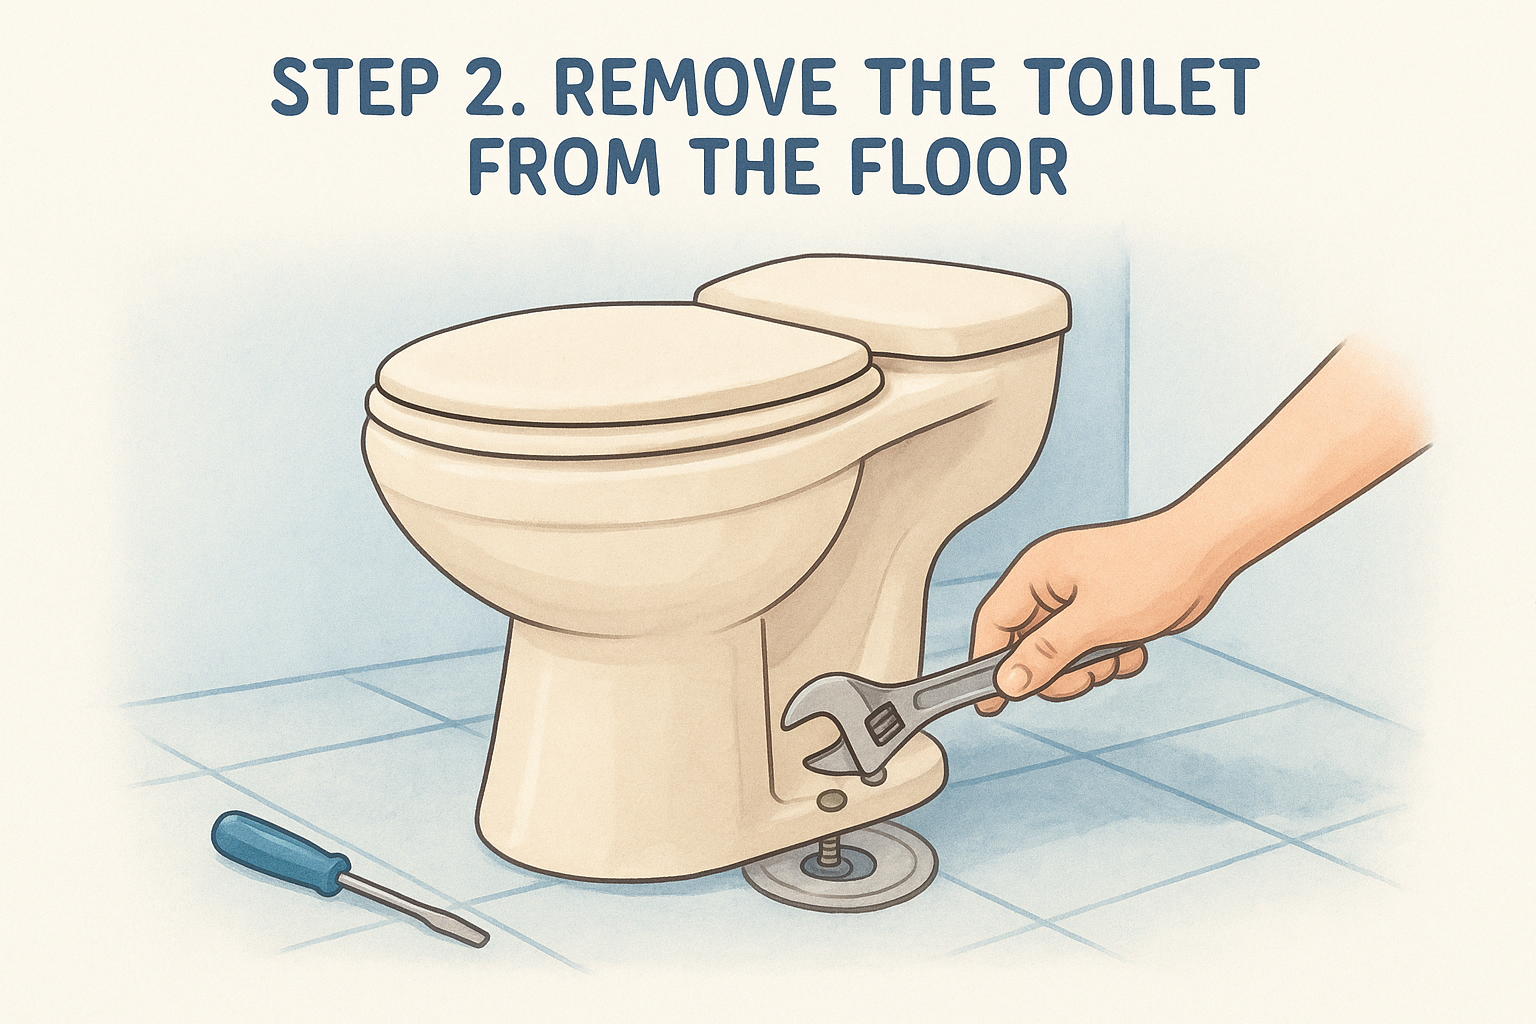
With the water off and the tank sealed, you're ready to detach the toilet itself. Most RV toilets bolt directly to the floor flange with two or four nuts hidden under plastic caps at the base, so start by popping those caps off with a flathead screwdriver or your fingernail.
Unbolt the base
Grab your wrench and work through the bolts methodically. Loosen each nut a little at a time rather than fully removing one side first, since an uneven base can crack if it's twisted while still partially bolted down.
- Pop off the plastic caps covering the floor bolts
- Loosen each nut a quarter turn at a time, alternating sides
- Remove the nuts completely and set them aside in a small container
- Gently rock the toilet base to break the old seal's grip on the flange
Forcing a stuck toilet off the flange is how owners end up cracking the plastic base or, worse, the flange itself.
Lift and set aside
Once the bolts are out, lift the toilet straight up rather than tilting it, since tilting can spill residual water trapped in the bowl's trap door mechanism. Have a helper hold the door open if your bathroom is tight, most RV bathrooms leave barely enough clearance to maneuver a toilet through the doorway. Set the unit on a towel outside the bathroom, upright if possible, so you can inspect the old base seal and confirm it's actually degraded before moving to the next step.
Step 3. Replace the bowl and base seals
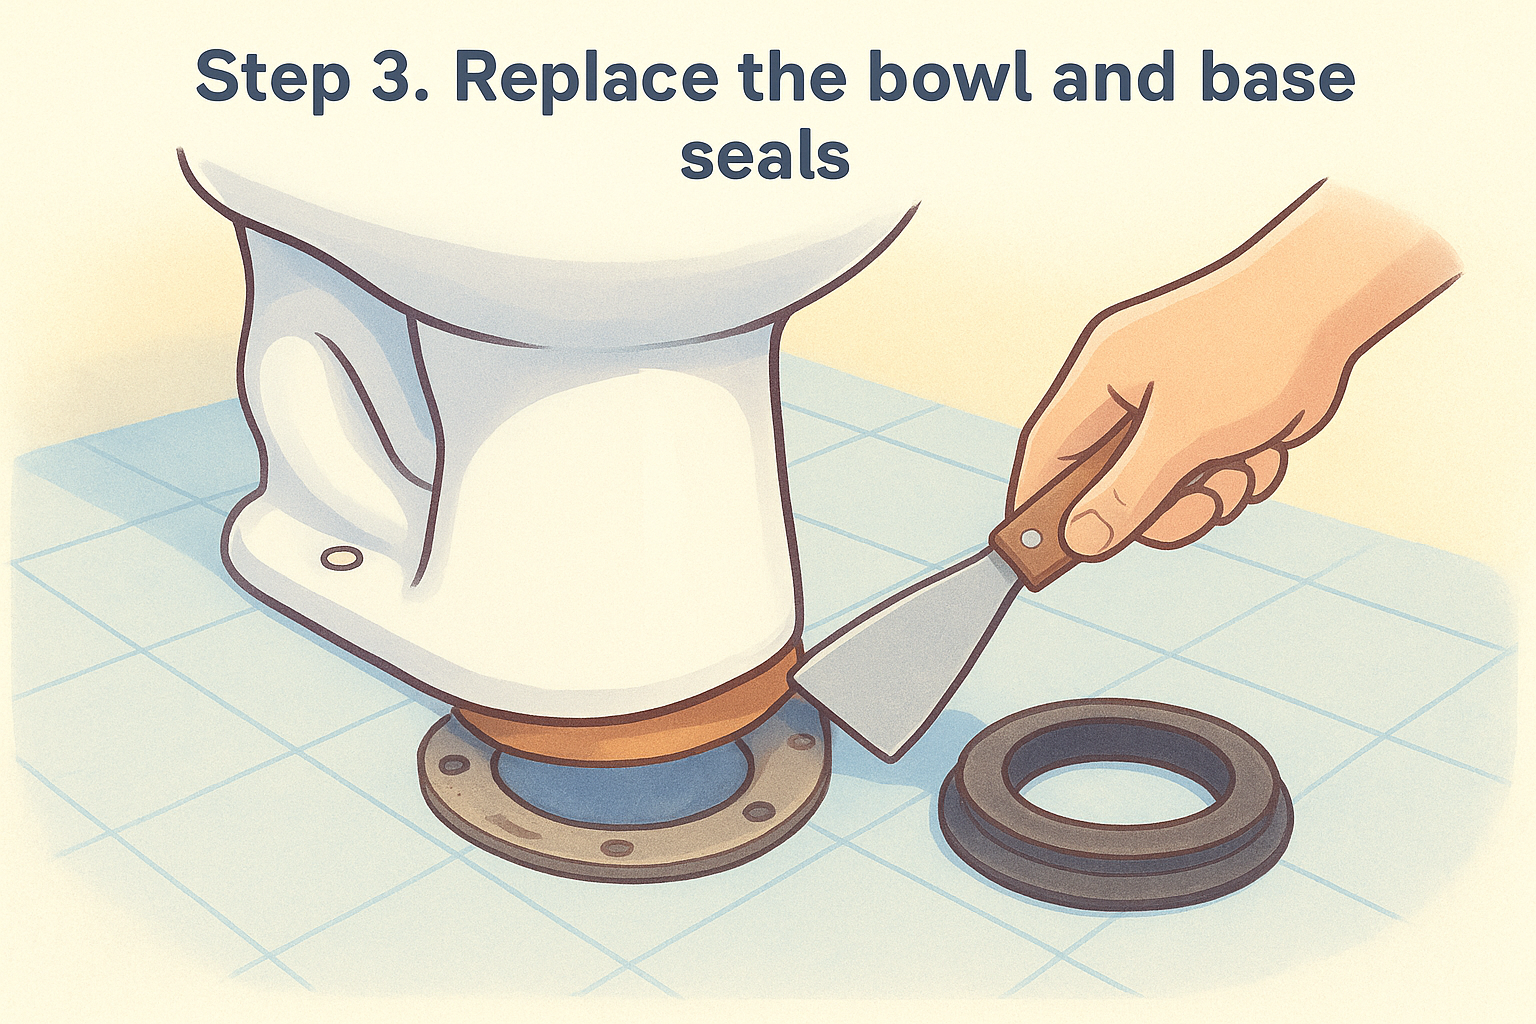
With the toilet off the flange, you'll see exactly why you've had a leak. Look for a flattened, cracked, or torn base seal ring sitting on or around the floor flange. This is the gasket that keeps tank gases and water from seeping up into the bathroom, and after a few years of vibration and use, it dries out and loses its shape. Pull the old seal off with your putty knife, scraping away any hardened caulk or residue left on the flange itself.
Clean the flange thoroughly
A clean mounting surface matters more than most people expect. Debris or old sealant left behind keeps a new seal from sitting flush, which just recreates the same leak a few weeks later.
- Scrape off all old seal material and dried caulk from the flange
- Wipe the area with a damp rag, then dry it completely
- Check the flange itself for cracks or warping before moving on
- Inspect the toilet base for a matching groove or mounting ridge
A leak that returns within a month almost always means the flange wasn't cleaned before the new seal went on.
Seat the new seal
Press the new replacement gasket into place, following the orientation shown in your kit's instructions, since some seals are directional and only seal correctly one way. If your kit includes plumber's putty or sealant, apply a thin, even bead around the flange before setting the seal, not the toilet base itself. Take your time here. Rushing this step is the fastest way to end up redoing the entire job next week.
Step 4. Reinstall the toilet and test for leaks
Now comes the part where all that prep pays off. Lower the toilet straight down onto the flange, lining up the bolt holes before the seal makes contact, since twisting the base after it touches down can shift the new gasket out of place. Press down evenly with both hands until you feel the base settle flush against the floor.
Bolt it back down
Thread the nuts back onto the floor bolts by hand first, then tighten with your wrench using the same alternating pattern you used to remove them. Snug is the goal here, not gorilla-tight.
- Hand-thread each nut before using a wrench
- Tighten in small increments, alternating sides
- Stop once the base feels solid with no rocking
- Snap the plastic caps back over the bolts
Overtightening the floor bolts is the fastest way to crack a toilet base you just spent an hour repairing.
Reconnect water and run a test flush
Hook the water supply line back onto the base fitting and turn the shut-off valve back on slowly. Flush the toilet two or three times, watching the base and the connection point for any sign of moisture. Wipe the flange area dry with a rag between flushes so you can spot a fresh drip immediately rather than guessing later.
Check for leaks over the next 24 hours
Give the repair a full day before you trust it completely. Small seepage sometimes only shows up after the RV has driven over a bumpy road or sat overnight with water in the line. Check the base again before your next trip, and if you see any dampness at all, the seal likely needs reseating rather than a full replacement.
When it's time to call in a mobile RV technician
Most RV toilet seal replacements go smoothly with basic tools and an hour of patience, but some jobs go sideways. If you crack the toilet base, discover a warped or corroded flange, or find the leak keeps coming back after two seal swaps, stop and call for help. Those aren't seal problems anymore, they're structural ones, and forcing a fix usually costs more than the part you started with.
That's the situation mobile RV technicians exist for. Instead of hauling your rig to a dealership and waiting days for an appointment, a certified tech can meet you at your campsite or driveway with the right replacement parts already in hand. You keep your travel plans intact and get the repair done right the first time.
If you'd rather skip the guesswork on parts entirely, you can order the exact seal kit for your toilet online and have it waiting before you even open the access panel.