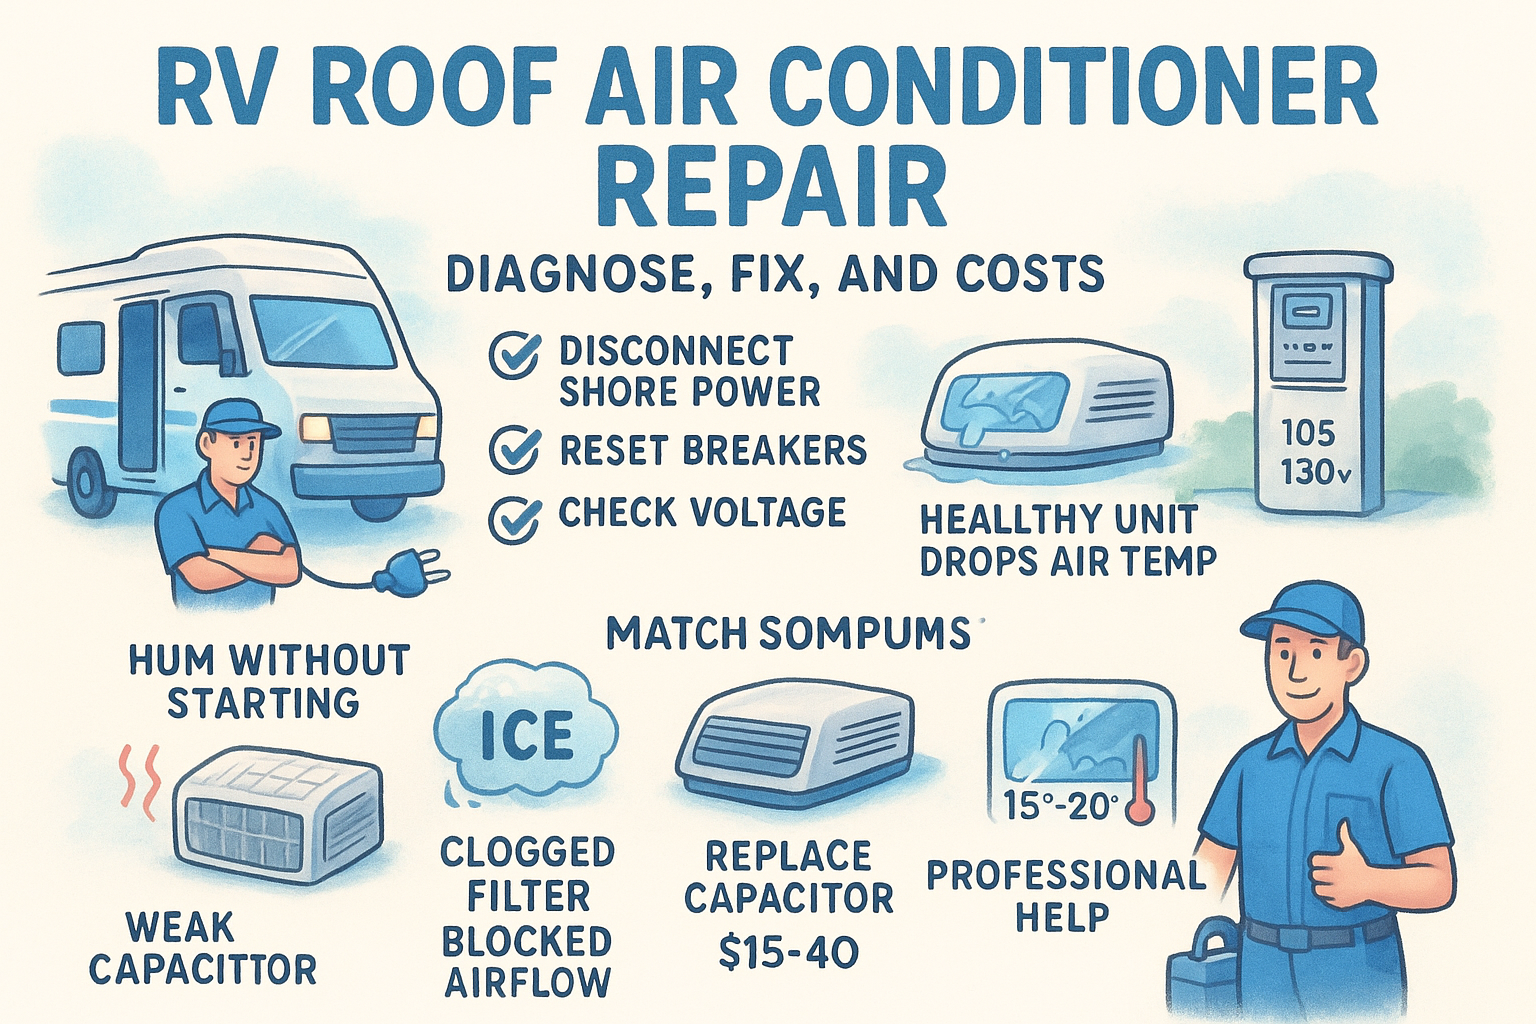
RV Roof Air Conditioner Repair: Diagnose, Fix, and Costs
Your RV air conditioner quits at 2 p.m. in July, and the camper turns into an oven within the hour. Before you panic or tow the rig to a dealer with a three-week wait, know that most RV roof air conditioner repair jobs come down to a handful of common faults. Many take less than an hour to find.
Here is the short answer. Start with power, since tripped breakers, a bad pedestal, or a failed start or run capacitor cause most no-cool complaints. Next check the filter, the thermostat, and the fan. If the unit hums but won't start, or the compressor is dead, stop and call a pro. Expect $150 to $500 for common repairs, and $1,000 to $2,000 for a full replacement.
Below, you'll get a step-by-step diagnosis, the fixes you can safely do yourself, and a clear sense of when to hand it off. We also show how to find a mobile RV technician near you through MobileRVService.com, so the repair comes to your campsite.
How a rooftop RV AC works and what fails
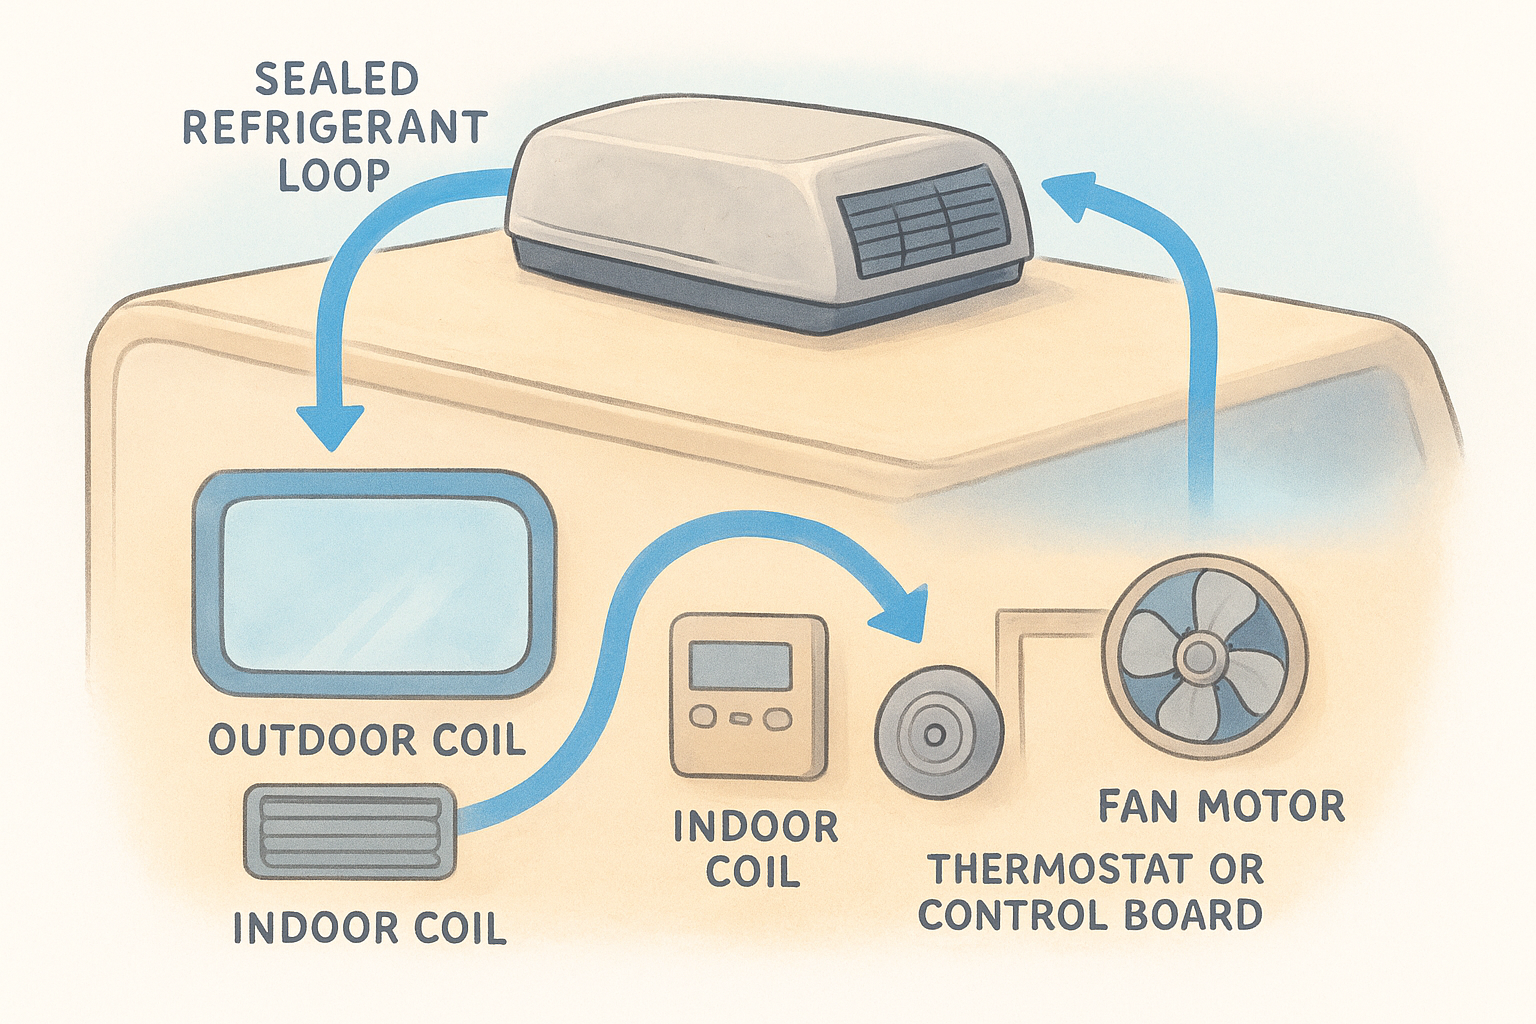
A rooftop unit is a sealed refrigerant loop with two fans. The compressor pressurizes refrigerant, the outdoor coil dumps heat, and the indoor coil pulls heat out of your cabin air. Knowing which part does what tells you where to look first.
The parts that do the work
Six components account for nearly every service call. Some cost $20 to replace. Others are the reason people buy a new unit, so it pays to know which is which before you start pulling panels.
Run/start capacitor Gives the compressor and fan a startup jolt Humming, no start, fan spins only if pushed Fan motor Moves air across the coils Slow, noisy, or seized blades Compressor Pressurizes the refrigerant Trips the breaker, clicks off, no cold air Coils Absorb and release heat Ice buildup or weak cooling Filter Protects the indoor coil Reduced airflow, freezing Thermostat or control board Tells the unit when to run Dead display, no responseWhy units fail
Power, heat, and dirt cause most trouble. Low campground voltage, anything under about 105 volts, strains the compressor and kills capacitors early. A clogged filter or dirty coil starves the unit of airflow, and the evaporator freezes into a block of ice.
Most "dead" RV air conditioners have a cheap electrical or airflow problem, not a failed compressor.
Age matters too. Expect roughly 5 to 10 years from a unit, less if it bakes in the sun all summer. Roof gaskets also crack and compress over time, which lets in water. If you see stains on the ceiling around the unit, check the gasket before you blame the AC itself.
Step 1. Check power, thermostat, and safety first
Start here, because most RV roof air conditioner repair calls end at a breaker or a thermostat. Spend ten minutes on this step before you buy a single part, and you may save the whole service bill.
Make it safe
Rooftop units run on 120-volt power, and capacitors hold a charge after you unplug. Disconnect shore power and shut off the generator before you remove any cover. If you smell burning or see melted wire insulation, stop and call a tech.
Run the power checks
Work through these in order:
- Reset the AC breaker in your RV panel, then the pedestal breaker.
- Test the pedestal outlet with a plug-in tester or multimeter. You want 105 to 130 volts.
- Move to another site if voltage reads low.
- Turn off the microwave and water heater on a 30-amp hookup. The AC needs extra current at startup.
- Confirm the generator has fuel and enough capacity.
Check the pedestal before you blame the air conditioner.
Rule out the thermostat
Next, set the thermostat to cool, 10 degrees below cabin temperature, with the fan on high. Replace the batteries in digital models. A blank display points to a fuse or power problem upstream, while a running fan with no cold air means you should move on to Step 2.
Step 2. Diagnose the symptom
Now that power and the thermostat check out, let the symptom tell you what failed. Listen at the unit, feel the vents, and look at the ceiling assembly. Two minutes of observation turns an RV AC not cooling complaint into one or two suspects.
Match what you see and hear
Find your symptom below. Each row names the likely culprit, so start with the cheapest cause first. A unit that hums but won't start, for example, is usually a capacitor, not a dead compressor.
Hums, won't start Weak start or run capacitor Test the capacitor (Step 3) Fan runs, air is warm Dirty coil, bad compressor, or refrigerant leak Clean filter and coils first Ice on coil or vents Clogged filter, blocked airflow Run fan only to thaw Trips the breaker Failing compressor or low voltage Retest voltage, then call a tech Weak airflow Dirty filter or tired fan motor Clean filter, inspect blades Water dripping inside Clogged drain or cracked gasket Inspect roof sealMeasure the cooling
Then put a number on it. Run the unit for 15 minutes, and hold a thermometer at the nearest ceiling vent. A drop of roughly 15 to 20 degrees from the cabin air temperature is healthy.
If the fan runs but the air stays warm, you have either an airflow problem or a sealed-system problem, and only the first is a DIY job.
Finally, rule out airflow. Clean the filter and look at the coils. If the temperature drop stays weak after that, suspect a refrigerant leak or failing compressor. Stop there and move to Step 4.
Step 3. Fix the common problems yourself
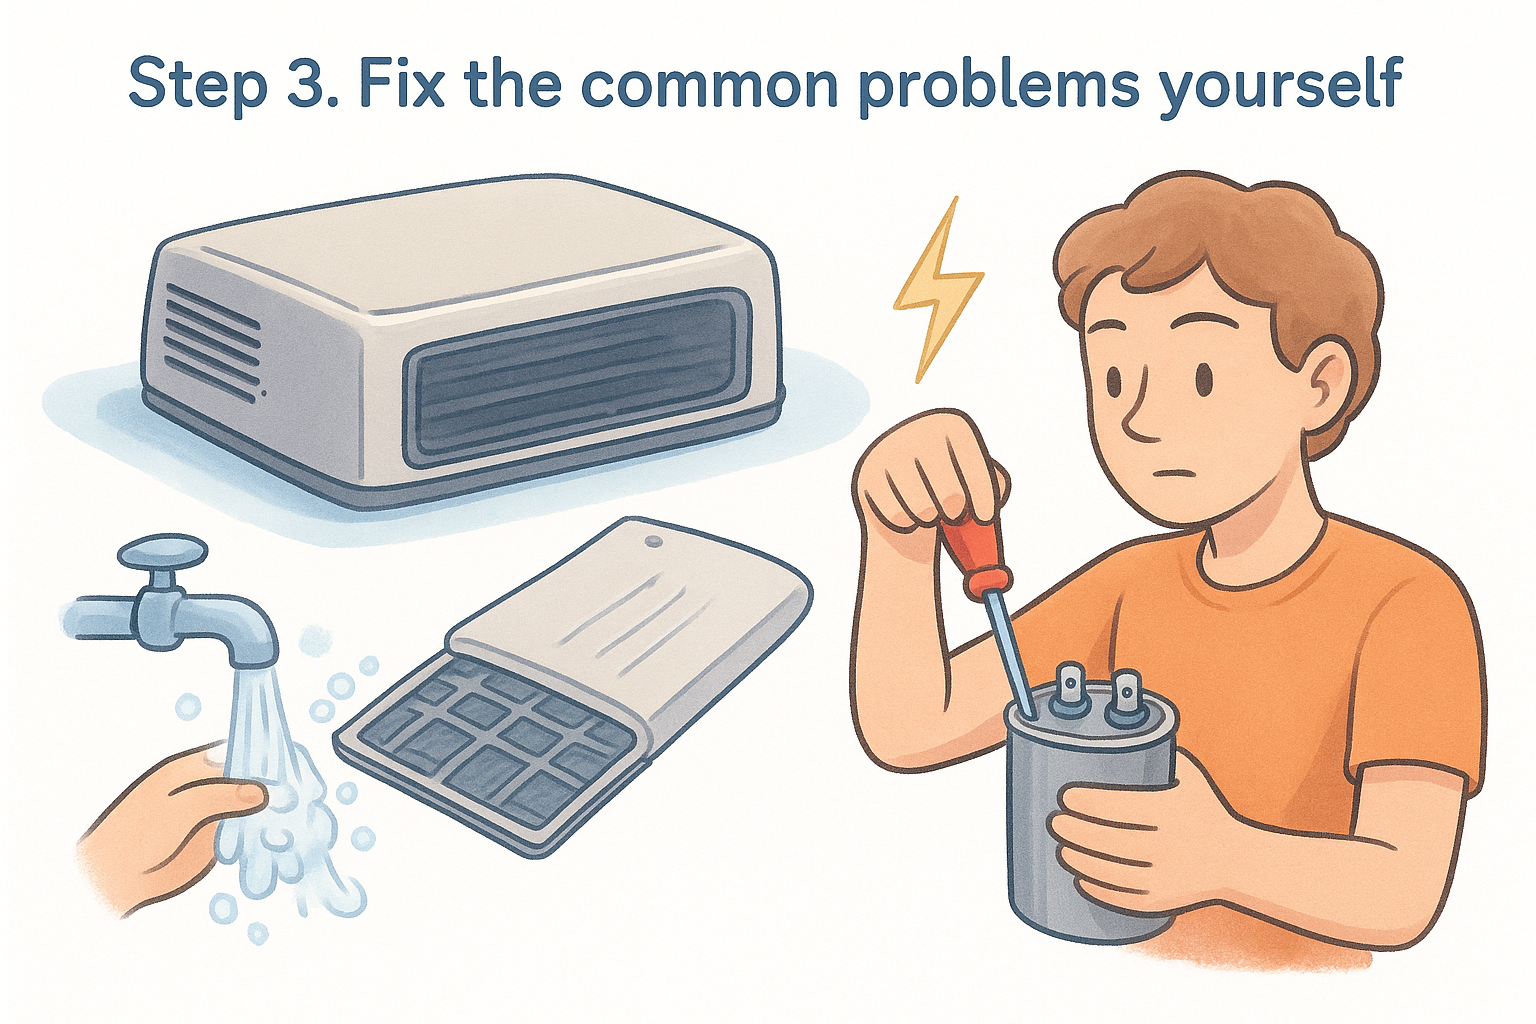
Three jobs cover most DIY RV roof air conditioner repair: cleaning, thawing, and swapping a capacitor. Each needs basic hand tools and power fully off before you start.
Clean the filter and coils
To clean the RV air conditioner, pull the shroud screws and slide out the filter. Rinse it in warm soapy water and let it dry completely before you reinstall it. Then clear the rest of the airflow path:
- Vacuum the evaporator coil with a soft brush attachment.
- Straighten bent fins with a fin comb.
- Clear the drain holes in the roof pan.
If the coil is iced, run the fan only on high for about an hour. Restart in cool mode once the ice is gone. A unit that freezes again has a deeper airflow or refrigerant problem.
Replace a weak capacitor
Humming without starting usually means a tired capacitor. Disconnect power, then discharge the capacitor by bridging its terminals with an insulated screwdriver. Photograph the wiring before you pull a single wire, because the terminals are easy to mix up.
Match the microfarad and voltage ratings printed on the label. A replacement capacitor costs $15 to $40 and takes about 20 minutes. If the new part doesn't fix the hum, the compressor is likely the problem.
Cut power, discharge the capacitor, and photograph the wiring before you touch anything else.
Step 4. Know when to call a mobile tech and what it costs
Some faults are not worth your Saturday. Stop and call a pro if the compressor trips the breaker, you suspect a refrigerant leak, or the unit freezes again after cleaning. Refrigerant work also requires EPA certification, so it is not a campsite job.
What repairs typically cost
Most mobile calls fall into a few repair cost bands, and the trip fee comes on top of parts and labor.
Service call or trip fee $75 to $150 Capacitor swap $150 to $300 Fan motor replacement $250 to $450 Compressor or sealed-system repair $500 to $1,200 Full replacement, installed $1,000 to $2,000Prices shift by region and brand. Compare the quote to a new unit before you approve anything, especially if your AC is past 8 years old.
If the repair quote tops half the price of a new unit, replace it.
How to find a mobile RV AC repair tech
Search your zip code on MobileRVService.com to compare nearby mobile technicians by rating, availability, and service category. Pick one who handles electrical or appliance work, and ask for a written quote that lists the trip fee. If nobody is free, VIP Membership gets a concierge to find a qualified tech for you.
Keeping your RV cool this season
Most RV roof air conditioner repair comes down to a simple order of operations. Check power and the thermostat first, read the symptom, then fix what is cheap and safe: filters, coils, and a capacitor. Anything involving the compressor or refrigerant belongs to a certified tech.
Prevention keeps you out of the repair queue. Clean the filter every month during heavy use, inspect the roof gasket twice a year, and test pedestal voltage before you plug in. Those habits catch the low-voltage and airflow problems that kill most units early.
When the job is beyond a screwdriver and a multimeter, you don't have to tow anywhere. If you can't find a qualified tech on your own, the VIP Membership and owner features put a concierge to work for you, so the repair comes to your campsite and your trip keeps moving.