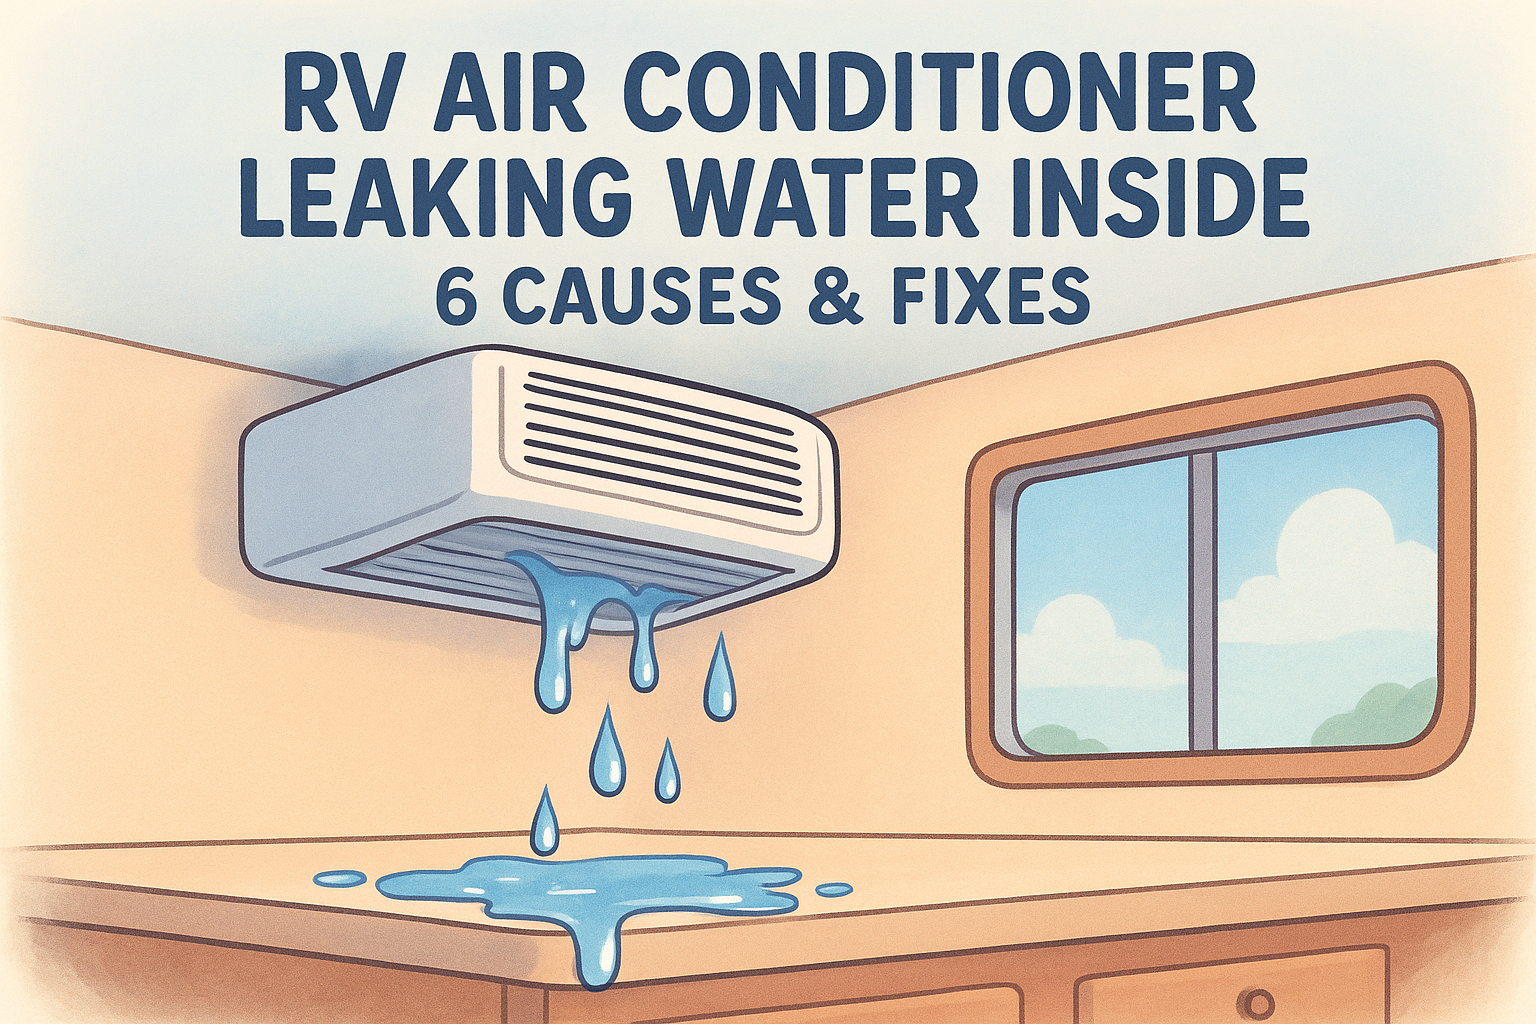
RV Air Conditioner Leaking Water Inside: 6 Causes & Fixes
You're parked at your campsite, the AC is running, and then you notice it, water dripping from the ceiling unit onto your floor. An RV air conditioner leaking water inside is one of the most common (and most annoying) issues RV owners deal with, and it can cause real damage to your interior if you ignore it.
The good news is that most causes are straightforward, and many of them are fixable without a shop visit. A clogged drain pan, a bad gasket, or a dirty filter can all be the culprit. The key is knowing where to look and what each symptom actually tells you.
Below, we'll walk through six specific causes behind interior AC leaks and the practical steps to fix each one. And if you hit a wall or the problem turns out to be more than a DIY job, MobileRVService.com connects you with mobile RV technicians who can diagnose and repair the issue on-site, right where you're parked, no towing required.
1. Find onsite help fast with MobileRVService.com
Before diving into specific causes, it's worth knowing that MobileRVService.com exists for exactly this situation. When your RV air conditioner is leaking water inside and the source isn't obvious, you need a technician who comes to you, not a shop you have to haul your rig to.
What it addresses
MobileRVService.com connects you with mobile RV technicians across the US and Canada who handle AC issues at your location. The platform covers a wide range of repair categories, so you're not stuck searching for multiple specialists when something goes wrong on the road.
- AC diagnostics and drain pan cleaning
- Rooftop gasket inspection and sealing
- Electrical, appliance, and ductwork repair
How to check it yourself first
Before calling anyone, do a quick visual inspection of your AC unit. Look for standing water in the drain pan, frost on the evaporator coil, or wet spots around the ceiling vent. Check your air filter condition too, since a dirty filter is the starting point for several leak causes covered below.
- Water pooling directly under the ceiling unit
- Visible frost or ice on the indoor AC portion
- Moisture or dripping around ceiling vents
How to fix it
Use the zip code search on MobileRVService.com to find providers in your area, filtered by service type, ratings, and availability. The search takes under a minute and shows you real technicians in your immediate area.
If you can't locate someone on your own, the VIP Membership tier connects you with a concierge who will find a qualified technician for you directly.
When to call a pro
Call a pro right away if you see water dripping onto electronics, suspect a refrigerant leak, or notice your ceiling material is already soft or warped. These issues go beyond a clogged drain and can cause serious structural or electrical damage fast.
If water is dripping near any electrical component inside your RV, shut the AC off and get professional help before running it again.
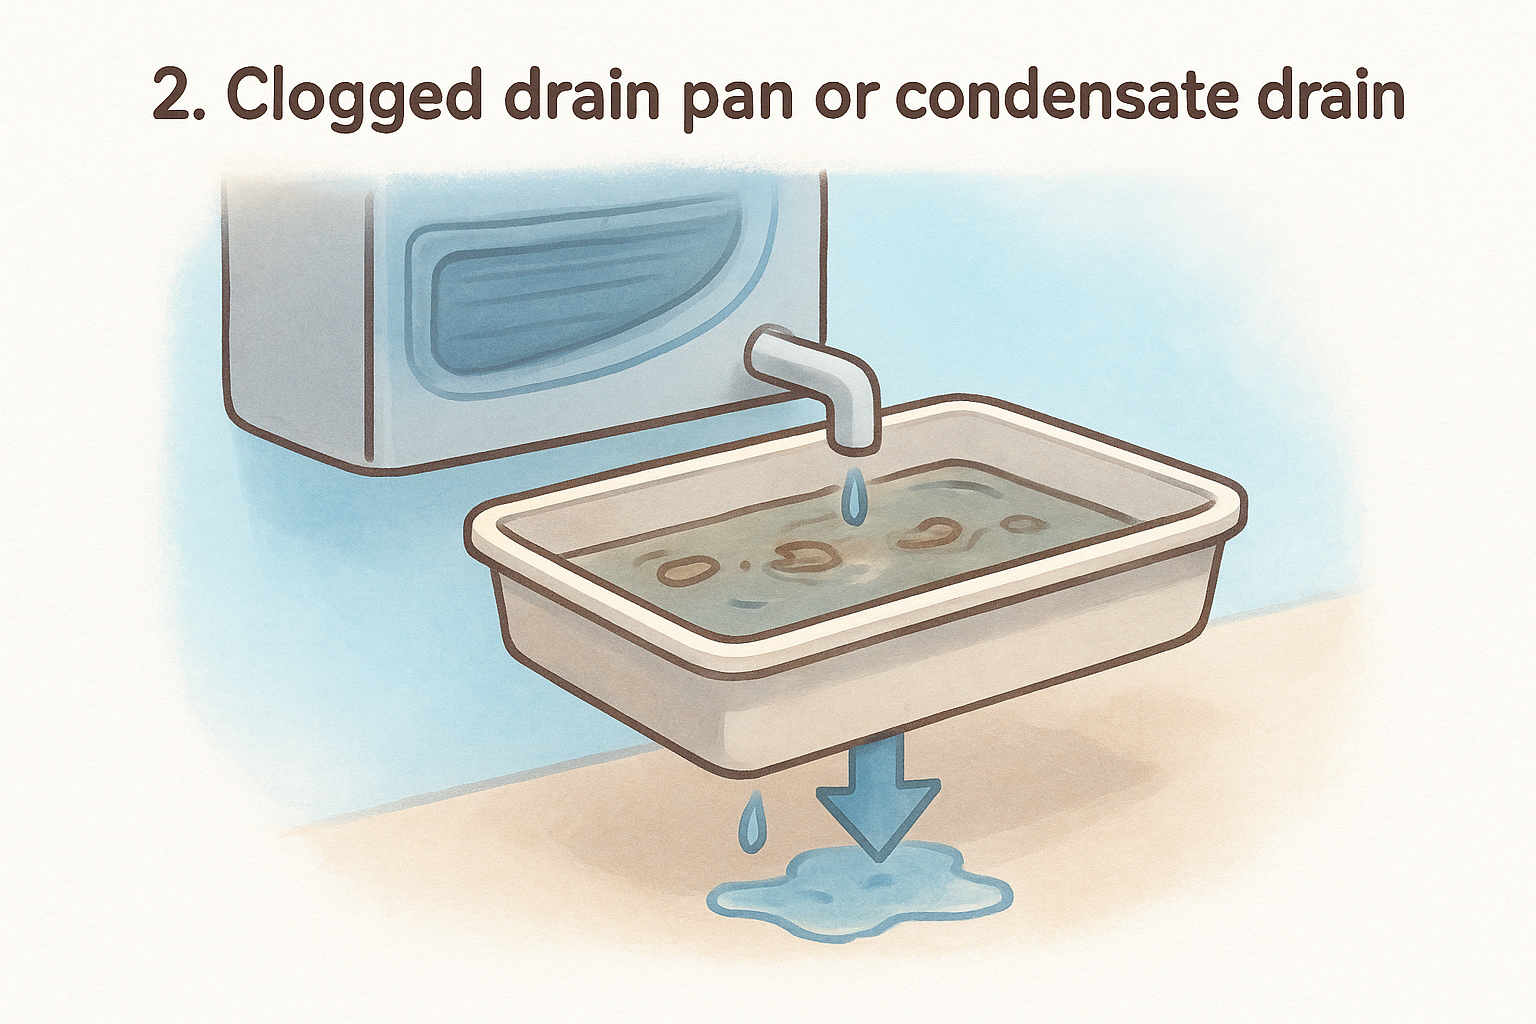
2. Clogged drain pan or condensate drain
A clogged drain pan or condensate drain is the most common reason you end up with an rv air conditioner leaking water inside. The drain pan sits below the evaporator coil and collects the moisture your AC pulls from the air. When the drain gets blocked, the pan overflows and water drips directly into your living space.
What it addresses
The condensate drain system moves water from the pan to the outside of your RV. Mold, debris, and algae build up in the drain line over time, causing water to back up and overflow into your ceiling or walls.
- Slow drain: water pools gradually over hours of AC use
- Full blockage: immediate overflow into the interior
How to check it yourself first
Open your indoor AC access panel and look directly at the drain pan. If you see standing water or visible sludge around the drain opening, the line is blocked and needs to be cleared before the dripping stops.
How to fix it
Use a wet/dry vacuum to pull out the standing water first, then flush the drain line with warm water and white vinegar. That mix breaks down algae and debris effectively. Repeat until water flows freely through the line.
Clear the drain every few months during heavy AC use to prevent buildup from restarting the problem.
When to call a pro
Call a technician if the drain line is cracked or disconnected inside the unit, or if flushing it out doesn't stop the dripping. Internal drain damage requires disassembly that goes beyond a simple DIY fix.
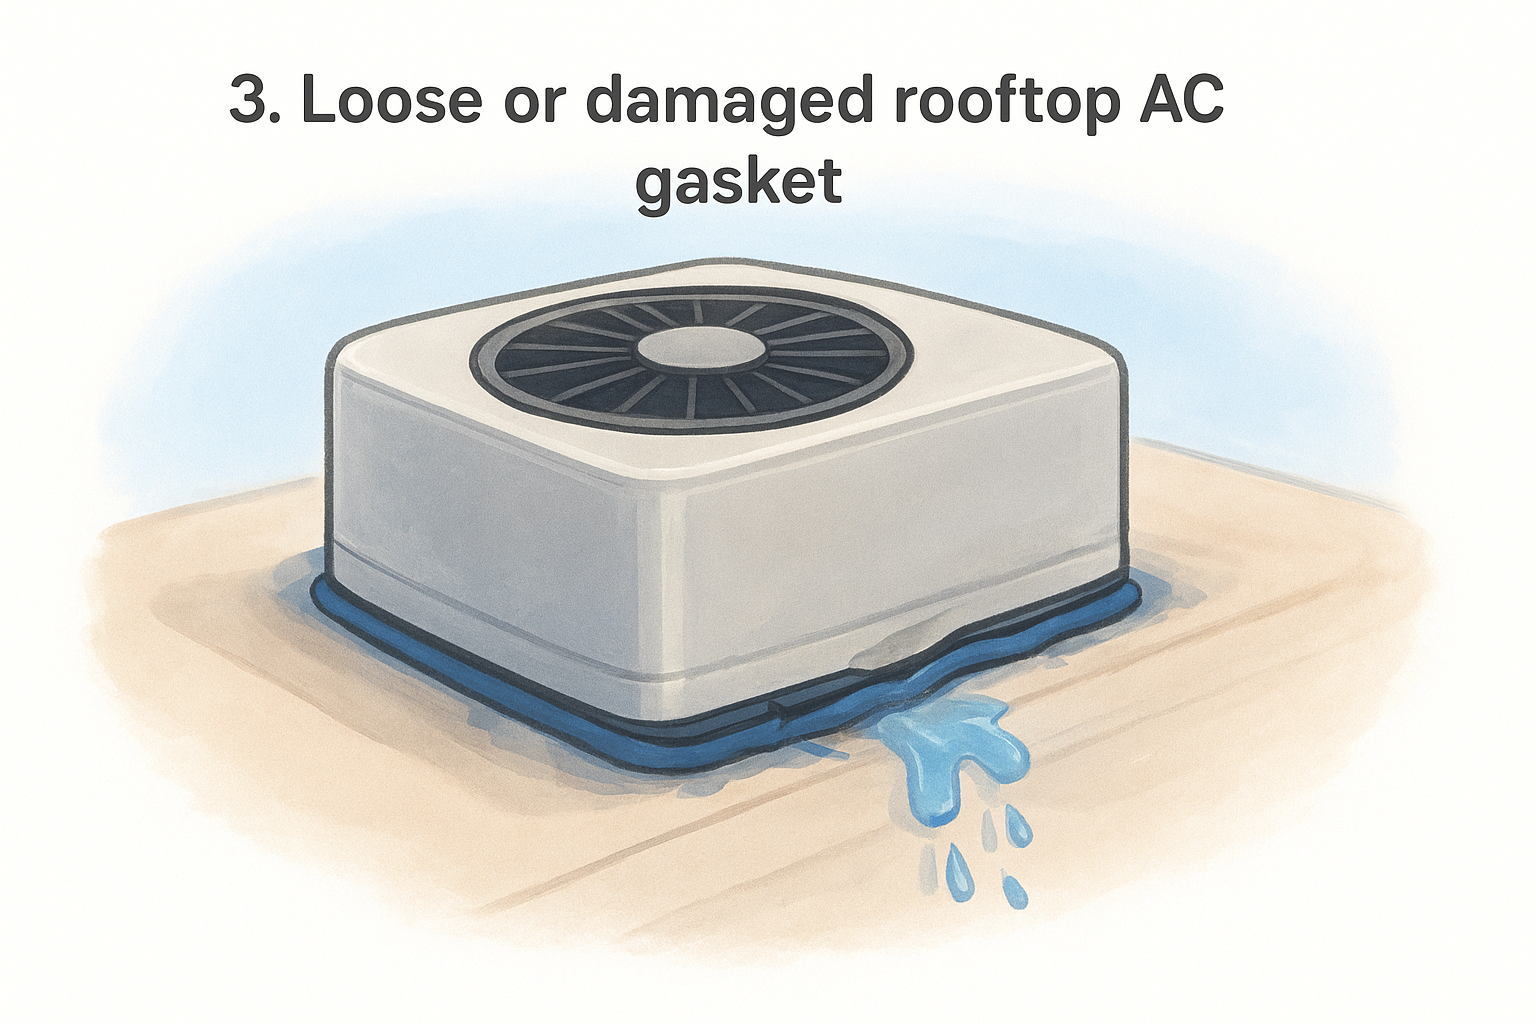
3. Loose or damaged rooftop AC gasket
The rooftop gasket seals the gap between your AC unit and the roof. When that seal fails, exterior water and condensation travel down into the ceiling, making it look like a typical rv air conditioner leaking water inside issue when the real source is on top of your rig.
What it addresses
Your gasket sits between the AC unit base and the roof, creating a watertight barrier. UV exposure, age, and road vibration cause the foam or rubber material to crack, compress, or shift over time. Once the seal breaks, exterior moisture has a direct path into your ceiling cavity.
How to check it yourself first
Get on your roof and inspect the perimeter of the AC unit where it contacts the roof surface. Look for gaps, cracks, or visible compression in the gasket. If the unit shifts when you press on it, the mounting bolts or gasket have failed.
A deteriorated gasket can let moisture in even without rain, since roof condensation alone is enough to cause interior dripping.
How to fix it
Tighten the mounting bolts that clamp the unit to the roof and check if the gasket compresses evenly around the base. If the gasket is cracked or flattened, replace it with a manufacturer-compatible foam gasket.
When to call a pro
Call a technician if the roof decking around the unit feels soft, which points to water damage that goes beyond a gasket swap. Structural roof repairs need professional assessment before you run the AC again.
4. RV not level so water overflows inside
When your RV sits at an angle, the condensate drain pan tilts with it. Water that should flow toward the drain instead pools on the low side of the pan and eventually spills over the edge, dripping into your living space. A leveling issue is one of the easiest causes of an rv air conditioner leaking water inside to overlook because the fix has nothing to do with the AC unit itself.
What it addresses
Your AC's drain pan is designed to work on a relatively flat surface. Even a few degrees of tilt shifts where water collects, and the drain opening ends up on the high side of the pan where water simply cannot reach it.
How to check it yourself first
Place a bubble level on your countertop or floor and check both side-to-side and front-to-back alignment. If the bubble is noticeably off center, that tilt is likely redirecting condensate toward the wrong side of the pan.
A slope of just two to three degrees is enough to cause pan overflow during extended AC use on a hot day.
How to fix it
Adjust your leveling jacks or stabilizer blocks until the bubble sits centered in both directions. Run the AC for 20 minutes and confirm that the dripping stops once the rig is properly level.
When to call a pro
Call a technician if leveling the RV does not stop the leak, since the pan itself may be warped or the drain outlet positioned incorrectly from a prior repair.
5. Frozen evaporator coil from dirty filters or low airflow
A frozen evaporator coil is a less obvious cause of an rv air conditioner leaking water inside because the problem doesn't look like a water issue at first. When the coil freezes, the AC keeps running, but the moment you shut it off, all that ice melts quickly and floods the drain pan beyond its capacity.
What it addresses
Your evaporator coil needs consistent airflow to stay above freezing. When a dirty filter or blocked return vent chokes that airflow, the coil temperature drops below 32°F and ice builds up on its surface. That ice melts all at once when you shut the unit down, sending more water into the pan than the drain can handle.
How to check it yourself first
Turn off the AC and open the indoor access panel. Look for frost or ice coating the evaporator coil. Also pull out the air filter and hold it up to light. If you cannot see light through it, restricted airflow is likely the cause.
A fully blocked filter can freeze a coil within a single afternoon of heavy AC use.
How to fix it
Let the coil thaw completely with the fan running on fan-only mode, then replace the clogged filter. Check that all return vents inside are open and unblocked before restarting the cooling cycle.
When to call a pro
Call a technician if the coil refreezes after a filter replacement, since low refrigerant can also cause freezing and requires certified handling to address safely.
6. Air leaks in the plenum or ductwork that drip from vents
The plenum distributes conditioned air from your AC unit into the ductwork and vents throughout your RV. When gaps or cracks form in the plenum or ducts, warm humid air contacts the cold duct surfaces and condenses into water. That moisture drips from your vents, mimicking a classic rv air conditioner leaking water inside symptom even though the drain system is working fine.
What it addresses
Plenum and ductwork leaks let unconditioned air mix with the cold supply air, raising the dew point inside the ducts. The result is condensation that collects on duct walls and eventually drips through vent covers onto your ceiling or floor.
How to check it yourself first
Run your hand along accessible duct sections and feel for cool air escaping at joints or seams. Look for moisture or discoloration around vent covers, which points to condensation building up inside the duct before it exits.
If multiple vents drip at the same time, a plenum gap is more likely than a single clogged drain.
How to fix it
Seal visible gaps at duct joints with foil HVAC tape, which holds up far better in heat than standard duct tape. Recheck each sealed seam after one full AC cycle to confirm the dripping stops.
When to call a pro
Call a technician if the plenum itself is cracked or warped, since replacing it requires removing the AC unit from the roof. Damaged plenum boxes compromise overall system efficiency and need professional fitting to seal correctly.
A simple plan to stop the leak
When your RV air conditioner is leaking water inside, the fix usually follows a clear order. Start with the simplest checks first: level your rig, clean your filter, and inspect the drain pan. Most leaks trace back to one of those three things, and you can handle all of them without special tools or a shop visit.
If those steps don't stop the dripping, move to the gasket, plenum, and evaporator coil. Those repairs get more involved, but they're still manageable when you know what to look for. When the source is unclear or the damage is already done, getting a mobile technician on-site is the fastest way to protect your interior from further harm before a small drip becomes a costly replacement.
Find a qualified mobile RV technician near you and get your AC running clean before the next drip turns into a real repair bill.