12 Troubleshooting Fixes: RV AC Compressor Not Turning On
You're parked at a campground in July, the heat index is climbing past 100°F, and your RV AC compressor not turning on is suddenly the only thing standing between you and a miserable night. It's one of the most common, and most frustrating, mechanical issues RV owners deal with during the warmer months. The good news is that a silent compressor doesn't always mean an expensive repair. In many cases, the fix is something you can diagnose and handle yourself with basic tools and a little guidance.
The compressor is the heart of your RV's air conditioning system. When it refuses to start, the cause could be anything from a tripped breaker or a failed capacitor to low refrigerant levels or a faulty thermostat. Before you assume the worst, it's worth working through a systematic checklist to narrow down the actual problem, which is exactly what this article is built to help you do.
Below, we walk through 12 specific troubleshooting fixes organized from the simplest checks to the more involved repairs. Some you can knock out in five minutes. Others may require a multimeter or a trip to the parts store. And if you reach a point where the job calls for a professional, MobileRVService.com connects you with mobile RV technicians across North America who come to your location, so you don't have to break camp or tow your rig to a shop. Let's start with the basics and work our way through each potential cause.
1. Find a mobile RV technician near you
Before you dig into any wiring, capacitors, or control boards, knowing where to get qualified help gives you a fallback plan when your troubleshooting hits a wall. Listing this fix first is intentional. Not every problem that causes an RV AC compressor not turning on is something you can safely resolve without the right tools and training, and recognizing that early saves you time, money, and the risk of making the damage worse.
Why this fix matters
Mobile RV technicians are specialists who travel directly to your campsite, driveway, or roadside location to handle repairs on-site. Unlike a dealership or a fixed shop, a mobile tech eliminates the need to unhook, tow, or re-level your rig just to get a diagnosis. This matters a great deal when your AC fails mid-trip and you're far from home.
Finding a qualified technician before you need one is far better than scrambling for help in 95°F heat with no working AC.
These professionals carry diagnostic equipment for electrical systems, capacitor testing, and refrigerant pressure checks, and many of them specialize specifically in RV systems rather than general HVAC work. Their focused expertise often means a faster, more accurate diagnosis than a general mechanic could offer, and their mobile availability frequently beats waiting weeks for a dealership appointment.
Steps to try
Start by visiting MobileRVService.com and entering your zip code to search the directory of over 3,200 mobile RV service providers across the United States and Canada. You can filter results by service category, ratings, and availability, so you're not wasting time calling providers who don't handle AC work or aren't in your area.
When you connect with a technician, give them a clear description of the problem. Tell them whether the fan runs but the compressor never engages, whether the unit is completely dead, or whether you're seeing any error codes on your thermostat display. The more specific you are, the faster they can arrive prepared with the right parts and tools for your unit's make and model.
If the standard search doesn't turn up a local provider, MobileRVService.com's VIP Membership offers concierge-level assistance where the platform locates a qualified technician on your behalf. That option is especially useful if you're in a rural campground or an unfamiliar part of the country.
When to call a pro
Call a professional immediately if you smell burning plastic or electrical smoke coming from your AC unit or the area around your breaker panel. These are signs of serious electrical failure, and continuing to reset or run the system at that point can cause a fire.
You should also call a pro if your compressor has already been flagged for a refrigerant leak or a seized motor. Both issues require specialized tools that go well beyond what most RV owners carry. Refrigerant handling, in particular, is regulated under EPA Section 608 and must be performed by a certified technician. Attempting that work without certification is illegal and carries significant fines.
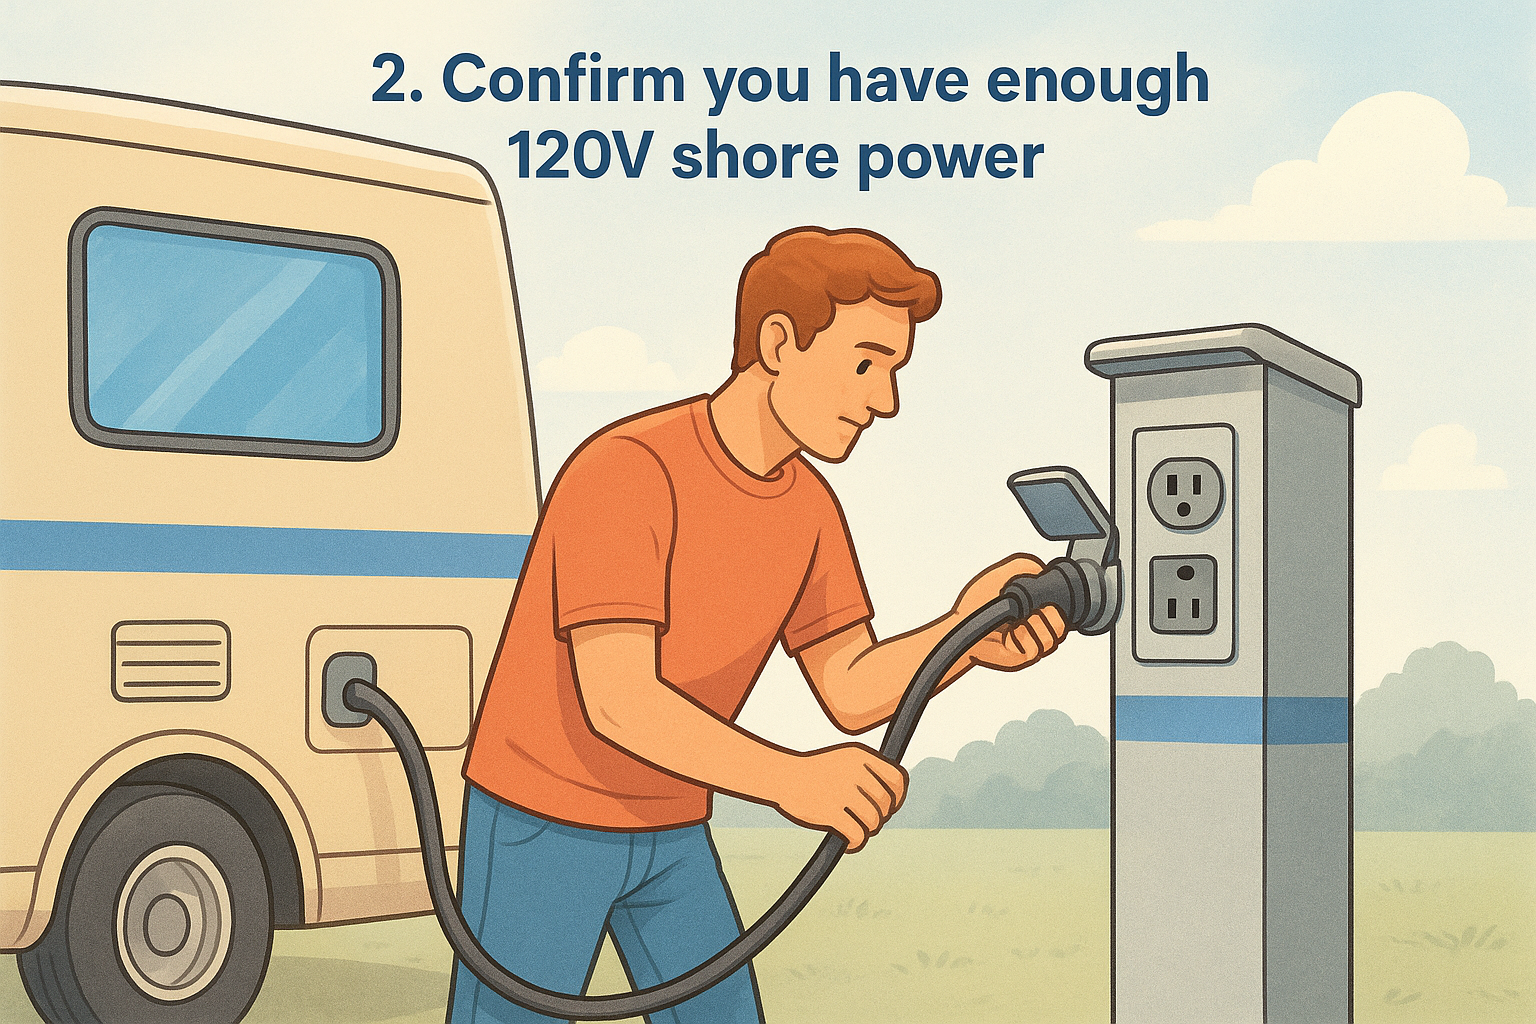
2. Confirm you have enough 120V shore power
Your RV air conditioner runs exclusively on 120V AC power, and if that power source is interrupted, insufficient, or not connected at all, the compressor will not start regardless of what else is working. This is one of the first things to verify before assuming any internal component has failed.
Why this fix matters
RV air conditioners are among the highest-draw appliances on your electrical system, often pulling 13 to 16 amps at startup. If your shore power connection is loose, damaged, or routed through an underpowered 20-amp outlet instead of a proper 30-amp or 50-amp pedestal, the compressor simply won't have enough current to start. Many RV owners overlook this because the lights and outlets still work fine on reduced power, giving the false impression that the electrical supply is adequate.
A working thermostat display and a running fan do not confirm that your shore power supply is sufficient to start the compressor.
Steps to try
Start by physically inspecting your shore power cord from the pedestal connection to the RV's power inlet. Look for signs of heat damage, melted insulation, or a loose connection at either end. A cord that looks fine externally can still have broken internal conductors, so check both ends by wiggling gently and watching for any flickering in your RV's lighting.
Next, confirm the pedestal outlet matches your RV's power requirement. A 30-amp RV needs a 30-amp outlet, and a 50-amp rig needs a 50-amp supply. Plugging into a smaller service with an adapter reduces available amperage and commonly causes an RV AC compressor not turning on because the compressor cannot draw enough power at startup. If you're using a generator instead of shore power, verify it is rated for at least 3,500 watts for a single AC unit, or higher if your rig runs dual units.
When to call a pro
Call a technician if you find burn marks, melted plastic, or corrosion at the pedestal connection or your RV's power inlet. These are signs of arcing, which is a fire hazard that requires repair before you restore power to the rig.
3. Check for low voltage at the pedestal
Low voltage is sneakier than having no power at all. Your RV can receive power that reads as "on" while still delivering too few volts to start the compressor. This is common at busy campgrounds during peak summer hours when multiple rigs pull from the same electrical infrastructure at once.
Why this fix matters
Most RV air conditioners need a minimum of 103 to 108 volts to start the compressor. When voltage drops below that, the motor attempts to start but cannot build enough torque, so it stalls or trips its internal overload protector. You end up with a fan running and no compressor engagement, which is a classic sign of an rv ac compressor not turning on due to low voltage rather than a failed component.
Campground electrical systems are especially vulnerable to voltage sag during afternoon peak hours when dozens of rigs run their AC simultaneously. Your reading can drop by 10 or more volts between early morning and midday.
Sustained voltage under 105V can damage your compressor motor over time, even if the unit occasionally manages to start.
Steps to try
Pick up a digital voltmeter or a surge protector with a built-in voltage display and plug it into a 120V outlet inside your RV while on shore power. A healthy reading falls between 108 and 125 volts. If yours reads consistently below 105V, the pedestal is the likely culprit. Try switching to a different pedestal, or run your generator temporarily to confirm the AC starts normally on a stable power supply.
- Below 105V: switch pedestals or use a generator
- 105 to 108V: borderline; consider adding a hard-start capacitor kit
- Above 108V: voltage is not your problem, so move to the next fix
When to call a pro
Contact the campground's electrical maintenance staff first if you find low voltage at the pedestal, since this often affects multiple sites and is their responsibility to address. If the low voltage traces back to your RV's own wiring or power inlet, a mobile technician can inspect the connections safely before you risk further damage.
Call a pro if you notice any of the following:
- Burn marks or heat damage at your power inlet or cord connector
- Voltage that fluctuates widely rather than staying consistently low
- Any tripped breakers at the pedestal that reset but trip again almost immediately
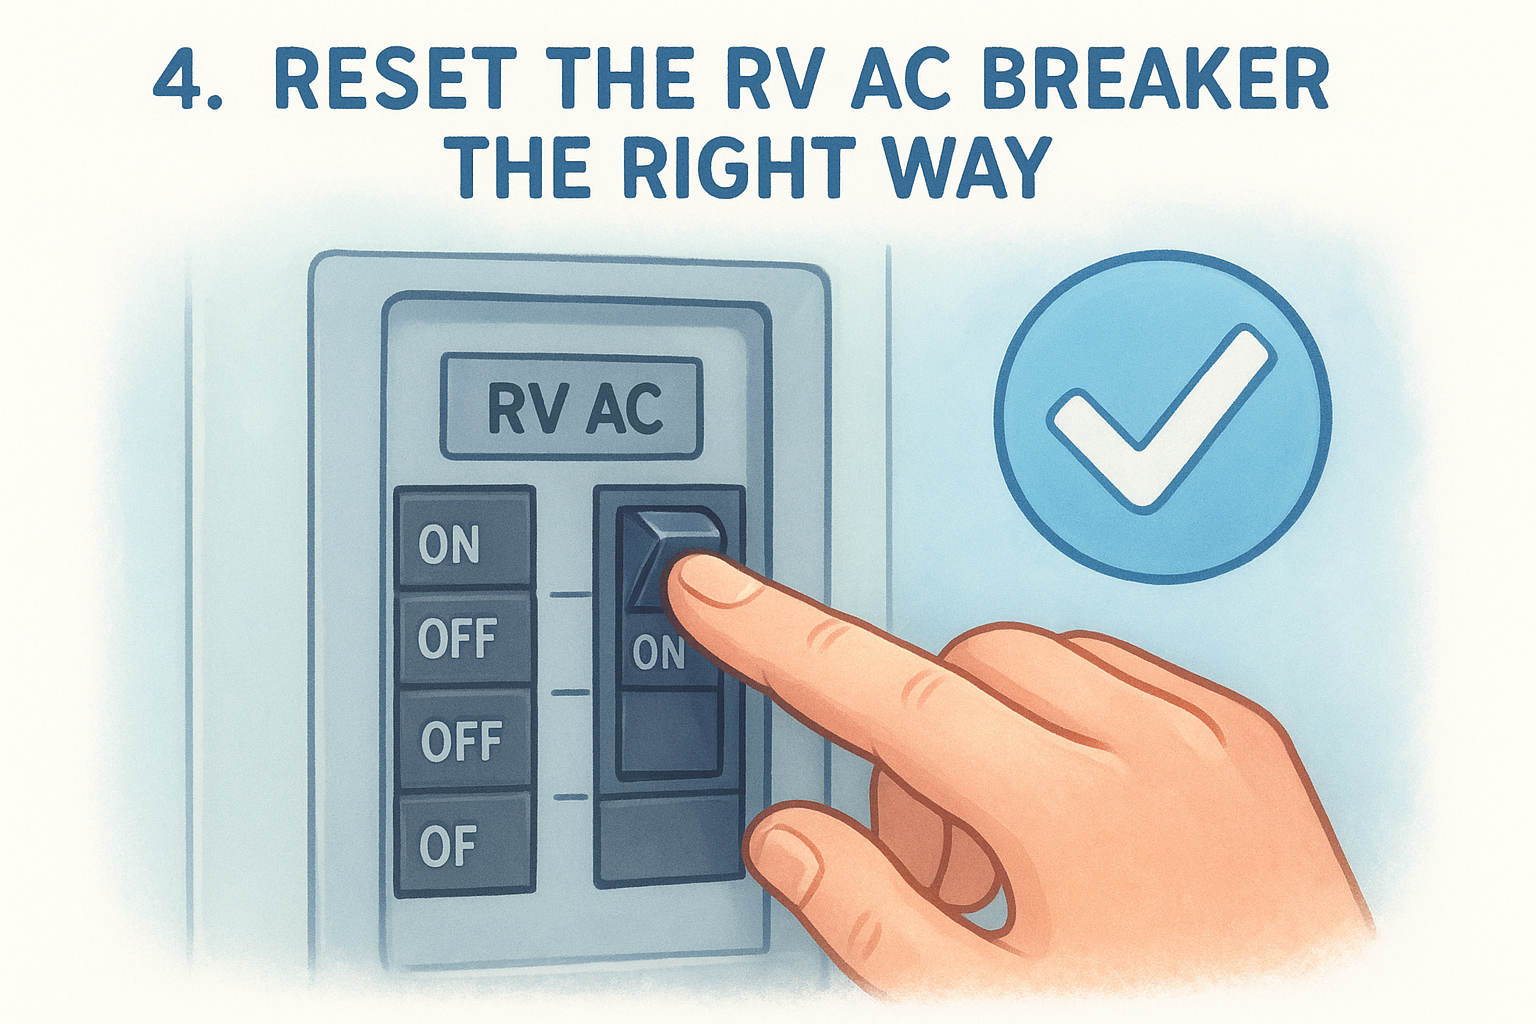
4. Reset the RV AC breaker the right way
A tripped breaker is one of the most common causes of an RV AC compressor not turning on, and it's also one of the most frequently mishandled fixes. Most people just flip the breaker back and call it done, but doing that incorrectly can cause the breaker to trip again immediately or, worse, damage your AC unit further.
Why this fix matters
Your RV's breaker panel contains a dedicated 15-amp or 20-amp double-pole breaker for the air conditioner. When the compressor draws too much current during a startup surge or a fault condition, that breaker trips to protect the circuit. The problem is that a breaker in the tripped position doesn't always look fully switched off. Many RV breakers land in a middle position when they trip, and flipping them from that middle spot back to "on" without first moving them to the full "off" position will not complete the reset properly.
A breaker that trips repeatedly within minutes of being reset is telling you something is wrong with the circuit or the compressor, not just the breaker itself.
Steps to try
Open your breaker panel and locate the breaker labeled for the air conditioner. Push it firmly to the full "off" position first, even if it already looks partially off. Wait a full 60 seconds before switching it back to "on." That waiting period allows any residual heat in the breaker mechanism to dissipate, which gives the reset the best chance of holding. After you restore power, go directly to the thermostat and set it to cool before the system fully powers up.
When to call a pro
You should stop resetting the breaker and call a mobile RV technician if the breaker trips again within 10 to 15 minutes of being reset. A breaker that keeps tripping is responding to a real electrical problem, whether that's a failing compressor motor, a short in the wiring, or a capacitor drawing excessive current. Continuing to force resets at that point risks overheating the breaker itself and creating a fire hazard inside the panel.
5. Check the 12V fuse that powers the controls
Your RV air conditioner actually uses two separate power sources to operate: 120V AC to run the compressor and fan motors, and 12V DC from your house battery to power the control board, thermostat, and electronics. If that 12V circuit loses power through a blown fuse, the controls go dead and the compressor will never receive a start signal, even when your shore power connection is perfectly fine.
Why this fix matters
This is a frequently missed cause of an RV AC compressor not turning on because the failure is invisible at first glance. Your lights may still work, your outlets may still deliver power, and your shore power cord may look completely normal. None of that means the 12V fuse feeding your AC control circuit is intact. A single blown fuse in the DC fuse panel can cut communication between the thermostat and the AC unit entirely, leaving you with no response when you call for cool air.
A dead thermostat display combined with a completely unresponsive AC unit is one of the clearest signs of a blown 12V control fuse rather than a compressor failure.
Steps to try
Locate your RV's 12V DC fuse panel, which is usually found inside a cabinet, under the dinette, or near the main entry. Look for a fuse labeled "AC control," "roof AC," or "thermostat." Pull that fuse and inspect it visually under good light. A blown fuse will show a broken or melted wire bridge inside the casing.
- Replace any blown fuse with one that matches the exact amperage rating printed on the old fuse
- Do not substitute a higher-rated fuse to "fix" the problem, since the rating exists to protect the wiring
- After replacing the fuse, restore power and check whether the thermostat display powers on normally
When to call a pro
Call a technician if the replacement fuse blows again shortly after you restore power. A fuse that keeps failing points to a short circuit somewhere in the 12V control wiring, and tracing that fault safely requires a wiring diagram and a DC multimeter in experienced hands.
6. Do a full power reset of the AC controls
Electronic control boards in modern RV air conditioners can lock up or hold a fault state that prevents the compressor from receiving a start signal. When this happens, the unit appears functional but stays completely unresponsive. A full power reset clears that stored fault and gives the control board a fresh start.
Why this fix matters
Unlike a standard breaker reset, a full power reset cuts power to both the 120V and 12V sides of the AC system simultaneously. Many RV owners reset the breaker but leave the 12V battery connected, which keeps the control board energized the entire time. The board never fully reboots, so any corrupted fault condition stays active and the compressor continues to ignore start commands. This step addresses that gap directly and is one of the simplest fixes for an rv ac compressor not turning on after a breaker reset failed to help.
A control board that never loses all power never fully resets, no matter how many times you cycle the breaker.
Steps to try
Start by switching your AC breaker to the off position in the main panel. Next, disconnect your shore power cord from the pedestal entirely. Then locate your battery disconnect switch or remove the negative cable from your house battery to cut 12V power to the system. Wait a full two minutes before reconnecting anything. Bring power back in reverse order: battery first, then shore power, then the AC breaker. Give the thermostat 30 seconds to boot, then set it to cool and lower the temperature below the current cabin reading.
When to call a pro
If the unit still shows no response from the thermostat after a full power reset, the control board itself may have failed. Control board replacement requires identifying the correct replacement part for your specific AC model, and improper installation can damage connected components. A mobile RV technician can bench-test the board, confirm the diagnosis, and install a replacement without you needing to move your rig.
7. Verify thermostat settings and operating mode
The thermostat controls everything the compressor does, and a single incorrect setting can prevent the compressor from receiving a start signal even when your entire electrical system is healthy. Before assuming a mechanical fault, spend two minutes confirming that your thermostat is actually asking the AC to run.
Why this fix matters
Modern RV thermostats have multiple operating modes, and it's easy to accidentally leave the unit in fan-only mode, heat mode, or auto mode after a previous adjustment. In each of those configurations, the compressor stays off by design, which makes this problem look exactly like an rv ac compressor not turning on due to a hardware failure. The thermostat may display normally and the fan may spin without issue, giving no obvious clue that a mode setting is the entire source of the problem.
A thermostat showing a normal display while the compressor stays silent is often a settings issue rather than a failed component.
Steps to try
Press the mode button on your thermostat and cycle through the available options until you land on "cool" or "AC." Confirm the set temperature is at least 3 to 5 degrees below the current cabin temperature, since a narrow gap between the set point and the actual reading will prevent the compressor from engaging. Some RV thermostats also have a time delay or lockout mode that holds the compressor off for several minutes after a mode change to protect the motor, so wait at least three minutes after adjusting the settings before concluding the compressor is not responding.
- Set mode to "Cool" specifically, not "Auto" or "Fan Only"
- Drop the target temperature well below the current cabin reading
- Wait 3 minutes after any setting change before testing compressor response
When to call a pro
Call a technician if your thermostat display is blank, frozen, or cycling erratically after the full power reset you completed in the previous step. A thermostat that won't hold settings or shows corrupted displays has likely failed internally and needs replacement with a compatible control unit matched to your specific AC model.
8. Use fan-only to narrow down the failure
Switching your AC to fan-only mode before you assume the compressor has failed is one of the most useful diagnostic steps you can take. This single test separates a fan motor problem from a compressor problem, which completely changes the repair path you follow next.
Why this fix matters
When your RV AC compressor not turning on is the symptom, you still need to determine what part of the system is actually causing it. Fan-only mode forces the blower motor to run independently of the compressor circuit, which gives you clear information about which side of the system has failed. If the fan runs smoothly in this mode, your blower motor and its wiring are intact, and the fault lives specifically in the compressor side of the unit. If the fan also refuses to run, the problem is broader, pointing to a power supply issue or a failed control board rather than the compressor itself.
A fan that runs normally in fan-only mode tells you your 120V supply and blower motor are working, which narrows the fault directly to the compressor circuit.
Steps to try
Press the mode button on your thermostat and select "Fan" or "Fan Only," then set the fan speed to high. Stand near a supply vent inside your RV and confirm you feel consistent airflow within 30 seconds.
- Fan runs well: Your blower motor is healthy. Move forward to the capacitor and relay checks in the steps below.
- Fan runs weakly or intermittently: Your blower motor or its wiring may be partially failing, which can also load down the compressor circuit.
- Fan does not run at all: The fault is likely in the power supply, control board, or shared wiring rather than the compressor specifically.
When to call a pro
Call a mobile technician if the fan fails to run at all in fan-only mode. A completely dead fan combined with a silent compressor points to a control board fault or a wiring failure that requires hands-on diagnosis with the proper test equipment.
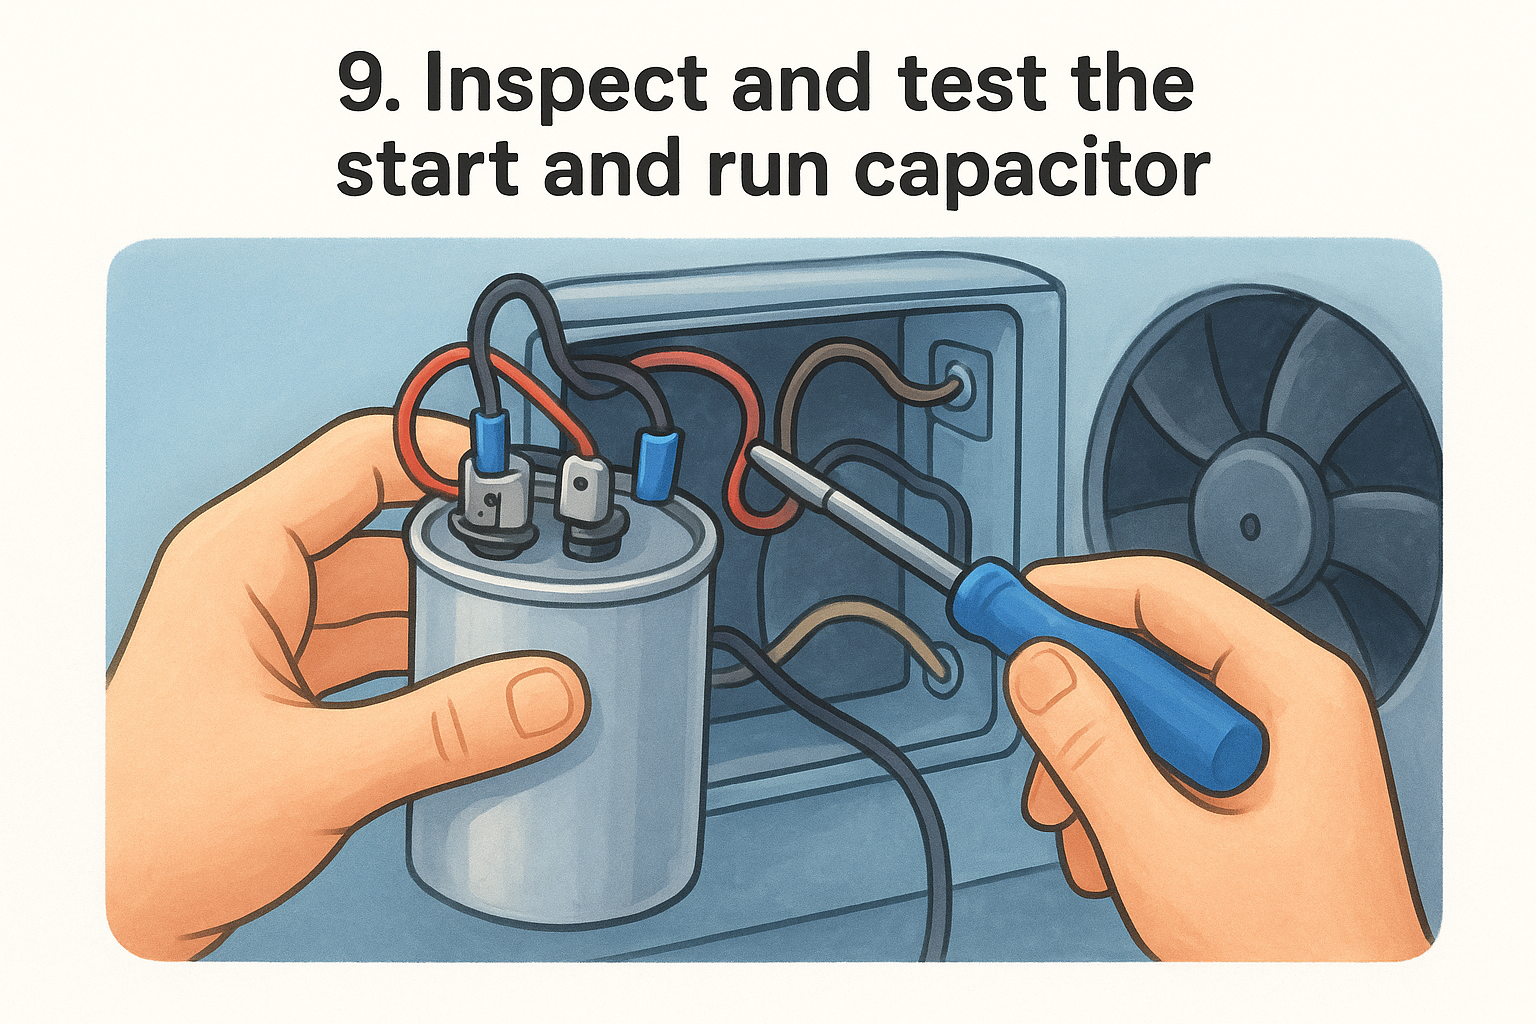
9. Inspect and test the start and run capacitor
The capacitor is one of the most common hardware failures that causes an RV AC compressor not turning on. This small cylindrical component sits inside your AC unit's electrical compartment and delivers the initial power burst the compressor motor needs to start turning, as well as sustaining voltage while it runs. When it fails, the compressor hums briefly or stays completely silent, and no amount of resetting will help.
Why this fix matters
Capacitors degrade over time through heat exposure, age, and repeated startup cycles. A failed or weak capacitor is one of the leading causes of compressor startup failure in rooftop RV AC units, and it's also one of the more affordable fixes when caught early. Two separate capacitors are often involved: the start capacitor, which provides that initial kick, and the run capacitor, which maintains the motor's efficiency during operation. Either one failing produces the same symptom of a compressor that refuses to engage.
Replacing a failed capacitor often costs under $30 in parts and is one of the most cost-effective repairs in RV AC troubleshooting.
Steps to try
Cut all power to the AC unit completely before opening the electrical compartment, including both your shore power connection and your battery disconnect. Capacitors store an electrical charge even after power is removed, so discharge the terminals carefully using an insulated screwdriver across the leads before handling the component. Once discharged, pull the capacitor and inspect it visually for a bulging top, oil residue, or burn marks, all of which confirm failure. A digital multimeter with a capacitance function can test the actual microfarad rating against the value printed on the capacitor's label to catch weakened units that look fine externally.
When to call a pro
Call a mobile RV technician if you are not comfortable discharging and handling capacitors safely. An improperly discharged capacitor can deliver a serious shock. You should also call a pro if replacing the capacitor does not resolve the problem, since a compressor that still won't start after a confirmed good capacitor likely has a failed relay, wiring fault, or internal motor issue that requires deeper diagnosis.
10. Check the start relay or contactor
Both the start relay and the contactor are electrical switching components that sit between your power supply and the compressor motor. When either one fails, the compressor receives no signal to start, even when every other part of the system is working correctly.
Why this fix matters
The start relay acts as a small switch that closes the circuit to engage the compressor at startup. The contactor is a heavier-duty switching device found on larger units, responsible for handling the high-amperage load the compressor pulls when it first turns on. Both components wear out through repeated cycling and heat exposure. A failed relay or burned contactor is a direct cause of an rv ac compressor not turning on, and because these parts sit inside the electrical compartment of your rooftop unit, they're often overlooked during basic troubleshooting.
A relay or contactor that makes a clicking sound but fails to hold the circuit closed is a strong indicator that the component needs replacement.
Steps to try
Cut all power to the AC unit before opening the electrical compartment, including shore power and your battery disconnect. Locate the start relay, which is typically a small cube or cylindrical component plugged directly into the control board. Pull it free and shake it gently next to your ear. A rattling sound inside confirms the internal mechanism has broken and the relay needs replacement. For the contactor, inspect the contact points visually for pitting, burning, or carbon buildup, any of which indicates the component can no longer make reliable electrical contact.
- Replace a rattling or burned relay with an exact-match replacement based on your AC model's part number
- Clean minor contactor contact buildup with fine-grit sandpaper only if the pitting is shallow
- Test the replaced component by restoring power and calling for cool at the thermostat
When to call a pro
Call a mobile RV technician if you find heavy burning, melted plastic, or a contactor that arcs visibly when power is restored. These signs point to a more serious electrical fault that has damaged surrounding wiring and requires professional diagnosis before the system can operate safely again.
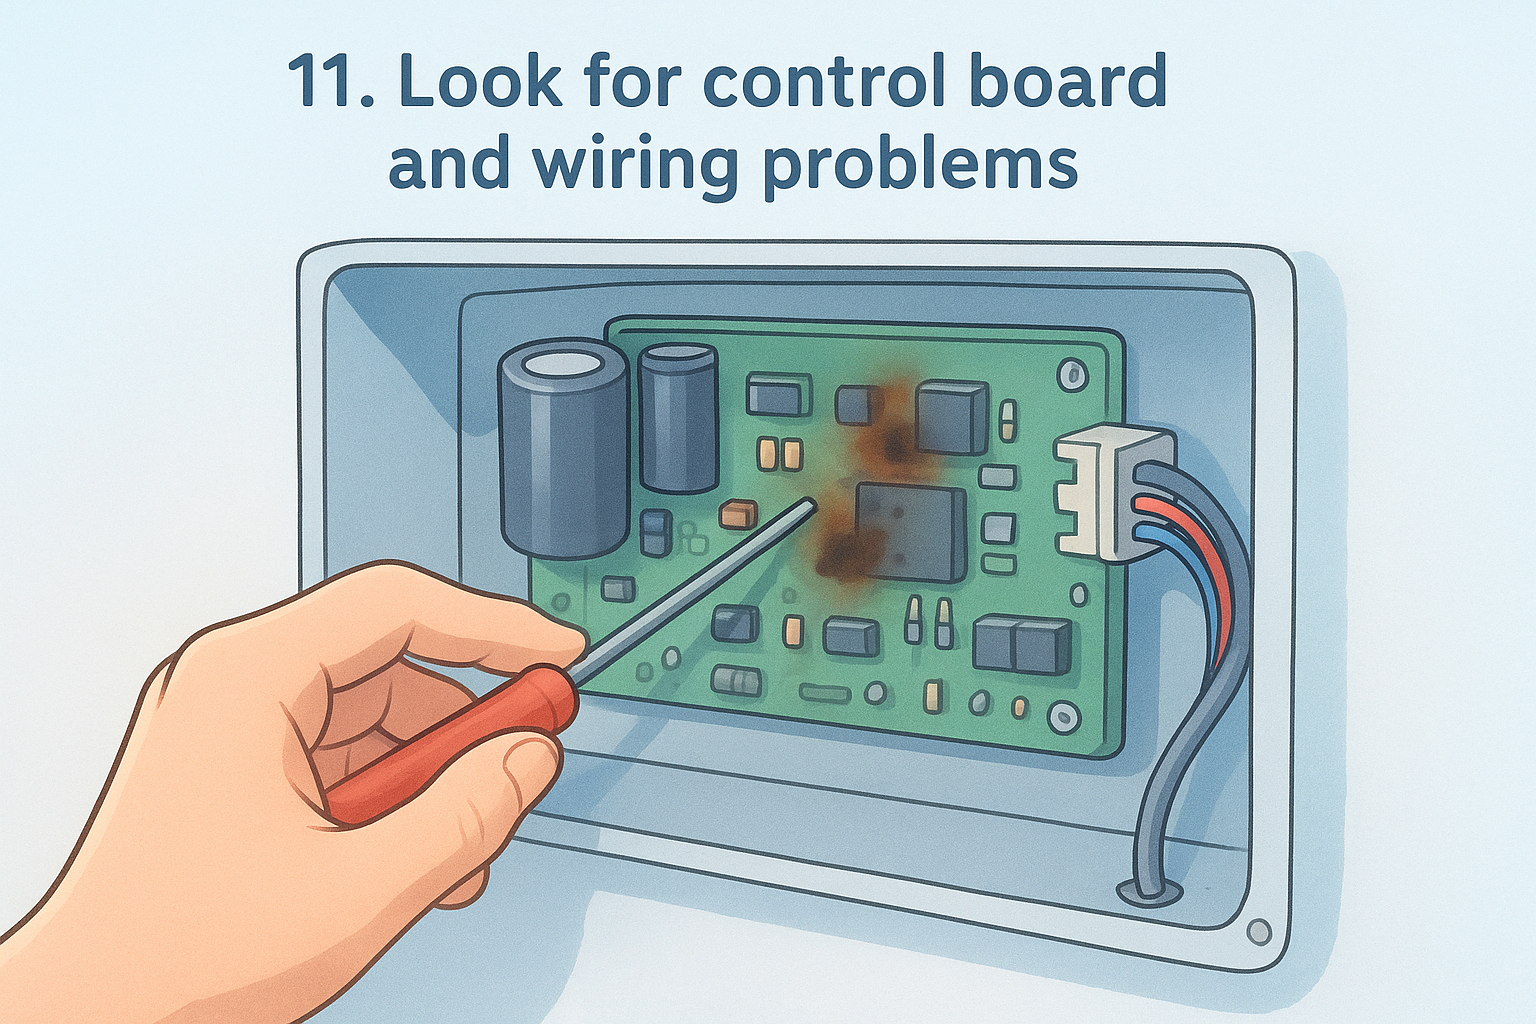
11. Look for control board and wiring problems
When you have already ruled out power supply issues, capacitors, and relays, the next place to look is the control board and the wiring network that connects it to every component in your AC system. A damaged control board or a broken wire can cut communication between your thermostat and the compressor entirely, producing the same silent result as a failed capacitor but requiring a completely different repair path.
Why this fix matters
The control board is the brain of your RV air conditioner. It receives the cooling signal from the thermostat and sends the appropriate commands to the compressor, fan motor, and capacitor circuits. When a board fails due to a power surge, moisture intrusion, or age, those commands never reach the compressor, and you end up with an rv ac compressor not turning on even though every individual component tests fine in isolation. Wiring faults produce the same result through a different mechanism: a single corroded terminal or broken conductor interrupts the signal path and leaves the compressor with no start command to act on.
A control board that shows burn marks or swollen capacitor components has already failed and cannot be restored through resetting.
Steps to try
Cut all power before opening the AC unit's electrical compartment. Visually inspect the control board for burn marks, cracked solder joints, or swollen components, which all indicate board failure. Trace the wiring harness connectors and firmly reseat each plug, since vibration from road travel loosens connections over time. Check individual wire terminals for corrosion or green oxidation, and clean affected contacts with electrical contact cleaner before reconnecting.
- Reseat all wiring harness connectors on the control board
- Look for any chafed or pinched wire where the harness passes through the rooftop shroud
- Replace any terminal showing heavy corrosion with a proper crimp connector and heat-shrink seal
When to call a pro
Call a mobile RV technician if the control board shows visible burn damage or if reseating connectors does not restore compressor function. Sourcing the correct replacement board for your specific AC model requires accurate part matching, and an incorrect board can damage connected components during the first startup.
12. Check for overload, overheating, or compressor failure
When every other fix on this list has failed to resolve your RV AC compressor not turning on, you are likely dealing with a thermal overload trip, an overheating condition, or a mechanically failed compressor. These are the deepest hardware issues in the system and represent the final diagnostic layer before concluding a full compressor replacement is necessary.
Why this fix matters
RV compressors have a built-in thermal overload protector that automatically shuts the motor down when it reaches a critical temperature. This is a safety mechanism, not a defect, and it activates when the compressor runs under excessive load, operates in poor ventilation, or attempts to start repeatedly against a failing capacitor. Once tripped, the overload protector locks the compressor out until the motor cools completely, which can take 30 minutes or longer in high ambient heat.
A compressor that trips its thermal overload repeatedly is warning you that an underlying condition needs to be addressed before permanent motor damage occurs.
Mechanical compressor failure is a separate issue where the internal pump components seize or wear beyond function. A seized compressor often draws extremely high current on startup before tripping the breaker or blowing a fuse, and it will not respond to any of the electrical fixes covered in earlier steps.
Steps to try
Give your AC unit at least 30 to 45 minutes of complete rest with all power removed before attempting another startup. During that cooling window, inspect the rooftop shroud to confirm the intake and exhaust vents are clear of debris, leaves, or nesting material that could restrict airflow around the compressor. Restore power after the cooling period and listen carefully at startup for a buzzing hum with no rotation, which points to a seized motor rather than an overload condition.
- Clear all vent blockages around the rooftop unit
- Allow a full 45-minute cool-down before retesting
- Note any burning smell or unusually high amp draw at the breaker when restarting
When to call a pro
Call a mobile RV technician immediately if the compressor buzzes loudly without starting after a full cool-down period. A seized or internally failed compressor requires replacement by a trained professional with the correct equipment, and continuing to force start attempts will damage the wiring and breaker components around it.
What to do if it still won't run
Working through all 12 fixes and still facing an RV AC compressor not turning on means the problem runs deeper than a DIY repair can safely reach. At that point, the smartest move is connecting with a qualified mobile technician who can bring the right diagnostic tools directly to your location without requiring you to move your rig. Continuing to force restarts or swap parts without a confirmed diagnosis risks damaging the compressor, the wiring, or the breaker panel further, and turns a manageable repair into a much larger bill.
You don't have to figure this out alone or break camp to find help. MobileRVService.com gives you access to over 3,200 vetted mobile RV service providers across North America, and if a local search doesn't turn up a match, the VIP Membership handles that search for you. Visit MobileRVService.com's owner membership page to explore your options and get your AC running again fast.