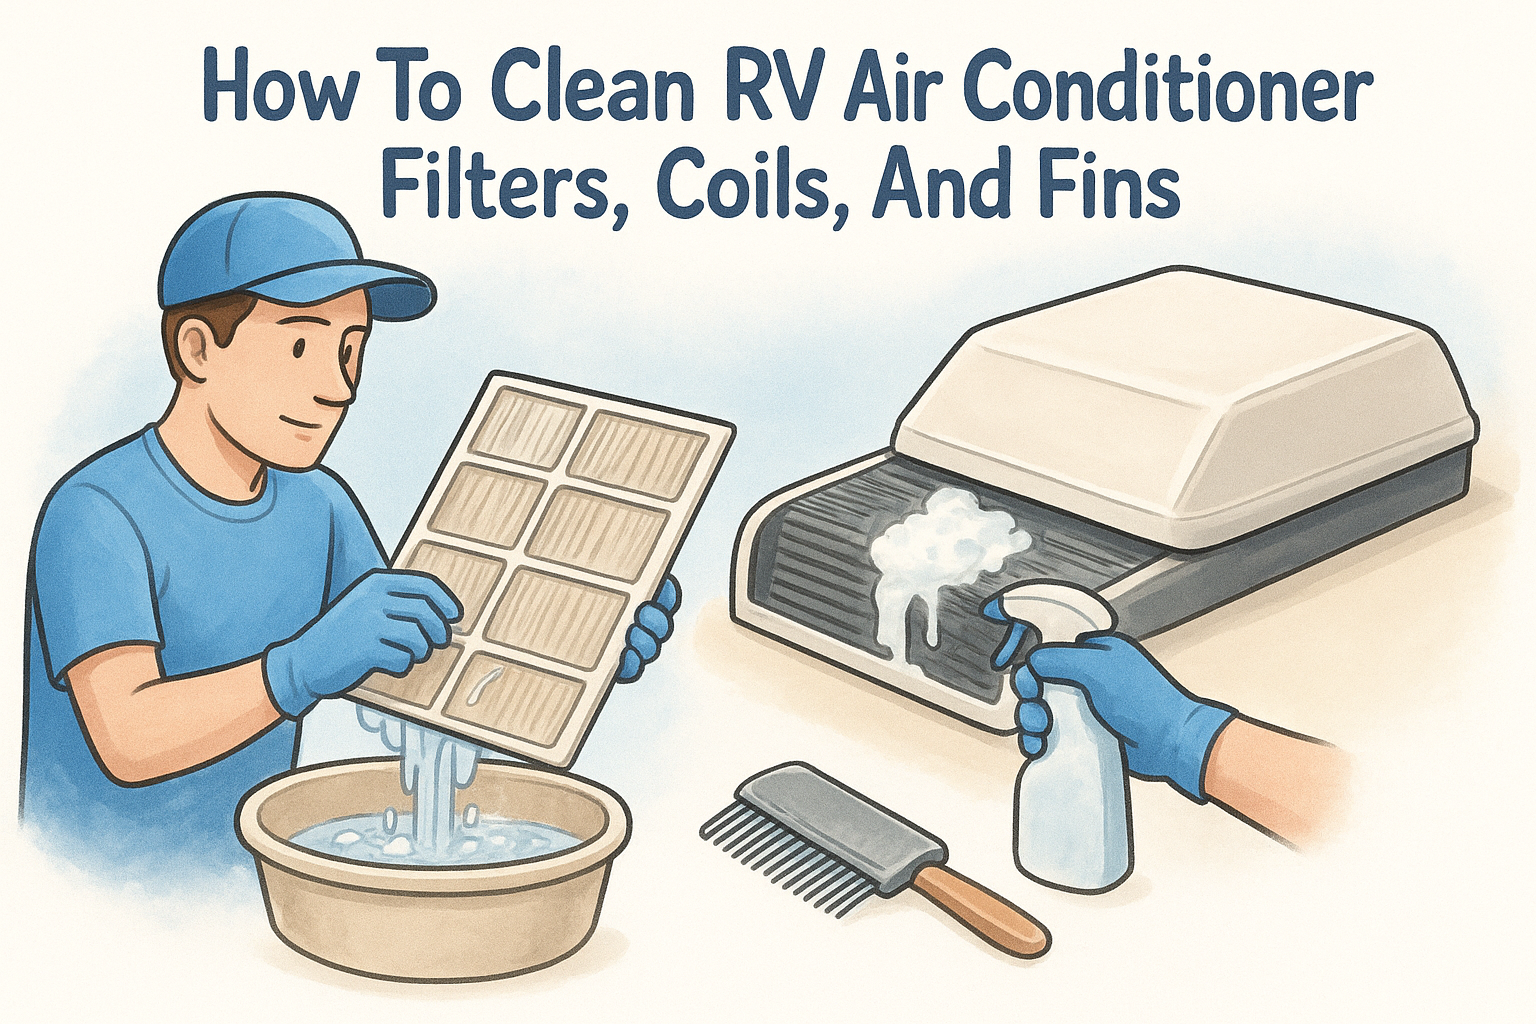
How To Clean RV Air Conditioner: Filters, Coils, And Fins
A rooftop AC unit that's blowing warm air or cycling on and off doesn't always need a repair tech, sometimes it just needs a good cleaning. Learning how to clean RV air conditioner components yourself is one of the simplest ways to restore cooling performance without spending a dime on parts or labor.
Dust, pollen, road grime, and campground debris build up fast on your AC's filters, evaporator coils, and condenser fins. Left unchecked, that buildup restricts airflow, forces the compressor to work harder, and can cut the unit's lifespan short. A thorough cleaning once or twice a season keeps everything running efficiently and can prevent the kind of mid-trip breakdowns that nobody wants to deal with in July.
This guide walks you through the full process, removing and washing the filters, cleaning both the interior evaporator and exterior condenser coils, and straightening bent cooling fins, with clear steps you can follow at your campsite or in your driveway. We'll cover the tools you need, the mistakes to avoid, and how to tell when a cleaning won't cut it and it's time to call a professional. If you ever reach that point, MobileRVService.com connects you with mobile RV technicians across North America who come to your location, so you won't have to break camp or tow your rig to a shop. But first, let's see how much you can handle on your own.
Before you start: safety, tools, and power
Before you touch any part of your RV's AC unit, take five minutes to set yourself up correctly. Skipping the prep work is how people get hurt or damage components they were trying to fix. This section covers the three things that matter most before you begin: cutting power, gathering the right tools, and staying safe if your unit requires roof access.
Cut the power first
The most important rule when learning how to clean RV air conditioner components is this: the unit must be completely de-energized before you open anything. RV air conditioners run on 120V AC power, which is enough to cause serious injury if you contact live terminals while cleaning.
Never rely on just turning off the AC thermostat. The unit can still receive power to its control board even when the thermostat shows it as off.
Start by switching the AC circuit breaker to the OFF position on your RV's main electrical panel. If you're plugged into shore power at a campground, unplug the 30-amp or 50-amp cord from the pedestal as a second layer of protection. If you're running on a generator, shut it down completely. Give the unit at least five minutes to discharge before opening any covers or touching any internal components.
Tools and supplies you need
Having the right gear on hand before you start saves you from climbing down mid-job to hunt for something you forgot. Most of what you need is already in a basic toolkit, and the consumables are inexpensive and easy to find at any RV supply store or auto parts retailer.
Here's what to gather before you begin:
Phillips and flathead screwdrivers Remove interior grille screws and shroud fasteners Fin comb or soft-bristle brush Straighten bent cooling fins Non-rinse coil cleaning spray Clean evaporator and condenser coils Compressed air can or shop vacuum Clear dust from filters and coils Mild dish soap and warm water Wash reusable foam filters Garden hose with a low-pressure setting Rinse condenser coils on the roof Soft microfiber cloths Wipe interior components and the air box Rubber gloves Protect your hands from coil cleaner chemicals Non-slip shoes Required for any roof workPick up a dedicated HVAC coil cleaner rather than a general-purpose spray. Products formulated specifically for coils foam up on contact to lift grease and debris without corroding the aluminum fins underneath.
Working on the roof safely
If your RV has a rooftop AC unit (which most do), some steps in this guide require you to go up top. That means working at height on a surface that can be curved, slick, and soft in the wrong spots, so approach it the way you would any overhead job that involves a fall risk.
Always tell someone where you're working before you climb up. Use a proper RV ladder rated for your weight, wear shoes with rubber grip, and skip roof work when the surface is wet or when winds are strong. Keep your tools in a small bucket or tool bag clipped to the ladder so nothing rolls off and damages your rig's sidewall or hits someone standing below.
Step 1. Clean or replace the interior air filter
The interior filter is the first line of defense for your RV air conditioner, and it's also the easiest component to clean. Most owners skip this step for months at a time, which is why so many units underperform long before they actually fail. Starting here gives you an immediate payoff with almost no risk of damaging anything.
Locate and remove the filter
Your filter sits inside the RV, hidden behind the plastic return air grille that mounts to your ceiling. Depending on your unit's brand (Dometic, Coleman-Mach, and Advent are the most common), the grille either clips into place or is held by one or two screws on the front edge. Twist the retaining clips counterclockwise or back out the screws, then lower the grille panel carefully to expose the filter underneath.
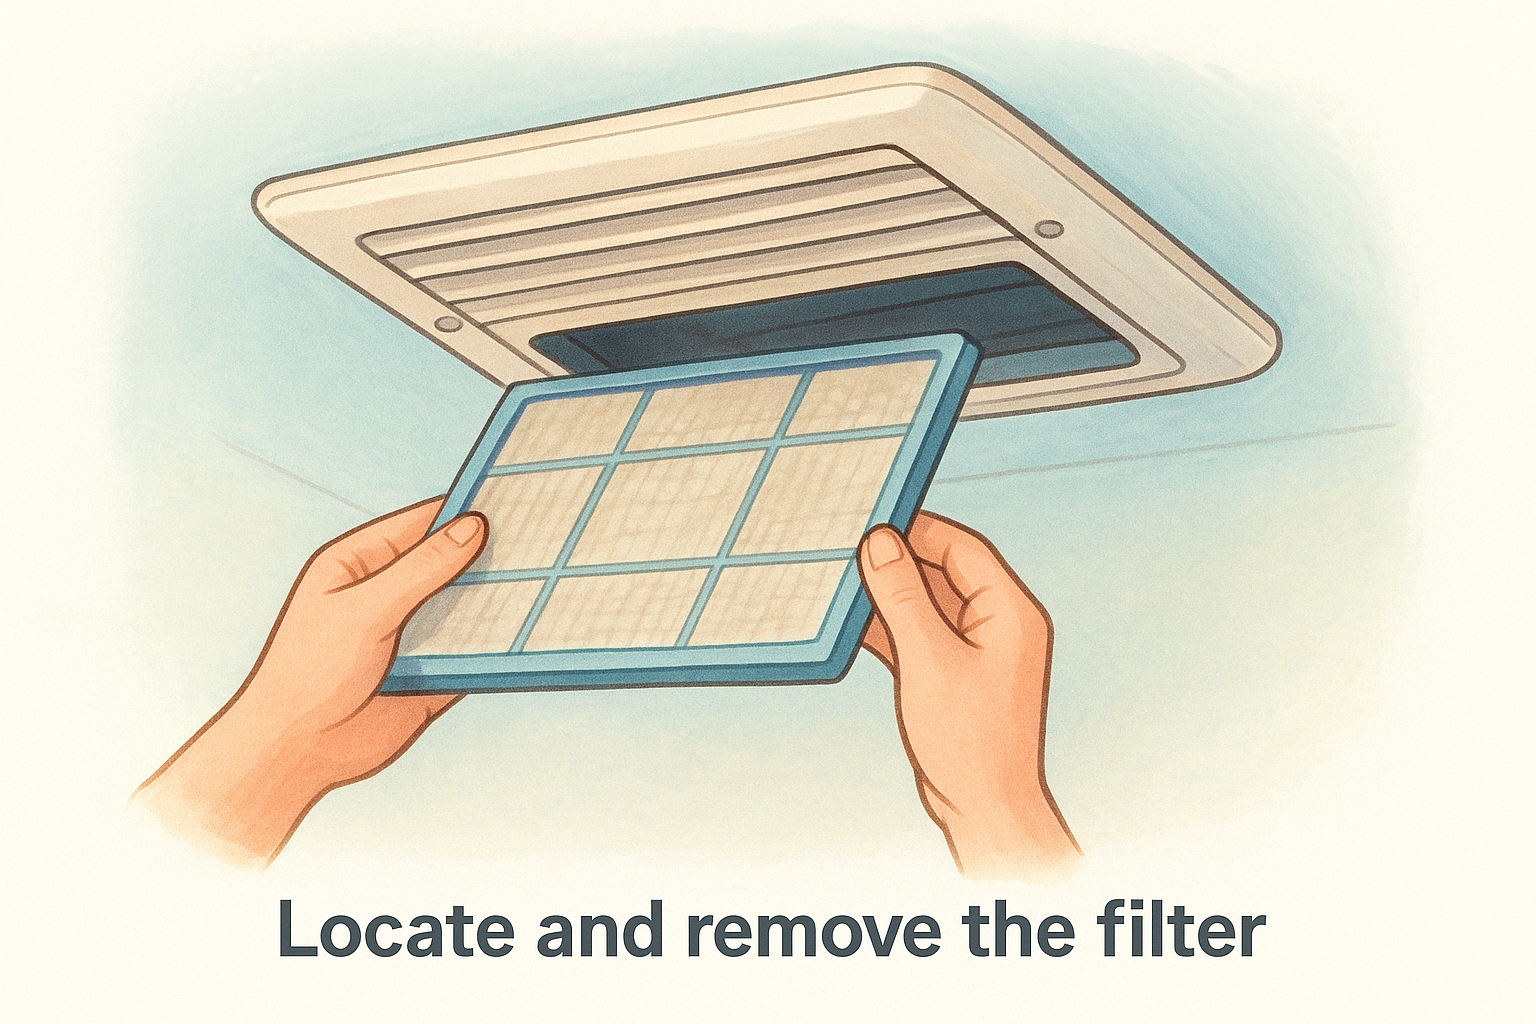
Most RV AC filters slide out of a channel without any additional fasteners, so you shouldn't need to force anything loose.
Pull the filter straight out of its track and hold it horizontally as you remove it. Loose debris will fall downward, so position a trash bag or towel below the grille before you slide the filter free.
Wash reusable filters or swap them out
Hold the filter up to a light source to gauge how clogged it is. If light passes through clearly, a quick vacuum with a brush attachment is all you need. If the foam or mesh is thick with dust and grime, go ahead and wash it.
Here's how to wash a reusable foam filter:
- Rinse it under warm running water to loosen the bulk of the debris.
- Work a small amount of mild dish soap gently through the foam with your fingers.
- Rinse thoroughly until the water runs completely clear.
- Squeeze out excess water without twisting or wringing, which can tear the foam.
- Let it air dry completely before reinstalling, because a damp filter restricts airflow and can grow mold inside the unit.
Replace the filter if it is torn, compressed flat, or disintegrating rather than washing it. Replacement filters for common RV AC units cost between $8 and $20 and are worth swapping out once a year as part of a proper how to clean RV air conditioner routine.
Step 2. Clean the return grille and air box
With the filter out, you now have clear access to two components that most RV owners never clean: the return air grille and the air box housing directly above it. Both collect a surprising amount of dust, grease, and insects over a season, and a dirty air box forces your unit to pull restricted air even if your filter is spotless. This step is quick, but it makes a real difference in how well the whole system breathes.
Wipe down the return air grille
The plastic grille panel you removed in Step 1 is almost certainly coated in a layer of grey dust and cooking grease, especially if your AC is above or near the kitchen area. Take it to a sink and rinse it under warm water first, then scrub all the louvers and vents with a soft brush and mild dish soap. A discarded toothbrush works well for getting into the narrow slots where a cloth can't reach.
Avoid soaking the grille in hot water, since high heat can warp the plastic and prevent it from seating flush against the ceiling when you reinstall it.
Rinse the grille thoroughly and set it aside to air dry completely while you work on the air box.
Clean inside the air box
The air box is the rectangular cavity in your ceiling that the grille attaches to. Shine a flashlight inside and you'll likely find a buildup of dust on the walls, dead insects near the corners, and possible mold spots if moisture has been sitting in there. Use a slightly damp microfiber cloth to wipe every interior surface, working from the back toward the opening so you push debris out rather than deeper in.
Pay close attention to the foam or rubber seal that sits around the perimeter of the air box opening. This seal keeps conditioned air from leaking into the ceiling cavity instead of flowing into the room. If it looks crushed flat or torn, replace it before you reinstall the grille. Sealing this gap properly is a small detail that ties directly into how to clean RV air conditioner systems for maximum efficiency, because any air bypass here wastes cooling capacity the compressor already paid for.
Step 3. Inspect the rooftop shroud and gasket
The rooftop shroud protects your AC's internal components from rain, UV exposure, and road debris. Climbing up to inspect it is a required part of a complete how to clean rv air conditioner job, because a cracked shroud or a failed gasket can allow water into places that cause far more damage than a dirty filter ever would.
Remove and inspect the shroud
Most RV AC shrouds snap or screw into place along their bottom edge and lift off once you remove four to six fasteners around the perimeter. Set the shroud aside on a flat, stable area of the roof and inspect it closely for cracks, UV brittleness, and broken mounting tabs. Run your hand across the surface and press gently on any areas that look faded or discolored. Brittle plastic flexes more than it should and may crumble slightly under pressure.
A shroud with a crack longer than two inches or with broken mounting tabs should be replaced before your next trip, since wind at highway speeds can pull a damaged shroud completely off the roof.
Use your garden hose on a low-pressure setting to rinse the inside of the shroud, removing wasp nests, leaf debris, and compacted dirt from the interior walls. Avoid directing the spray at any exposed electrical components visible once the shroud is off.
Check the roof gasket
The gasket sits between the base of the AC unit and your roof deck, and its job is to create a watertight seal that keeps rain from working into your ceiling. With the shroud off, run your fingers along the full perimeter of the gasket and look for compressed spots, tears, or sections that have pulled away from the mounting surface.
Press down on the AC unit itself and watch whether the gasket compresses evenly or shows gaps on one side, which can signal that the mounting bolts need tightening. Gasket material is inexpensive and available at most RV supply retailers. Replace the entire gasket rather than patching individual sections if you find any spot that no longer holds a firm seal, since partial patches rarely survive a full season of temperature cycling.
Step 4. Clean condenser and evaporator coils
The coils are where most of your AC's actual work happens, and they're also where the most damaging buildup tends to accumulate. With the shroud off and the interior grille already removed, you now have direct access to both sets of coils. Cleaning them is the most impactful step in the entire how to clean RV air conditioner process, and it's worth doing carefully rather than rushing through.
Clean the evaporator coils (inside)
The evaporator coils sit directly above the interior air box, facing downward into the cabin. These coils absorb heat from your indoor air, so a layer of dust on their surface acts like insulation and forces the compressor to run longer to achieve the same result. Before applying any cleaner, vacuum loose debris off the coil surface using a soft brush attachment on your shop vac, working along the fin rows rather than across them to avoid bending anything.
Apply a no-rinse foaming coil cleaner directly to the evaporator coils. Hold the can about six inches away and spray in short, even passes until the entire coil surface is covered. The foam will penetrate the fin rows, lift contaminants, and drip down into the drain pan below, carrying debris with it. You do not need to rinse the evaporator coils. Let the foam work for the time listed on the product label, typically five to ten minutes, then wipe the drain pan clean with a damp cloth once the foam has drained through.
Never use a pressure washer or high-pressure stream on evaporator coils, since the fins bend easily and damaged fins restrict airflow just as much as dirt does.
Clean the condenser coils (outside)
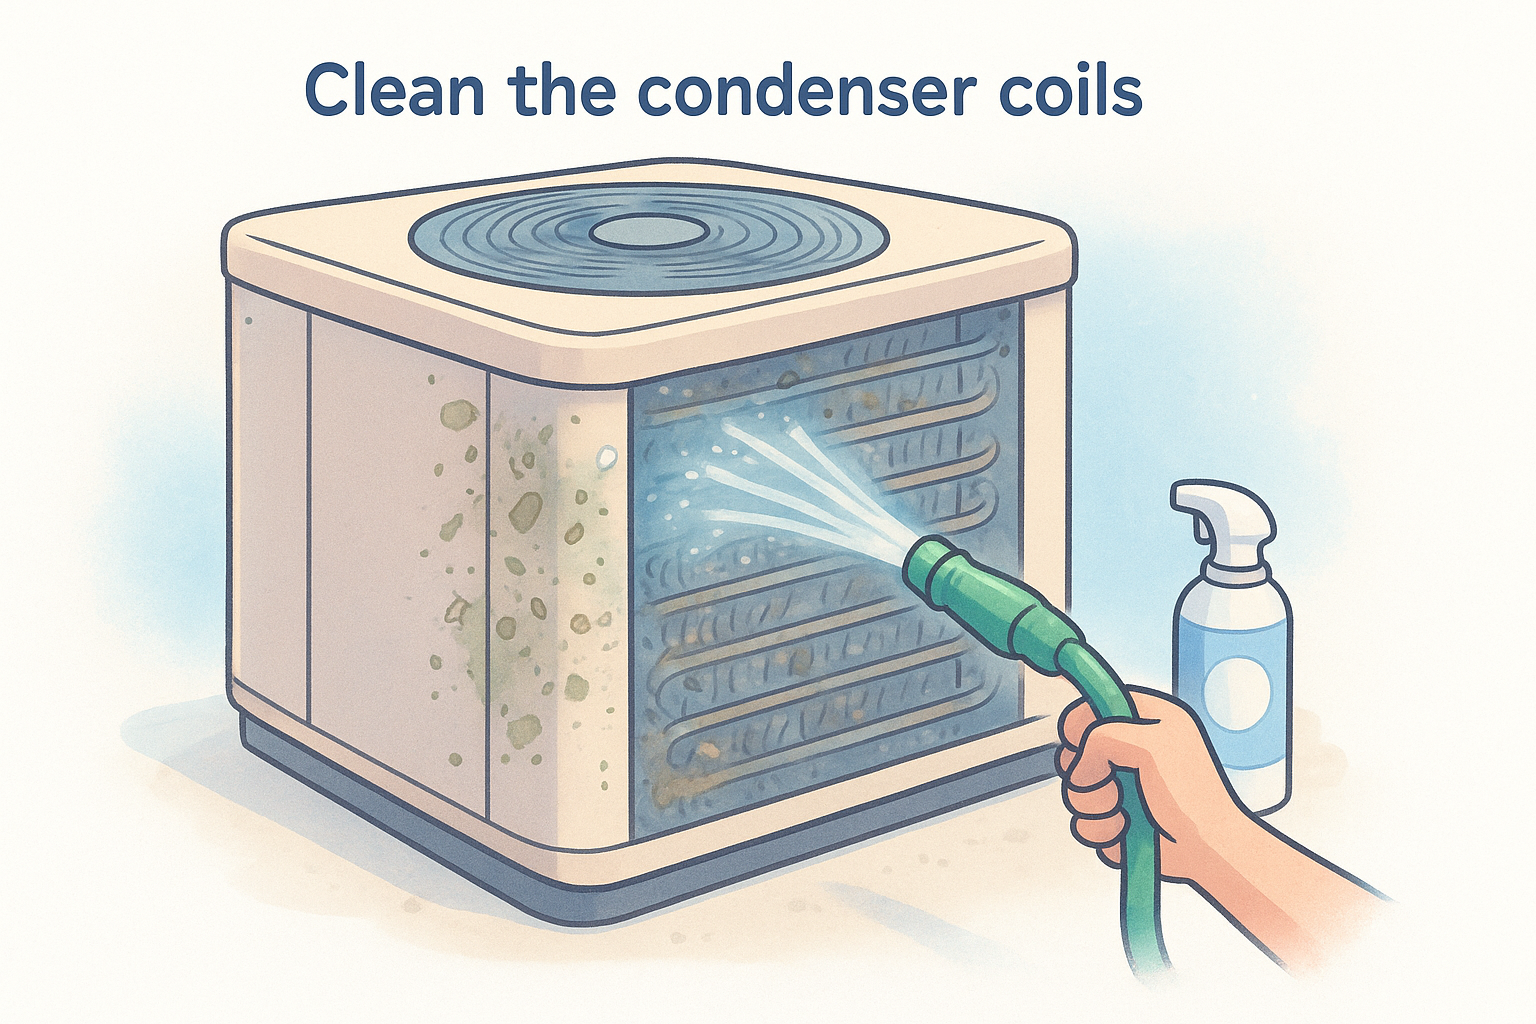
The condenser coils wrap around the exterior of the rooftop unit and release heat to the outside air. Road grime, cottonwood seeds, and insect debris pack tightly into these fins over a season. Spray the coils with your garden hose on a low-pressure setting, working from the inside of the unit outward so you push debris away from the coil rather than deeper into it. Follow up with the same foaming coil cleaner you used inside, let it sit, then rinse thoroughly until the water runs clear.
Step 5. Straighten fins and clear drain paths
Bent fins and blocked drain holes are two problems that cleaning alone cannot solve, yet both directly affect how well your unit performs after you put everything back together. This step rounds out the complete how to clean RV air conditioner process by addressing physical damage that restricts airflow and causes water to back up inside the unit.
Straighten bent cooling fins
The aluminum fins on both your evaporator and condenser coils bend easily, sometimes from a branch on the road, sometimes just from debris impact at the campground. Even a small section of crushed fins reduces the surface area available for heat transfer, which means your compressor works harder for weaker results. Inspect the full face of each coil after cleaning and look for rows where the fins are pressed flat or folded over.
A fin comb is the correct tool for this job. Using a flathead screwdriver or your fingernail risks tearing the fin entirely rather than straightening it.
Use a fin comb matched to your coil's fin density, which is typically stamped on the coil housing as fins per inch. Insert the comb at the bottom of a damaged section and draw it upward in a single, steady stroke. Work in short sections of six inches or less rather than trying to straighten an entire coil face in one pass. On evaporator coils inside the unit, use a flashlight to confirm you've covered every visible row before reassembling.
Clear the drain pan and drain hole
Your evaporator coil sits above a shallow plastic drain pan that collects condensation and channels it outside through a small drain hole or drain tube. That hole clogs with algae, mold, and airborne debris faster than most owners expect, and a blocked drain pan overflows into your ceiling rather than draining outside.
Here's how to clear it properly:
- Wipe the drain pan completely clean with a damp cloth after the coil cleaner has drained through.
- Locate the drain hole at the lowest point of the pan and probe it with a pipe cleaner or a thin stiff wire.
- Pour a small amount of warm water into the pan and confirm it drains freely before you reinstall the grille.
- Add a single condensate pan tablet (available at HVAC supply stores) to slow algae growth between cleanings.
Final checks and maintenance schedule
Once you've finished the cleaning process, reassemble everything in reverse order: install the drain pan tablet, reinstall the interior grille, and secure the rooftop shroud back into place. Power the unit back on and let it run for ten minutes while you stand below the grille and check for strong, even airflow across the entire vent face. A unit that was struggling before the cleaning should feel noticeably colder within the first few minutes.
Running through the full how to clean RV air conditioner process twice per year, once before summer and once before storage, keeps most units performing well for a decade or longer. Check and wash your interior filter every four to six weeks during heavy use seasons. If you complete all these steps and the unit still underperforms, the problem likely lives deeper than cleaning can reach. Find a mobile RV technician near your location to get a professional diagnosis without breaking camp or towing your rig anywhere.