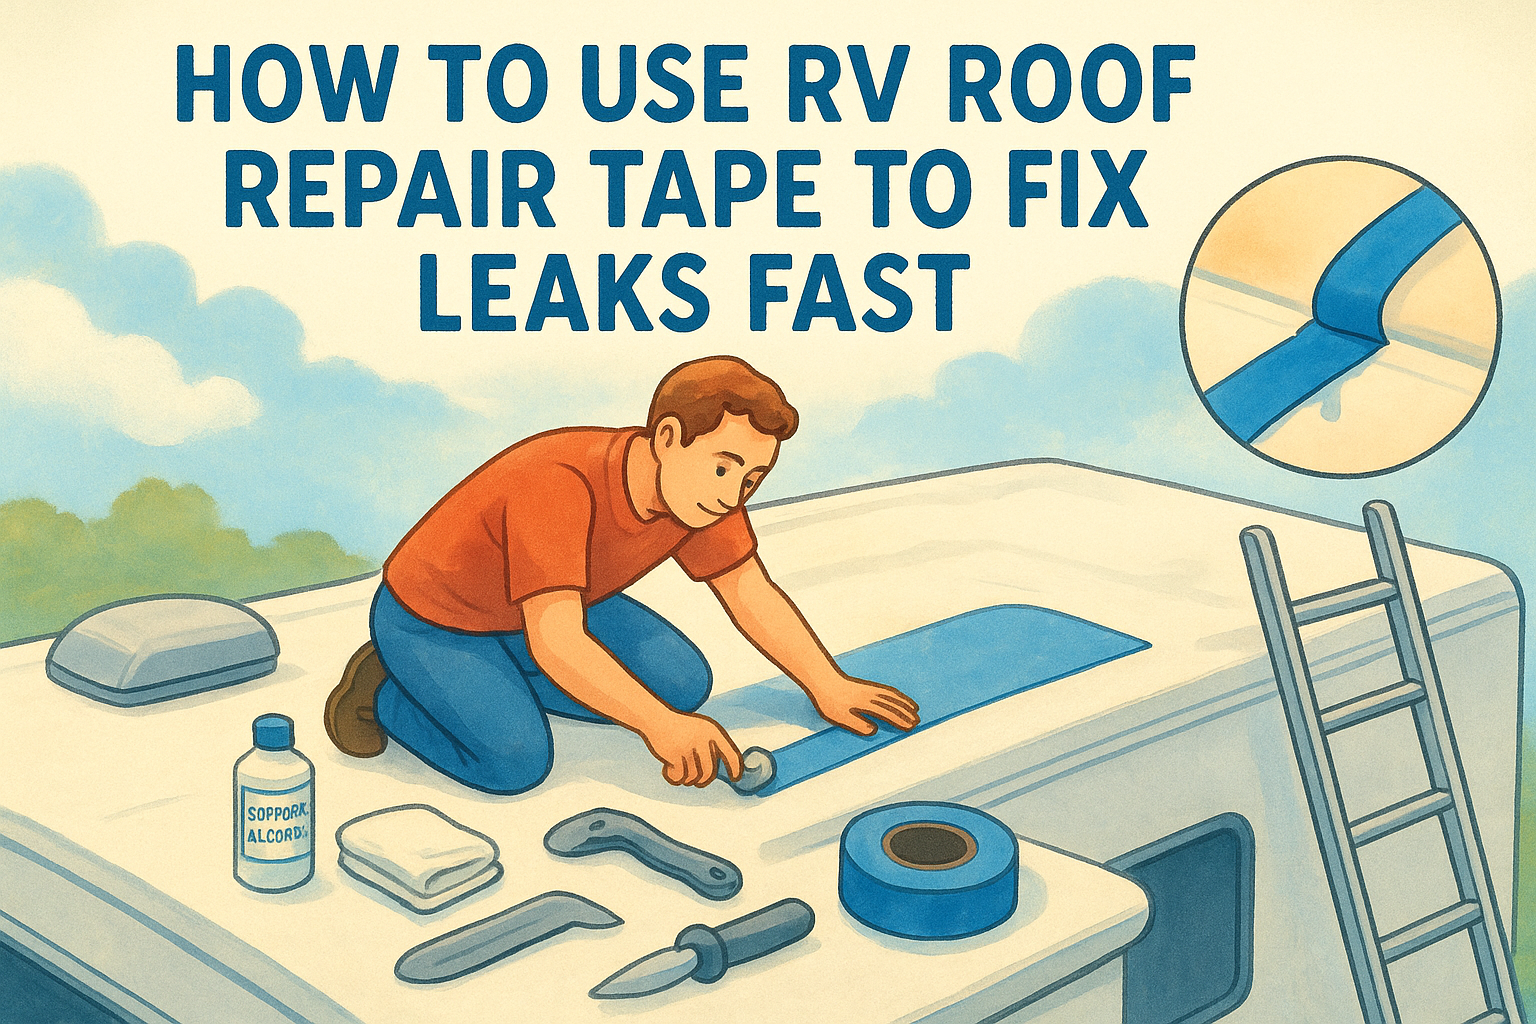
How to Use RV Roof Repair Tape to Fix Leaks Fast
A slow drip in the ceiling can turn into a soaked mattress and a moldy subfloor faster than most owners expect. That's why so many RVers reach for rv roof tape repair the moment they spot a stain or feel a soft spot overhead. It's cheap, it works on the road, and you don't need to pull the rig into a shop to stop water from getting in.
The right tape for rv roof repair can seal a seam or a small crack in under an hour, and it'll hold up through rain, sun, and highway vibration if you prep the surface correctly and pick a tape rated for your roof material. This guide walks you through exactly how to do that, step by step.
Below, you'll learn how to identify the leak, clean and dry the area, choose between butyl, EPDM, and self-leveling rv roof repair tape, and apply it so it actually bonds instead of peeling off after the first storm. We'll also cover when tape is a fine long-term fix and when it's just buying you time until a technician can take a closer look.
What you need before taping an RV roof leak
Grab the wrong tape and you'll be redoing this job in a week. Before you climb up on the roof, spend ten minutes matching your roof material to the right product and gathering supplies so you only make one trip up the ladder.
Know your roof material first
Most RVs have a rubber roof, either EPDM or TPO, though older units and some travel trailers use fiberglass or aluminum. Butyl tape sticks well to almost anything but stays soft and can ooze in extreme heat. EPDM-specific tape flexes with rubber roofs without cracking. Self-leveling sealant tape works best around vents and antennas where water pools. Check your owner's manual or run a hand along the surface. Rubber feels slightly tacky and flexible, fiberglass feels hard and smooth, aluminum is cold and rigid.
EPDM Rubber EPDM-compatible butyl tape Avoid solvent-based adhesives that degrade rubber TPO Rubber TPO-specific tape or Dicor-style tape Check compatibility label before buying Fiberglass Butyl tape or acrylic tape Bonds well to smooth, hard surfaces Aluminum Butyl or aluminum flashing tape Clean thoroughly, metal holds grimeMatching the tape to the roof material matters more than the brand name on the box.
Gather your tools and supplies
Having everything within reach cuts your job time in half and keeps you from tracking dirt across a wet seam.
- RV roof repair tape (correct type for your roof)
- Isopropyl alcohol or dedicated roof cleaner
- Lint-free rags or paper towels
- Utility knife or scissors
- Roller or putty knife to press down seams
- Ladder rated for your weight plus tools
- Rubber-soled shoes for grip
- Chalk or marker to trace the repair area
Skip any step here and the tape adhesion suffers, no matter how good the product is.
Step 1. Inspect and clean the roof surface
Walk the entire roof in daylight, not just the spot where you saw the ceiling stain. Water travels along seams and framing before it drips through, so the leak's actual source might sit two feet from where you noticed damage inside. Press on soft spots, check every vent, antenna base, and AC skirt, and look for cracked caulk or lifted seam tape from the old repair.
Once you've marked the trouble spots with chalk, clean the area thoroughly before touching any rv roof repair tape to the surface. Wipe down the section with isopropyl alcohol or a dedicated roof cleaner, working in small sections so it doesn't dry before you wipe it off. Scrape away any old caulk, dicor, or peeling tape residue with a putty knife. Rubber roofs especially hold onto chalky oxidation that looks clean but blocks adhesion.
Tape won't bond to dirt, oxidation, or old sealant, no matter how good the adhesive is.
Let the surface dry completely, ideally 20 to 30 minutes in direct sun. Skipping this step is the number one reason roof tape fails within days instead of years.
Step 2. Cut and apply the roof repair tape
Measure the crack or seam gap, then cut your rv roof repair tape at least two inches longer on each side than the damaged area. Round the corners of every piece with scissors before you peel the backing. Sharp corners catch wind and dirt, and they're usually the first spot a patch starts lifting.
Work the tape on while the roof is warm, ideally between 60 and 85 degrees, since cold tape won't flex into seams and hot tape can stretch out of shape as you handle it. Peel back a few inches of backing paper at a time instead of pulling it all off at once. Line up one edge, press it down, then slowly roll the tape forward while pulling the backing away underneath it.
Rushing the application is the fastest way to trap air bubbles under the tape.
Once the strip is down, go over the entire surface with a roller or the flat side of a putty knife. Push from the center outward to force out any trapped air and get full contact with the roof.
Step 3. Seal the edges and test for leaks
Run your finger along every edge of the tape once it's pressed down. Any spot that lifts even slightly needs a bead of compatible sealant, since a raw edge gives wind and rain something to grab onto.
Lock down the perimeter
Apply a thin line of self-leveling lap sealant or Dicor-style caulk along the outer edge of the tape, feathering it out with a gloved finger so water sheds off instead of pooling. Skip silicone caulk on rubber roofs, it doesn't bond well and actually blocks future repairs from sticking. Let the sealant cure per the label, usually 24 hours, before you drive or expose the roof to heavy rain.
A sealed edge is what keeps your rv roof tape repair from unzipping in high wind.
Run a water test before you trust it
Once cured, test the patch before you hit the road:
- Have someone inside watching the ceiling
- Run a hose over the patched area for 10 minutes
- Check corners and edges specifically, not just the center
- Wait a full day and inspect again after any rain
Catching a weak spot now beats finding it 200 miles from home.
Troubleshooting tape problems and long-term care
Even a careful job can loosen up after a few months of highway vibration and UV exposure, so check on your rv roof tape repair every time you wash the rig. Catching a lifted corner early costs you five minutes; ignoring it costs you a new ceiling panel.
Why tape lifts or bubbles
Bubbling usually means moisture got trapped under the patch before it cured, or the roof was too cold when you applied it. Lifting edges point to a gap in the sealant bead or dirt that snuck back under the tape during application. Peel the affected section, re-clean the surface, and reapply rather than laying a second strip over the failure.
A patch that's bubbling or lifting within weeks almost always traces back to surface prep, not the tape itself.
Building a maintenance routine
Most roof repair tape holds for two to five years depending on sun exposure and roof pitch. Add these checks to your seasonal routine:
- Inspect all tape edges every three months
- Re-caulk lap sealant once it looks chalky or cracked
- Wash the roof with mild soap, never pressure wash directly on patches
- Replace tape that's stretched, torn, or curling at the edges
Keeping your roof leak-free on the road
Taping an RV roof isn't complicated once you match the product to your roof material, clean the surface properly, and take the time to seal every edge. Most leaks that turn into ceiling repairs start as small gaps that a careful rv roof tape repair job would have stopped cold. Skip a step and you'll be back up the ladder in a month; follow the process and you'll get years out of a patch that costs less than a tank of gas.
Tape is a solid fix for small seams and cracks, but it's not a substitute for a real diagnosis when water keeps finding new paths in or the damage looks bigger than a patch can handle. If you're on the road and need a second opinion or a technician who can inspect the whole roof system, check out the remote assistance and membership features that connect you with vetted help wherever you're parked.