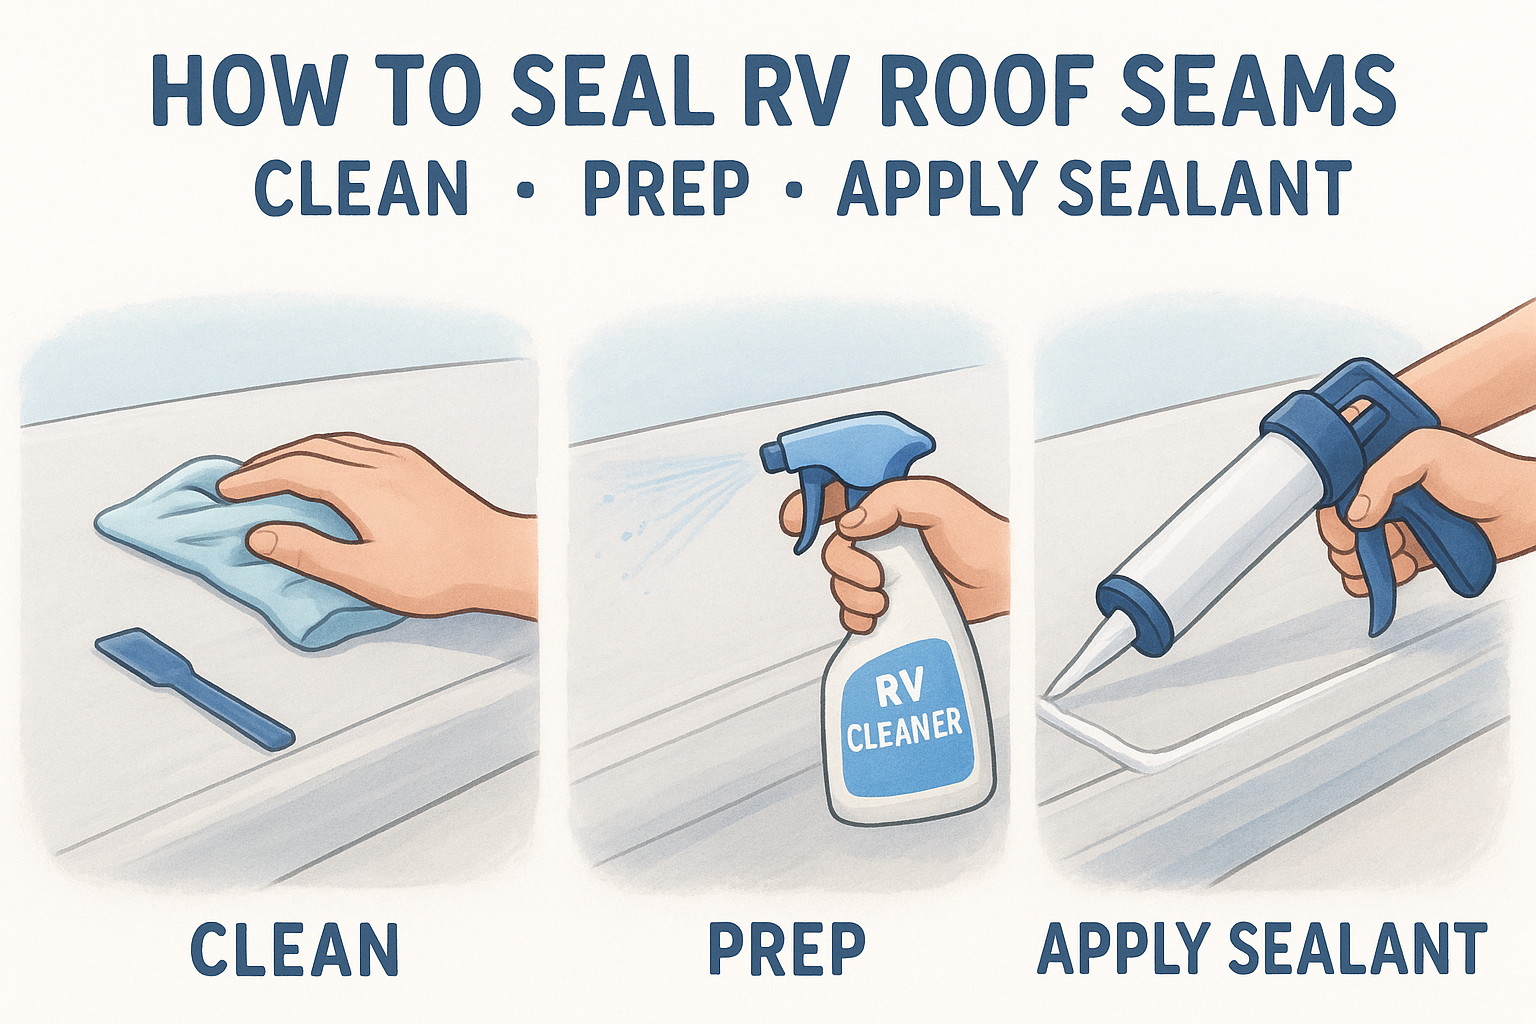
How To Seal RV Roof Seams: Clean, Prep, Apply Sealant
Water only needs a pinhole-sized gap to get under your RV roof membrane, and once it does, the damage spreads fast. Delaminated walls, rotted framing, and mold, all from a failed seam you could have caught months ago. Knowing how to seal RV roof seams is one of the most practical maintenance skills any RV owner can pick up, and it doesn't require a shop visit or expensive tools. A few hours of focused work can save you thousands in structural repairs down the road.
This guide walks you through the full process: cleaning your roof surface, prepping the seams, choosing the right sealant for your roof type, and applying it correctly so it actually holds. Whether you're dealing with a seam that's already cracking or just staying ahead of the problem, every step is covered.
That said, not every roof situation is a DIY fix. If you find damage beyond surface-level seam failure, MobileRVService.com connects you with mobile RV technicians across North America who can come to your location and handle the repair on-site, no need to break camp or tow to a dealership.
What you need before you start
Before you start working through how to seal RV roof seams, gather everything you'll need in one spot. The work itself isn't complicated, but having the right materials on hand and knowing your roof membrane type before you begin prevents you from leaving an open, prepped seam exposed while you run to the hardware store mid-job.
Tools and safety gear
Working on an RV roof means working at height on a surface that can be slippery, especially if it's damp or has algae growth on it. Non-slip rubber-soled shoes are a must, and if your RV is a Class A or Class C, use a stabilized ladder rated for your weight before you climb. You'll also want nitrile gloves to protect your hands from lap sealant, which is sticky, hard to remove from skin, and can cause irritation on contact.
Here's what to gather before you go up:
- Non-slip rubber-soled shoes or boots
- Stabilized extension ladder (for Class A or Class C height)
- Nitrile gloves (bring at least 2 pairs)
- Safety glasses
- Painter's tape for clean sealant lines
- Plastic scraper or putty knife
- Stiff-bristle brush
- Clean rags or paper towels
Never work on an RV roof alone if you need a ladder. Have someone stabilize the base before you climb.
Cleaning and prep supplies
Removing old sealant and surface contaminants is the step most people rush, and it's exactly where most sealing jobs fail early. Lap sealant bonds poorly to dirty, oily, or dusty surfaces, so your cleaning supplies matter just as much as the sealant you choose. Use a dedicated RV roof cleaner rather than a general household degreaser, since many household products leave a residue that interferes with adhesion on TPO, EPDM, and fiberglass membranes.
Keep these on hand before you start:
- RV-specific roof cleaner (confirm compatibility with your membrane type)
- Mineral spirits or acetone for stubborn old sealant residue
- Isopropyl alcohol (70% or higher) for the final surface wipe-down
- Lint-free cloths
- Soft-bristle scrub brush
Having everything staged near your rig before you climb up keeps the job moving and ensures you don't leave a prepped seam sitting open while you search for a missing supply.
Step 1. Inspect seams and pick the right sealant
Before you apply anything, walk the entire roof and check every seam, edge, vent collar, skylight frame, and antenna mount. Lap sealant fails gradually, so what looks fine from the ground can show cracks, voids, or lifting edges up close. Run a gloved finger along each seam and press lightly. If the existing sealant flexes without cracking, it may still have life in it. If it's brittle, pulling away, or has visible gaps, mark those spots with painter's tape so you don't miss them when you come back with cleaning supplies.
Know your roof membrane type
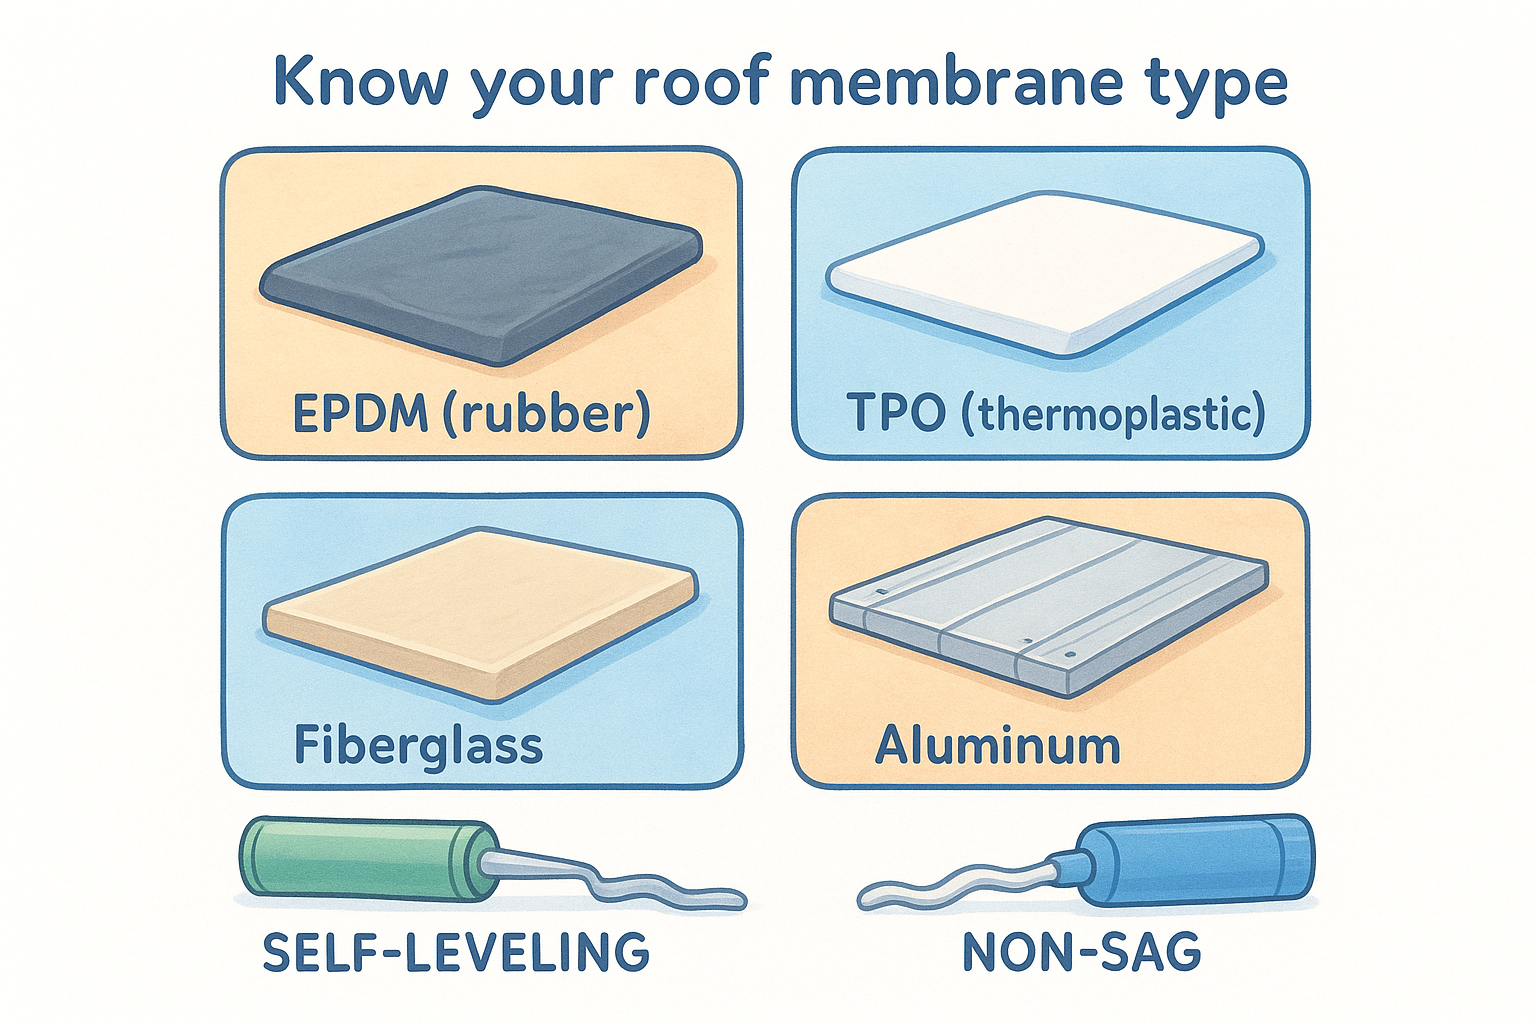
Your roof membrane determines which sealant you can use. Picking the wrong product means it won't cure correctly and will peel off within a season. The four most common RV roof materials are EPDM (rubber), TPO (thermoplastic), fiberglass, and aluminum. Check your owner's manual or look for a spec sticker inside a cabinet near the chassis if you're unsure.
Match the sealant to the surface
Once you know your membrane type, pick a self-leveling sealant for flat horizontal seams and a non-sag formula for vertical edges, sidewalls, and trim. A self-leveling product applied to a vertical seam will run before it cures. Brands like Dicor and Geocel make membrane-specific lap sealants, and each product label clearly states which roof types it supports.
Confirming sealant compatibility before you buy is the single step that determines whether your work on how to seal rv roof seams actually holds through the next rain.
Step 2. Clean and prep the seam the right way
Cleaning is what determines whether your new sealant bonds permanently or peels off after the first heavy rain. Oils, road grime, and oxidation block adhesion even when a surface looks clean to the eye, so every minute you spend on prep directly extends how long the repair holds.
Remove old sealant first
Use a plastic scraper held at a low angle to lift the bulk of the old material without gouging the membrane below. For residue that won't scrape free, apply mineral spirits or acetone to a lint-free cloth and rub the area until it clears. Work in small sections so the solvent doesn't dry before you wipe it away.
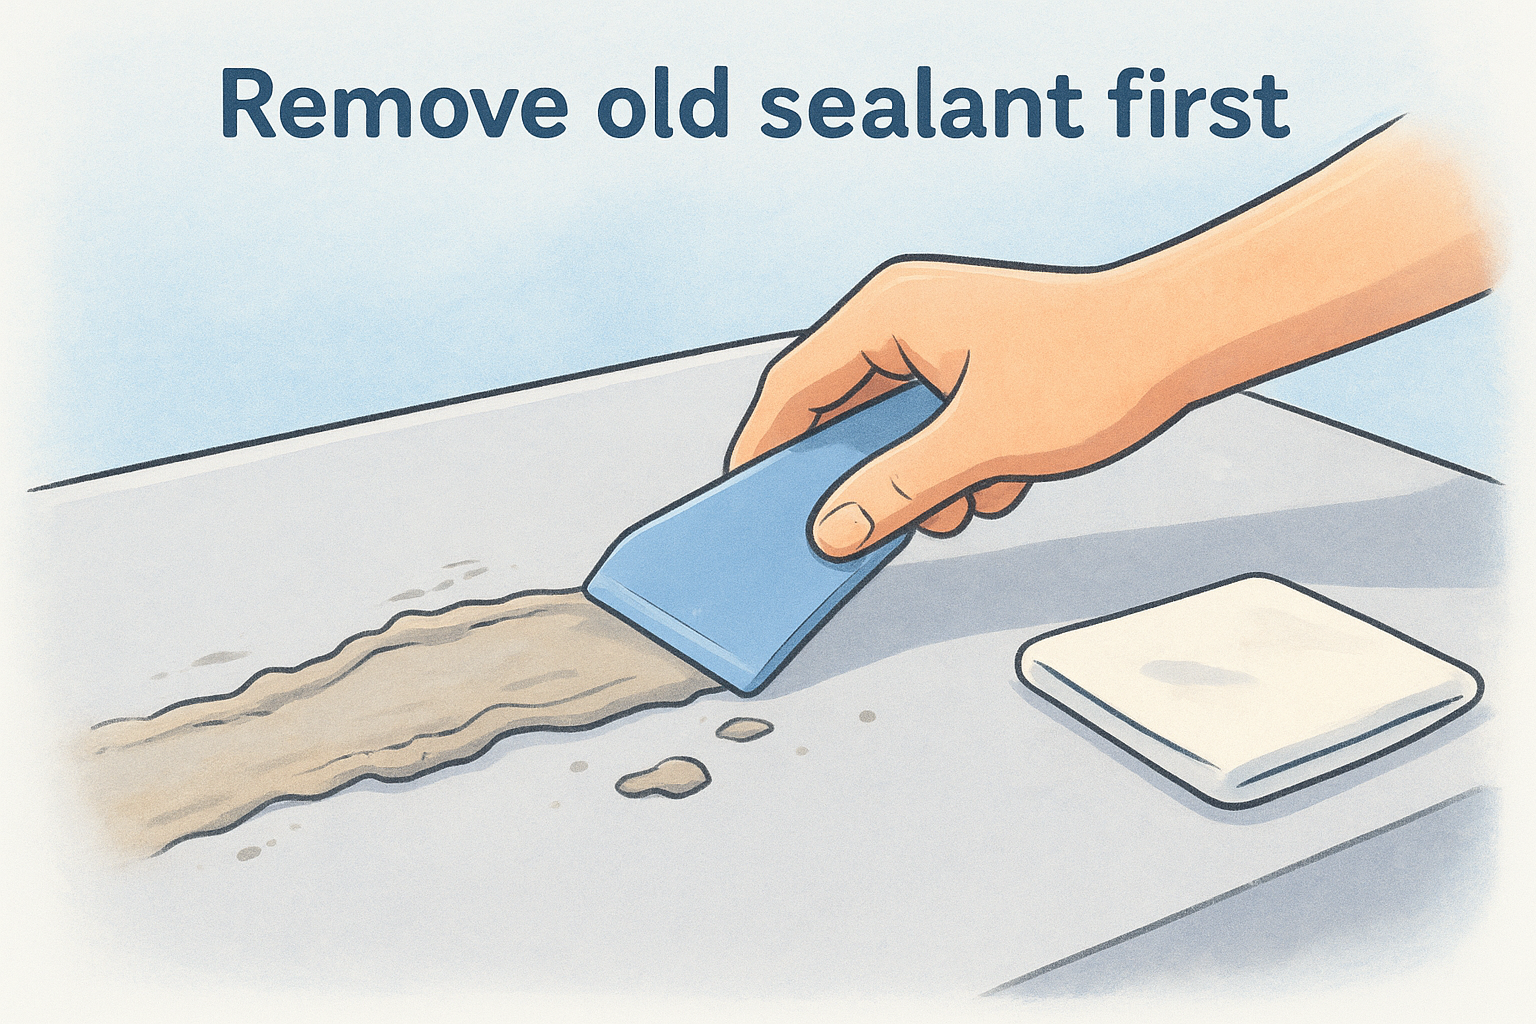
Never use a metal scraper on EPDM or TPO. It cuts into the membrane surface and creates new entry points for water.
Clean and dry the surface before you seal
Apply your RV-specific roof cleaner with a stiff-bristle brush and scrub the entire seam area. Rinse with clean water, then wait 20 to 30 minutes for the surface to fully dry in warm conditions.
Your final step is wiping the seam with isopropyl alcohol on a lint-free cloth. This removes any remaining cleaner residue and gives the new sealant a clean, dry bonding surface. Apply sealant immediately after the alcohol dries. Waiting too long lets dust settle back onto the prepped surface, which is one of the most overlooked reasons a fresh repair fails when working through how to seal rv roof seams.
Step 3. Apply lap sealant for a watertight finish
With your surface clean and dry, you're ready to apply the sealant. Load your caulking gun with the lap sealant tube and cut the tip at a 45-degree angle, opening it to roughly 3/8 inch wide. A wider opening lets you lay a thick enough bead to fully bridge both sides of the seam in a single pass.
Lay the bead and work in sections
Apply consistent forward pressure on the caulking gun trigger while moving along the seam at a steady pace. Work in 12-inch sections so you can tool each bead before it starts to skin over, which typically happens within 10 to 15 minutes in warm weather. Keep the bead centered over the seam so it extends at least 3/4 inch onto the membrane on each side.
Sealant that only covers the seam edge without extending onto both membrane surfaces will lift at the edges within one season.
Smooth and seal the edges
Once you've laid a section, use a gloved finger or plastic spreader to press the bead firmly down and smooth the edges flat. This removes air pockets and ensures the sealant makes full contact with the membrane on both sides.
Getting how to seal rv roof seams right means giving equal attention to the tooling step, not just the application. Remove the painter's tape while the sealant is still wet, pulling it back at a low angle to leave a clean, defined edge. Let the sealant cure for 24 hours before exposing the roof to rain or foot traffic.
Step 4. Patch tears and gaps with tape or a roof kit
Lap sealant handles seam maintenance well, but physical tears, punctures, or large gaps need more than a sealant bead to hold. For these areas, self-adhesive butyl tape or an RV roof repair kit provides a mechanical patch that bonds directly to the membrane and bridges damage that sealant alone can't span.
When to use tape instead of sealant
Use tape when you find a tear longer than 1 inch, a lifted membrane edge, or a puncture that creates a gap rather than a hairline crack. Butyl tape is pressure-sensitive and conforms to irregular surfaces, making it a reliable fix for areas around vent flanges, slide toppers, and corners where the membrane has separated from the substrate.
- Cut the tape 2 inches longer than the damaged area on each end
- Round the corners of the cut piece with scissors to prevent edge peeling
- Press firmly from the center outward to eliminate air bubbles beneath the patch
How to apply a roof repair kit patch
RV roof repair kits typically include a pre-cut patch, a primer wipe, and a roller tool. Clean the damaged area first using the same isopropyl alcohol wipe-down covered in Step 2, then apply the included primer and let it tack for 60 seconds before placing the patch.
Skipping the primer wipe that comes with a roof kit is the most common reason patches lift at the edges within weeks.
Roll the patch firmly using the included roller or a credit card, working from the center toward each edge. This locks in full adhesive contact and makes the repair hold through freeze-thaw cycles, which is the final physical step in learning how to seal rv roof seams from start to finish.
Next steps if you still see signs of leaks
Following the steps in this guide covers the most common causes of seam failure, but if you still notice water intrusion after the sealant has fully cured, the problem likely runs deeper than surface seams. Check the interior walls and ceiling panels for soft spots or discoloration, which can point to moisture that entered through a seam failure weeks or months before you started the repair.
Damage that has already reached the wood substrate or wall panels needs hands-on assessment from a qualified technician. Knowing how to seal rv roof seams is a valuable skill, but structural water damage requires professional tools that go beyond a tube of lap sealant. A mobile RV technician can come directly to your campsite, pull back affected material, and give you an accurate picture of what needs fixing before the damage spreads further. Find a mobile RV technician near your location and get on-site help without moving your rig.