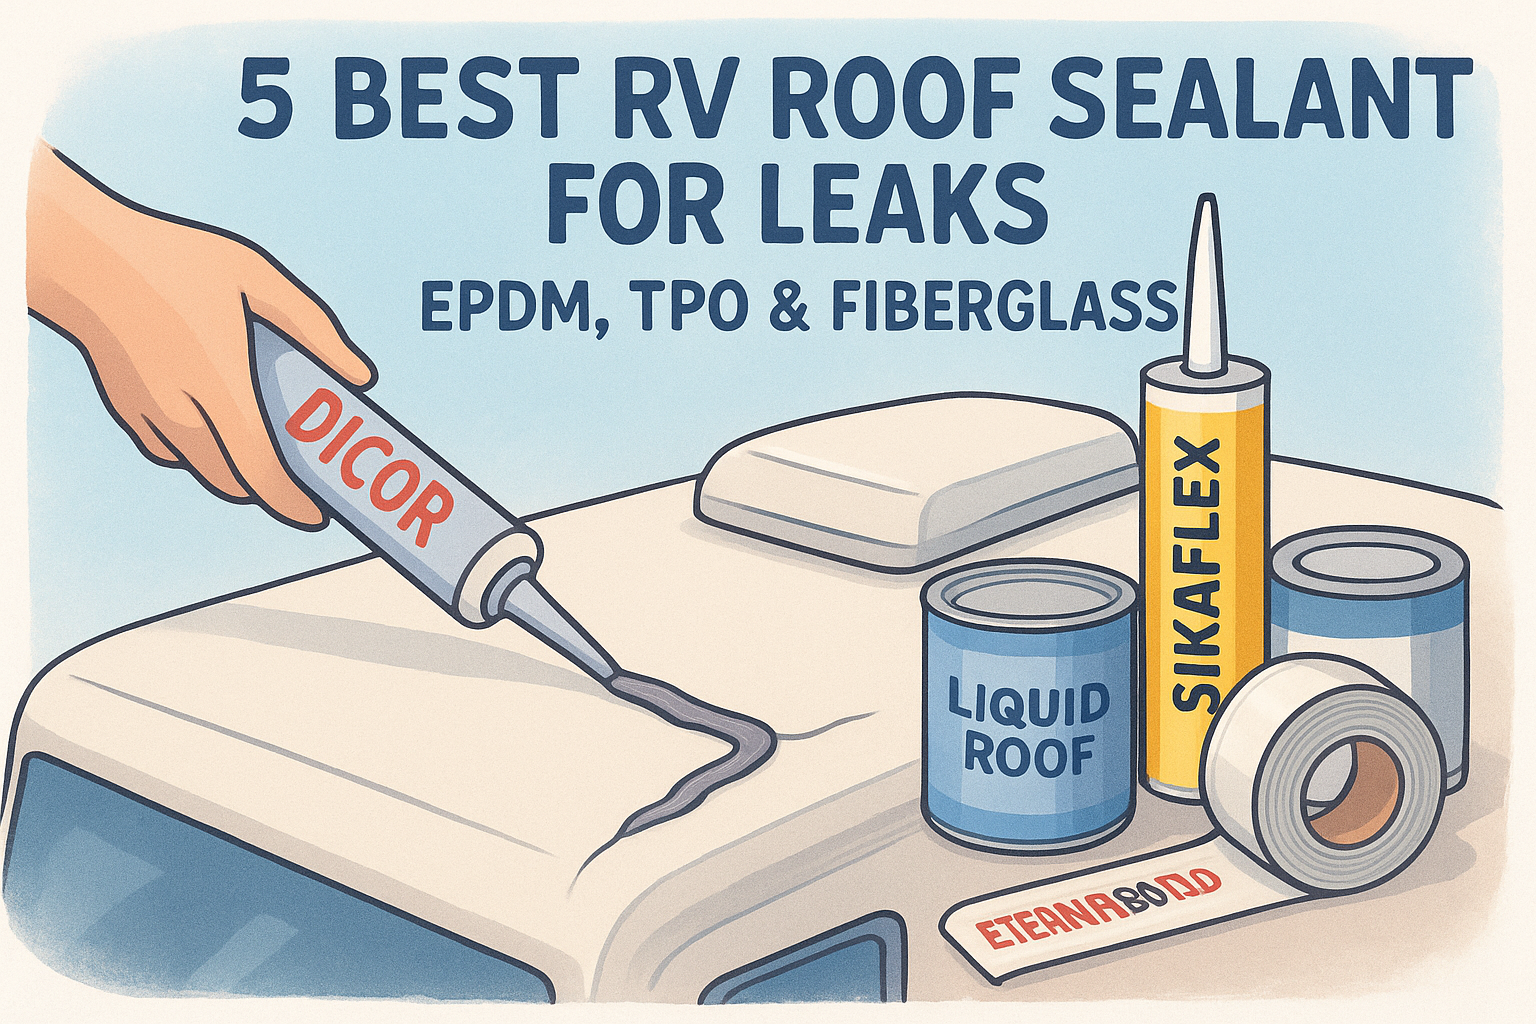
5 Best RV Roof Sealant For Leaks: EPDM, TPO & Fiberglass
A roof leak left unchecked will destroy an RV from the inside out, rotting wood, warping walls, and breeding mold behind panels where you can't see it. Finding the best RV roof sealant for leaks before minor damage becomes a major rebuild is one of the smartest moves you can make as an owner. But with dozens of products on the shelf, self-leveling caulks, lap sealants, liquid coatings, butyl tapes, picking the right one for your specific roof material matters more than most people realize.
EPDM rubber, TPO, and fiberglass each react differently to sealants, and using the wrong product can actually make things worse. We put together this guide based on real-world performance and compatibility so you can match the right sealant to your roof type with confidence. And if you discover damage that goes beyond a DIY seal, soft spots, delamination, or persistent leaks, our directory at MobileRVService.com connects you with mobile RV technicians who can come to your location and handle the repair on-site.
Here are five proven sealants worth your time and money, broken down by what they do best and which roofs they're made for.
1. MobileRVService.com leak inspection and reseal
Sometimes the best rv roof sealant for leaks is not a product you apply yourself but a professional who locates what you're missing. Before spending money on sealants, you need to know exactly where the water is entering and whether the underlying deck is still sound. MobileRVService.com connects you with mobile RV technicians who come to your campsite or driveway, inspect your roof, and reseal problem areas on the spot.
A leak that shows up at your interior ceiling vent may actually be entering ten feet away at a seam or antenna mount; only a hands-on inspection confirms the true source.
Best for
This option suits owners who have found water stains inside their rig but cannot pinpoint the exact entry point. It's also the right call when you notice soft spots on the roof deck, bubbling seams, or damage near vents and skylights that may signal delamination below the surface.
Pros and cons
Working with a mobile technician gives you expert diagnosis alongside the repair, which means you stop guessing at the source while spending money on products. The main trade-off is higher upfront cost compared to a DIY fix, and scheduling availability varies by location.
- Pros: Accurate diagnosis, sealant matched to your specific roof material, no hauling your rig anywhere
- Cons: Higher cost than a single tube of sealant, technician availability varies by region
Application tips
When your technician arrives, walk the roof with them if it is safe and point out every visible crack, seam gap, or discoloration you noticed. The more detail you share, the faster they can identify every problem area in one visit rather than scheduling a return trip.
Typical cost
A mobile roof inspection typically runs between $100 and $200, depending on your location and the technician's travel distance. Resealing vents, seams, and penetration points adds to that figure, but you pay for professional-grade materials and labor that generally outlast DIY patch jobs.
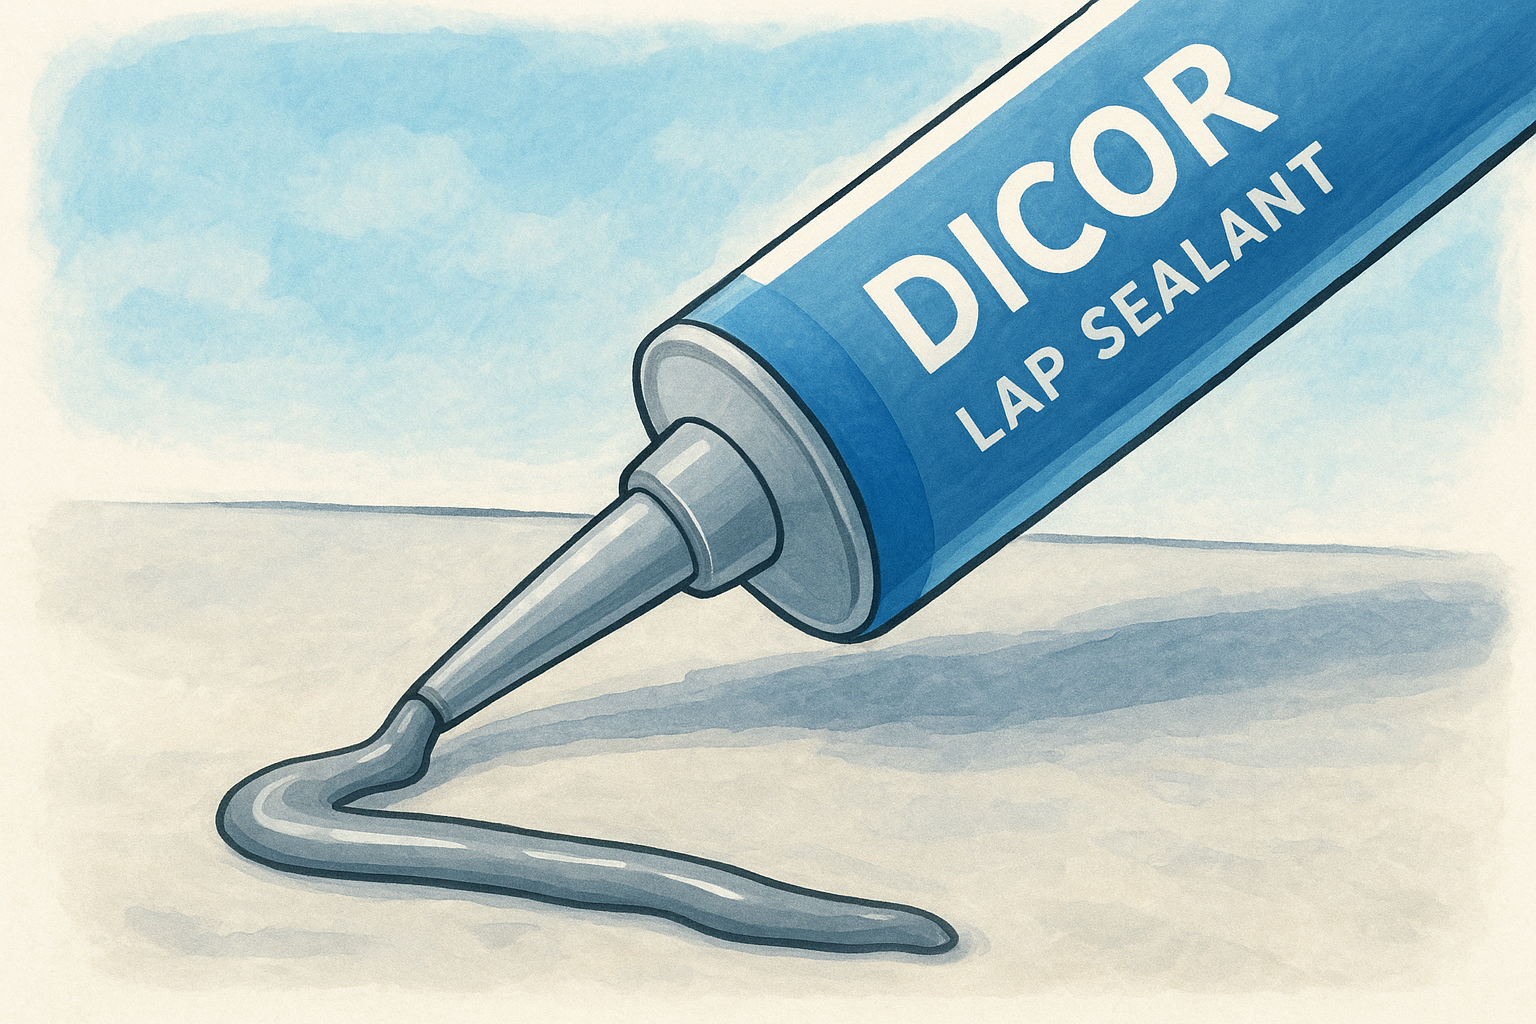
2. Dicor self-leveling lap sealant
Dicor is the most widely used lap sealant in the RV industry, and for good reason. Its self-leveling formula flows into gaps and low spots around vents, skylights, and roof edges, creating a watertight seal without requiring you to tool or smooth it by hand.
Best for
Dicor works best on EPDM rubber roofs and performs well on fiberglass surfaces too. It excels at sealing around roof penetrations like vents, air conditioner bases, and antenna mounts where water tends to pool and work its way in.
If you own an EPDM roof, Dicor's self-leveling formula is one of the most compatible and proven options for finding the best rv roof sealant for leaks.
Pros and cons
- Pros: Easy to apply, self-levels into gaps, widely available at RV supply stores
- Cons: Not compatible with TPO roofs, requires reapplication every one to two years
Application tips
Clean the surface thoroughly with isopropyl alcohol before applying. Apply when temperatures sit between 40°F and 100°F for proper adhesion and flow.
Typical cost
A standard 10.3-ounce cartridge runs between $10 and $15. Most vent reseals require one to two tubes.
3. Sikaflex 715 RV roof sealant
Sikaflex 715 is a polyurethane-based sealant built specifically for RV applications. It bonds aggressively to TPO, fiberglass, and metal surfaces, which makes it a strong option when Dicor's rubber-based formula is not compatible with your roof type.
Best for
Use it on TPO and fiberglass roofs where polyurethane adhesion outperforms latex and rubber alternatives. Target seams, trim edges, and areas subject to flex during travel, where rigid sealants tend to crack over time.
Pros and cons
This sealant cures into a flexible, paintable bond that handles road vibration without splitting. The downside is that it requires careful surface preparation and does not self-level, so you need to tool the bead smooth before the surface skins over.
- Pros: Compatible with TPO and fiberglass, strong flexibility after cure, paintable finish
- Cons: Requires tooling, longer cure window than Dicor
Sikaflex 715 is one of the few options that earns its place as a genuine best rv roof sealant for leaks on TPO roofs specifically.
Application tips
Prime the surface using Sika's compatible primer to maximize bond strength before applying. Work in temperatures above 40°F and smooth the bead within ten minutes before skinning begins.
Typical cost
A 10.1-ounce cartridge runs $18 to $25 at most RV supply stores. Budget one to two cartridges for a standard seam repair.
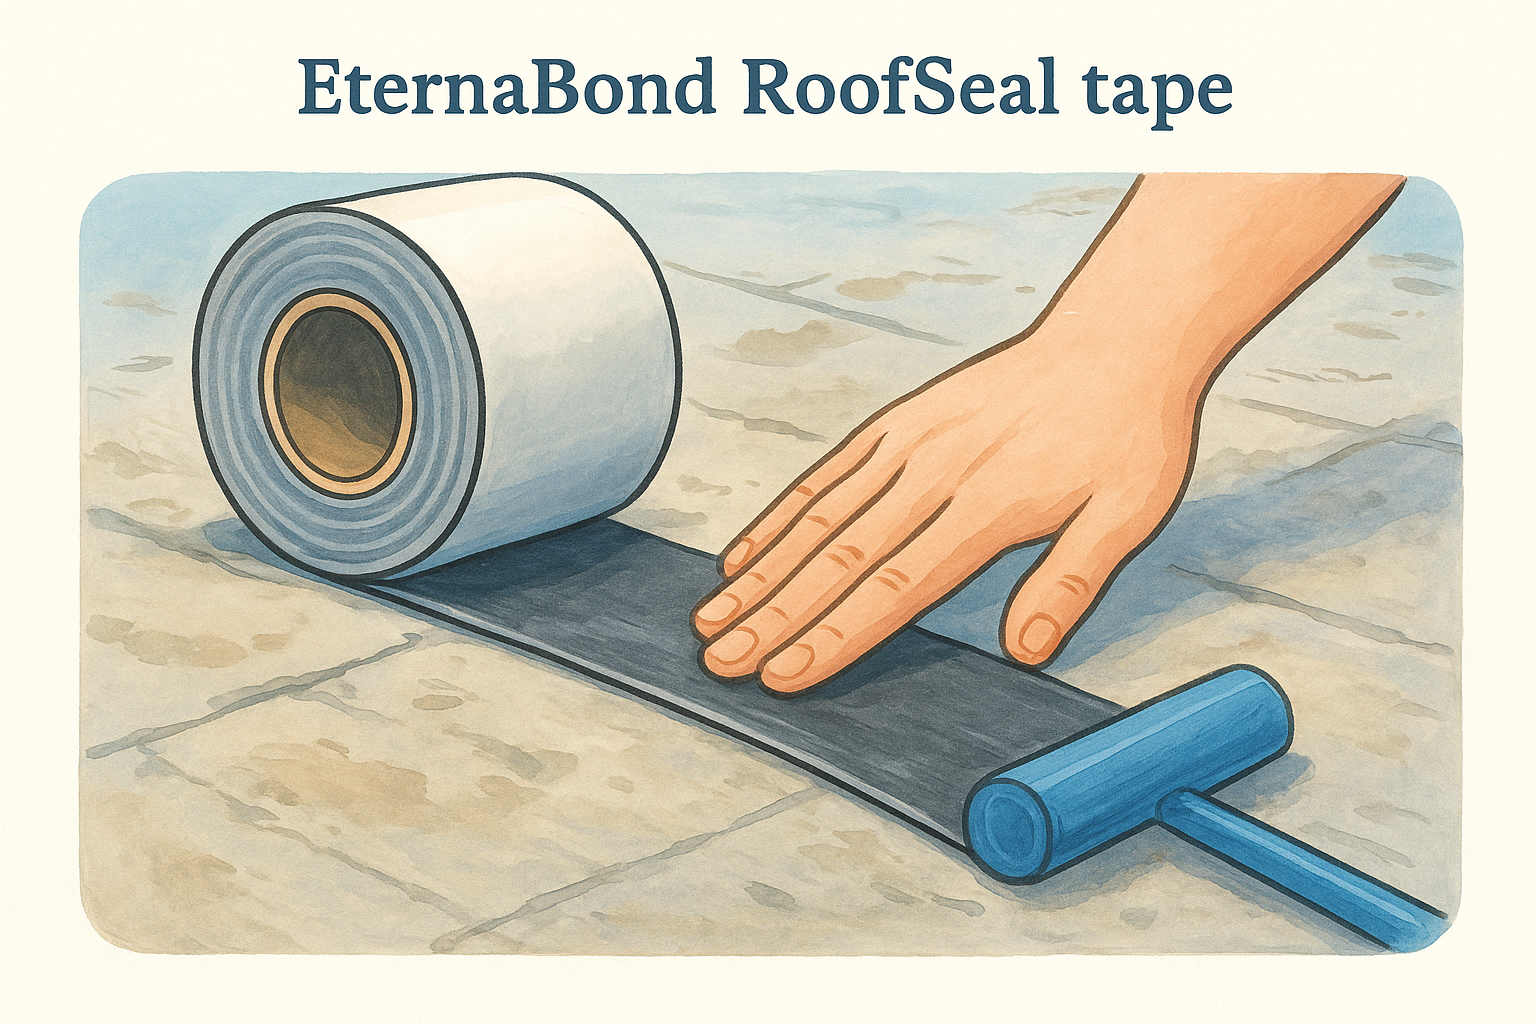
4. EternaBond RoofSeal tape
EternaBond RoofSeal is a butyl-based repair tape that bonds directly to the roof surface without caulk guns, mixing, or tooling. When you need a fast, durable fix for a seam split or stress crack while parked on the road, this tape covers the problem in one pass.
Best for
EternaBond works on EPDM, TPO, fiberglass, and metal roofs, making it one of the most versatile options available. It excels when you need the best rv roof sealant for leaks with minimal tools and no cure time waiting on you.
EternaBond creates a permanent-grade bond that often outlasts the sealants applied around it, which is why mobile technicians keep a roll in their service kits.
Pros and cons
This tape seals immediately after application, which matters when weather gives you a narrow repair window. The trade-off is that repositioning after contact is nearly impossible, so placement on the first try counts.
- Pros: Compatible with most roof types, no cure time, single-step application
- Cons: Hard to reposition once applied, requires a completely dry and clean surface for full adhesion
Application tips
Clean the repair area with isopropyl alcohol and let it dry fully before laying the tape down. Press firmly with a hard roller or stiff card edge to eliminate air pockets across the entire tape width.
Typical cost
A four-inch by 25-foot roll runs between $35 and $55. One roll handles most standard seam repairs and leaves tape remaining for future touch-ups.
5. Liquid Roof EPDM rubber coating
Liquid Roof is a one-part EPDM rubber coating you roll or brush onto your entire roof surface rather than targeting individual seams or penetrations. It cures into a seamless, flexible membrane that bonds directly to existing EPDM and stops chronic leaks across large areas that spot sealants cannot fully address on their own.
Best for
This coating works best for aging EPDM roofs with widespread surface cracking or owners who want a protective layer before problems develop. If you've applied the best rv roof sealant for leaks in multiple spots and water keeps finding new entry points, a full coating resets your entire roof surface in one application.
A full-surface EPDM coating eliminates the gap-by-gap guesswork that comes with repeated spot repairs on older roofs.
Pros and cons
- Pros: Covers the entire roof at once, compatible with EPDM, no seams left to fail
- Cons: Requires a full day of dry weather and significant surface preparation before applying
Application tips
Clean your roof completely and fill any deep voids with lap sealant before coating. Apply two thin coats rather than one thick layer for better long-term adhesion and cure.
Typical cost
A one-gallon unit covers roughly 50 square feet and runs between $60 and $90. Most full roof applications require two to four gallons depending on your rig size.
What to do next
You now have five solid options for stopping water intrusion, and the right choice comes down to your roof material and the size of the problem. Dicor handles routine EPDM maintenance, Sikaflex tackles TPO and fiberglass seams, EternaBond gives you a fast road-side fix, and Liquid Roof resets an aging surface entirely. When damage goes deeper than any of these products can fix, a professional inspection before buying the best rv roof sealant for leaks saves you money and time.
If soft spots, interior stains, or persistent leaks have you second-guessing your roof's condition, skip the guesswork and get a technician to your site. The MobileRVService.com owner features and remote assistance options walk you through how to find a vetted mobile tech in your area who can diagnose the damage and reseal your roof on the spot, wherever you are parked.