
RV PDI Inspection Checklist: How To Do Thorough Walkthrough
You've found your dream RV, negotiated the price, and you're ready to drive off into the sunset. But before you sign those final papers, there's one critical step that separates a smooth ownership experience from months of frustration: the rv pdi inspection checklist. This Pre-Delivery Inspection is your last line of defense against hidden defects, factory oversights, and dealer mishaps that could cost you thousands down the road.
Dealerships are supposed to perform their own PDI before handing over the keys, but relying solely on their inspection is a gamble. Rushed walkthroughs and overlooked issues are more common than most buyers realize. A systematic, item-by-item inspection, conducted by you or a qualified professional, ensures nothing slips through the cracks. Whether it's a leaky seal, a malfunctioning appliance, or an electrical gremlin, catching these problems before you leave the lot means the dealer fixes them on their dime, not yours.
This guide breaks down every system, component, and detail you need to check during your RV walkthrough. We've organized it into clear categories so you can work methodically without missing a thing. And if you'd rather have an experienced set of eyes handle the inspection, MobileRVService.com connects you with mobile RV inspectors across North America who can meet you at the dealership and perform a professional pre-purchase inspection on the spot. Either way, you'll drive away with confidence instead of crossed fingers.
What a PDI covers and how to prepare
A Pre-Delivery Inspection examines every functional system, structural component, and safety feature in your RV before you accept ownership. This process goes far beyond kicking tires and flipping light switches. Your rv pdi inspection checklist should cover the roof, slideouts, plumbing, electrical, propane, HVAC, appliances, windows, doors, and even the towing components on trailers. The goal is to identify manufacturing defects, shipping damage, and assembly errors while the dealer still holds legal responsibility for repairs. You're not looking for perfection in a used unit, but you are verifying that everything works as designed and that no major issues exist.
Dealerships typically allocate 30 to 90 minutes for their internal PDI, which sounds thorough until you realize how many systems need testing. Factory workers and transport crews may have rushed through quality checks, and dealer prep teams often focus on cosmetic details rather than mechanical function. Your inspection needs to be more rigorous. Plan to spend two to four hours methodically working through each category, and don't let sales pressure rush you through the process.
A proper PDI catches problems before they become your financial burden, not the dealer's warranty claim.
Core systems and components on your checklist
Your inspection divides into five major categories: documentation, exterior structure, interior living space, mechanical systems, and road testing. Within each category, you'll verify specific components against manufacturer specifications. The exterior check includes seals, panels, roof condition, awnings, and undercarriage integrity. Interior work covers cabinetry, flooring, slide mechanisms, and all furnishings. System testing means running water heaters, air conditioners, furnaces, refrigerators, generators, and converters under actual operating conditions.
You also verify safety equipment like smoke detectors, carbon monoxide alarms, fire extinguishers, and emergency exits. Slideouts need to extend and retract smoothly without binding or gaps. Every window and door must seal properly, latch securely, and show no cracks or distortion. Plumbing requires pressure testing for leaks, and electrical systems need load testing to confirm proper amperage and grounding.
What to bring with you
Physical tools and testing equipment make inspection far more effective than visual checks alone. Pack a voltage meter to test shore power connections and battery output. Bring a flashlight, ladder, and inspection mirror to examine the roof, undercarriage, and tight spaces. A smartphone with a camera documents every issue you find, creating timestamped evidence for dealer repairs.
Your preparation kit should include:
- Printed checklist with space for notes
- Voltage meter or multimeter
- Inspection mirror and flashlight
- Ladder (if roof access isn't provided)
- Tape measure
- Leveling tool
- Hose for water system testing
- Camera or smartphone
Who should perform the inspection
You can conduct the PDI yourself if you understand RV systems and feel confident identifying problems, but hiring a mobile inspector eliminates guesswork. Professional inspectors know exactly where manufacturers cut corners and which components fail most often. They also carry specialized testing equipment that reveals hidden issues. A mobile RV inspector from MobileRVService.com can meet you at the dealership, perform a comprehensive evaluation, and provide a detailed report the same day. This typically costs between $300 and $600 but often uncovers problems worth thousands in repairs.
Step 1. Verify paperwork and baseline specs
Before you touch a single switch or test a system, you need to confirm that what you're inspecting matches what you purchased. Start by requesting all documentation from the dealer: the owner's manual, warranty booklets, weight certificates, appliance manuals, and the original build sheet or window sticker. These documents establish the baseline specifications against which you'll compare the actual unit. If the dealer can't produce complete paperwork, that's a red flag that should delay the inspection until they provide it.
Documents to request and review
Your rv pdi inspection checklist begins with a paper trail. Ask for the VIN verification document, which proves the vehicle identification number matches all registration paperwork. Request the NADA or manufacturer spec sheet that lists the standard and optional equipment included in your purchase. You also need propane system certification, generator manuals, and any service records if the unit is used.
Compare each document against the purchase agreement. Verify that model numbers, serial numbers, and installed features match what you contracted to buy. If the agreement lists a 12-volt compressor refrigerator but the spec sheet shows absorption cooling, you've caught a discrepancy before signing. Take photos of every document for your records.
Mismatched paperwork often reveals substituted components or missing upgrades that should have been included in your purchase price.
Confirm build specs and features
Walk through the RV with the build sheet in hand and physically verify each listed feature. Check that the axle count, tire size, and gross vehicle weight rating (GVWR) on the federal certification label match the manufacturer specifications. Confirm that optional equipment like solar panels, upgraded suspension, or premium appliances actually exist and function.
Measure critical dimensions if towing capacity or garage fit matters. Verify slide counts, awning presence, and entertainment system components. If the build sheet promises a ducted air conditioner but you find a non-ducted unit, document it immediately. This step catches dealer prep errors, factory shipping mistakes, and intentional substitutions before they become your problem.
Step 2. Inspect the exterior and roof
The exterior shell protects everything inside your RV, and water intrusion causes more damage than any other failure mode. Your rv pdi inspection checklist must include a methodical examination of every seam, seal, and penetration point where moisture can enter. Start at ground level and work your way up, checking body panels, windows, doors, storage compartments, and finally the roof. Bring your ladder because dealership staff rarely spend adequate time on roof inspection, yet that's where most leaks originate.
Check body panels and seals
Walk around the entire perimeter and inspect every exterior seam for gaps, cracks, or missing sealant. Run your finger along window frames, door edges, and slideout seals to feel for irregularities. Check that all access panels and storage doors close flush without binding and that their latches engage properly. Look for loose trim pieces, delamination bubbles, and paint damage that indicate shipping or manufacturing problems.
Pay special attention to the area where slideouts meet the main body. Extend each slide fully and examine the rubber seals for tears, gaps, or improper alignment. Retract them and verify the seals compress evenly without gaps. Check clearance lights, marker lights, and any roof-mounted solar panels for secure mounting and intact wiring connections.
Inspect the roof membrane and penetrations
Climb onto the roof using a stable ladder and walk carefully to avoid damaging the membrane. Look for punctures, tears, soft spots, or standing water that indicate drainage problems. Inspect every penetration point where vents, antennas, air conditioners, and skylights breach the roof surface. The sealant around these components should show no cracks, gaps, or separation from the mounting surface.
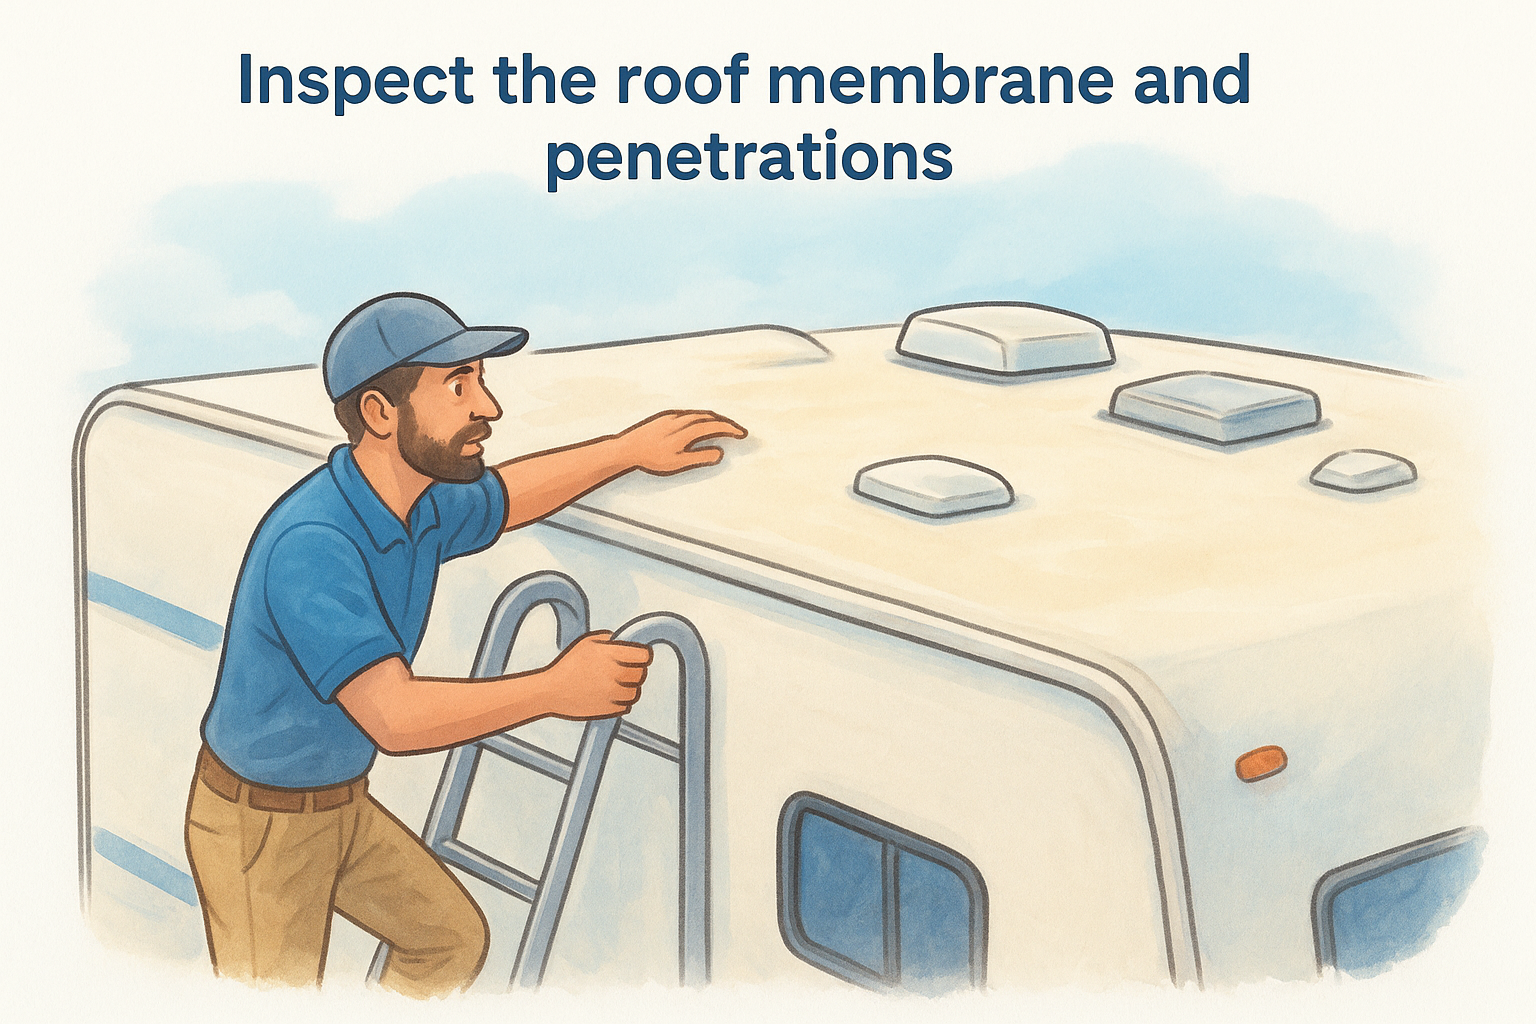
Water damage from a failed roof seal can cost $5,000 to $15,000 to repair, but catching it during PDI means the dealer handles it at no cost to you.
Test each roof vent by opening and closing it from inside the RV. Verify that vent covers, air conditioner shrouds, and ladder mounts sit securely without wobble or loose fasteners.
Step 3. Inspect the interior and safety gear
Once you've cleared the exterior, shift your focus inside where you'll spend most of your time on the road. The interior inspection on your rv pdi inspection checklist covers safety devices, structural integrity, and every moving part from cabinets to slideout mechanisms. This step reveals assembly shortcuts, cosmetic defects, and safety violations that dealers often miss during rushed prep work. Start by testing every safety system before moving to furniture, fixtures, and finishes.
Check all safety equipment first
Locate and test each smoke detector, carbon monoxide alarm, and LP gas detector by pressing their test buttons. Verify that each device produces an audible alarm and that battery indicators show full charge. Check expiration dates stamped on the units themselves because many manufacturers install detectors months or years before the RV reaches the dealer lot.
Your safety equipment checklist should include:
- Smoke detectors in sleeping areas and main cabin
- Carbon monoxide detector near sleeping spaces
- LP gas detector near floor level
- Fire extinguisher with current inspection tag
- Emergency exit windows with functioning latches
- First aid kit (if promised in purchase agreement)
Confirm that the fire extinguisher mount holds the unit securely and that the pressure gauge reads in the green zone. Test emergency exit windows by opening them fully and verifying the escape path is unobstructed.
A non-functional carbon monoxide detector costs $30 to replace but could save your life, making it the most critical item on any inspection list.
Examine fixtures and moving parts
Open every cabinet door, drawer, and storage compartment to check for smooth operation, proper alignment, and secure mounting. Look for loose hinges, damaged drawer slides, or cabinet faces that don't sit flush. Test all latches and catches that secure doors during travel because loose cabinets create noise and potential damage on the road. Check countertops for cracks, delamination, or poor seam alignment where sections meet.
Inspect flooring throughout the unit by walking every square foot and listening for soft spots, squeaks, or flexing that indicates structural problems or water damage underneath.
Step 4. Test every system under load
Visual inspection only reveals surface problems, but systems fail under actual operating conditions when pumps strain, circuits draw amperage, and heat exchangers cycle. This step of your rv pdi inspection checklist requires running every major system simultaneously to identify electrical overloads, plumbing leaks, and appliance malfunctions that static checks miss. Turn on shore power or fire up the generator, fill the fresh water tank, open the propane valves, and prepare to spend 30 to 45 minutes cycling through every component while monitoring performance.
Run water and propane systems
Fill the fresh water tank completely and turn on the water pump to pressurize the system. Open every faucet, flush the toilet multiple times, and run the shower for several minutes while listening for pump cycling and checking for leaks under sinks and around tank fittings. Watch the water heater area and all plumbing connections in basement compartments for drips or spray patterns that indicate loose fittings or cracked lines.
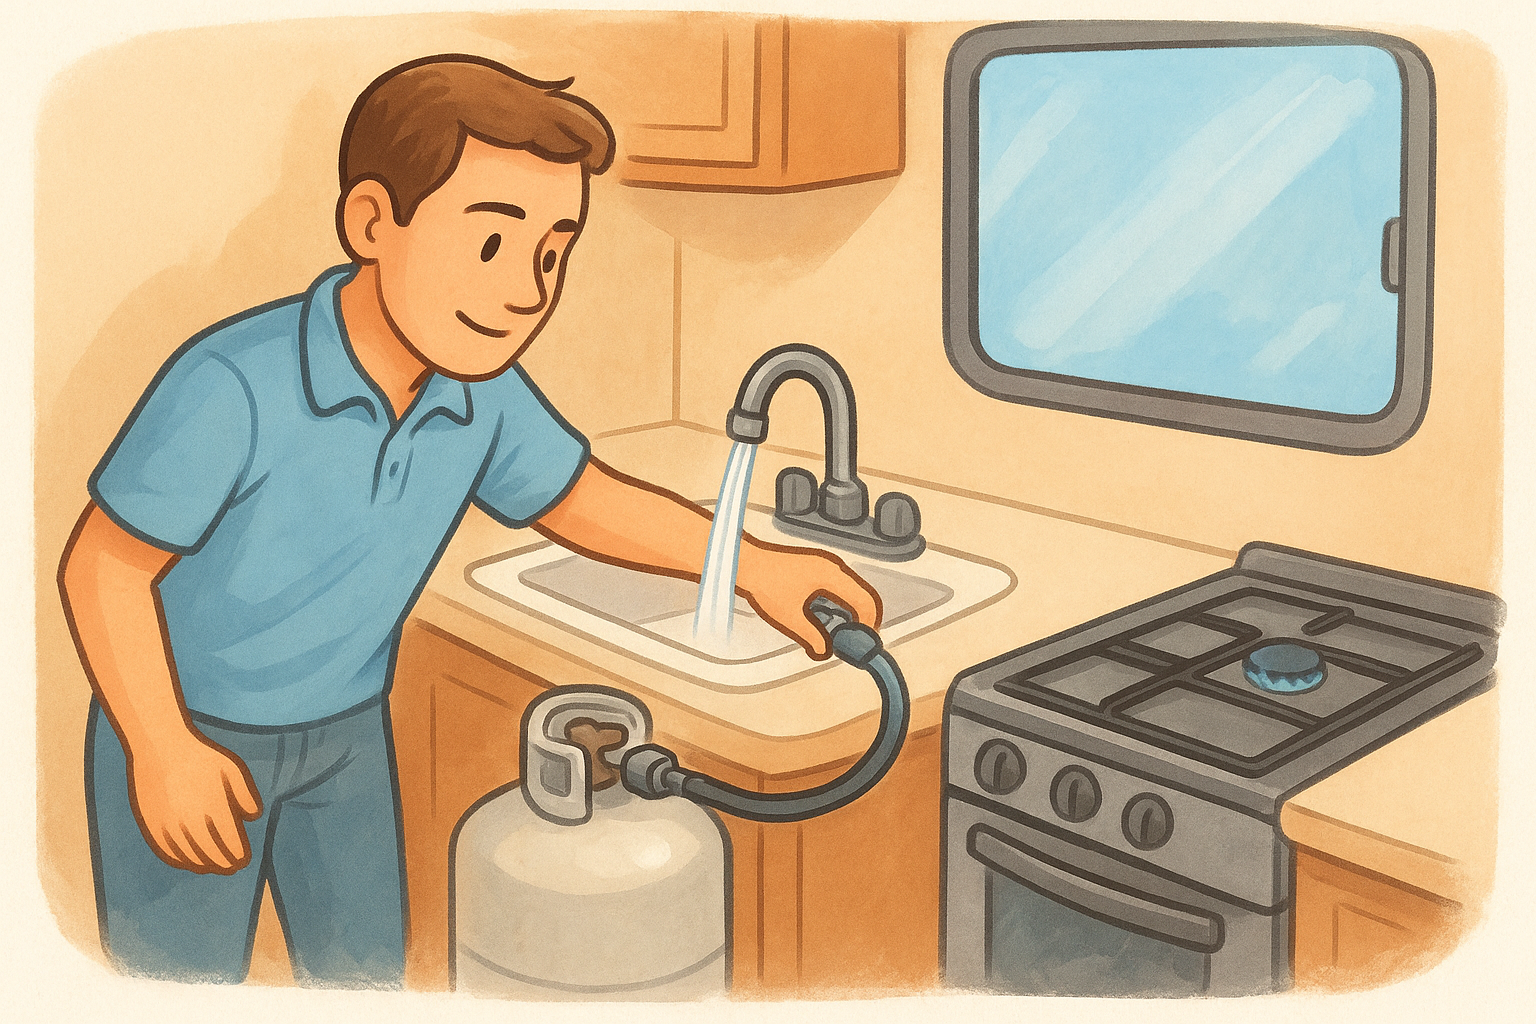
Light the stove burners and oven to verify propane flow and ignition work correctly. Turn on the refrigerator in gas mode and confirm the flame ignites within two minutes. Fire up the furnace and let it run through a complete heating cycle. While propane systems operate, use a leak detector solution or soapy water around every connection point, regulator, and valve to check for bubbles that reveal gas leaks.
A water leak caught during PDI costs nothing to fix, but the same leak discovered 500 miles down the road can flood your RV and void your warranty if you ignored inspection protocols.
Test electrical and climate control
Switch all 120-volt appliances on simultaneously: microwave, air conditioner, converter/charger, and water heater in electric mode. This load test reveals undersized breakers, loose connections, or inadequate amperage from shore power. Check that no breakers trip and that voltage remains stable using your multimeter at various outlets throughout the coach. Test the air conditioner for at least 15 minutes to verify it reaches target temperature and that condensate drains properly without backing up into the ceiling.
Run the generator under load by operating the air conditioner, microwave, and other 120-volt devices while disconnected from shore power. Verify smooth operation without surging, excessive noise, or exhaust leaks into living spaces.
Ready to sign or walk away
You've completed your rv pdi inspection checklist and documented every issue from minor scratches to major system failures. Now you face a simple decision: sign the paperwork if everything checks out, or hand the dealer a detailed list of required repairs before you'll accept delivery. Most problems you discovered fall under warranty coverage or dealer responsibility, which means repairs happen at no cost to you as long as you catch them before driving off the lot.
If the dealer pushes back on fixing legitimate defects, you hold all the leverage because you haven't signed final acceptance papers. Walk away from deals where critical safety issues go unaddressed or where the dealer refuses to honor obvious manufacturing defects. Your inspection protects you from inheriting someone else's problems.
When you need professional verification during the buying process or ongoing support after purchase, MobileRVService.com connects you with experienced mobile technicians across North America who provide inspections, repairs, and remote assistance when dealership service falls short. Your thorough PDI ensures years of reliable adventures instead of costly regrets.