RV Inspection Checklist: Pre-Purchase And Pre-Trip Guide
Missing a cracked seal or hidden water damage can turn your dream RV into a $20,000 nightmare. Whether you're eyeing a used rig or preparing for your next road trip, a thorough RV inspection checklist separates confident owners from costly surprises.
This guide covers everything you need to evaluate before signing on the dotted line or hitting the highway. We've organized it into clear, actionable sections, exterior, interior, mechanical systems, and safety components, so you can inspect systematically without overlooking critical items that could leave you stranded or stuck with expensive repairs.
At MobileRVService.com, we connect RV owners with qualified mobile inspectors across North America who perform these evaluations right at your location. But whether you hire a professional through our network or handle the inspection yourself, having the right checklist makes all the difference. Below, you'll find exactly what to look for, and why each item matters.
What to bring and confirm first
You cannot complete a proper RV inspection checklist without the right tools and information at your fingertips. Before you touch a single latch or test a single switch, gather everything you'll need to document findings, test systems, and verify the vehicle's history. This preparation prevents you from missing critical items because you didn't have a flashlight or measuring tape when you needed it.
Essential tools and documentation
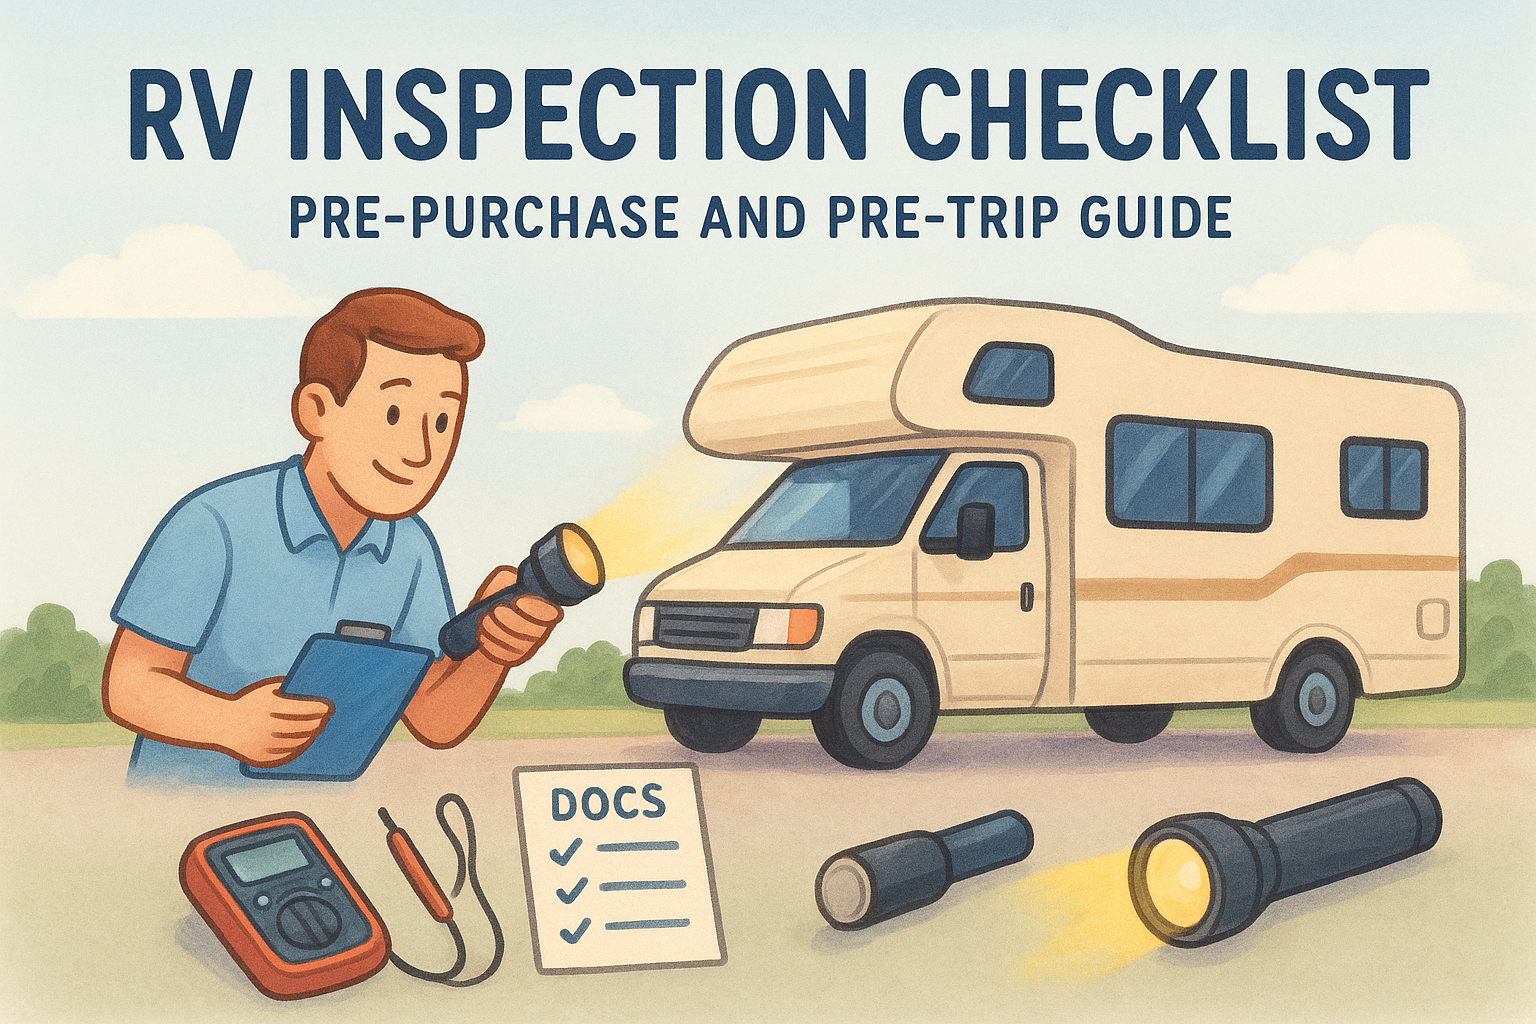
Pack a basic inspection kit that includes a flashlight with fresh batteries, a pocket knife or multi-tool, a tire pressure gauge, electrical outlet tester, paper towels, and disposable gloves. You'll also want a smartphone or camera to photograph any damage, serial numbers, and overall condition for your records. Bring a notepad or use a digital checklist app to track each item as you inspect it.
Request the vehicle identification number (VIN) from the seller before your appointment and run a history report through a service that specializes in RVs. Ask for maintenance records, warranty information, and any receipts for recent repairs or upgrades. These documents tell you whether the previous owner kept up with regular service or ignored warning signs that led to bigger problems.
Always verify the VIN on the RV matches the title and registration documents before starting your inspection.
Critical questions to ask upfront
Confirm with the seller whether you can test all systems under load, including running the generator, air conditioning, and heating at the same time. Some sellers may have restrictions about water hookups or operating certain features, and you need to know these limitations before you begin so you can plan accordingly or bring portable testing equipment.
Ask about any known issues or recent repairs directly. Most honest sellers will disclose problems, and their willingness to answer questions tells you a lot about how they maintained the RV. Find out if the unit has been winterized or stored outdoors, as both factors impact the condition of plumbing, seals, and overall integrity.
Preparing for a thorough walkthrough
Schedule at least two to three hours for a complete inspection if you're evaluating a purchase candidate. You cannot rush through critical systems and still catch hidden damage. Plan your visit during daylight hours when you can properly assess the exterior, roof, and undercarriage without relying solely on artificial lighting.
Dress in clothes you don't mind getting dirty, because you'll be crawling under the RV, climbing on the roof, and checking tight spaces. Wear closed-toe shoes with good tread for roof access and stability. If the seller hasn't offered, ask them to fill the fresh water tank and have all tanks at operational levels so you can test the plumbing system under realistic conditions.
Step 1. Inspect the exterior and roof
Start your RV inspection checklist on the outside, where weather exposure and road wear leave the most visible clues about overall condition. Walk around the entire perimeter slowly, checking every panel, seam, and corner for damage that could lead to water intrusion or structural failure. This exterior examination reveals how well the previous owner maintained the rig and whether you're looking at a solid investment or a problem waiting to happen.
Check the body and seals for damage
Look for delamination on the sidewalls, which appears as bubbles or waves in the fiberglass panels caused by water getting between layers. Press firmly on exterior panels to feel for soft spots or flexing that indicates hidden rot or frame damage underneath. Run your hand along every seam, window frame, and door edge to check if caulking has cracked, pulled away, or hardened beyond its useful life.
Examine all exterior lights and compartment doors for proper alignment and secure mounting. Doors that don't close flush or latches that don't catch properly signal frame distortion from settling or accident damage. Check the awning fabric for tears and test the extend and retract mechanism to ensure it operates smoothly without binding or unusual sounds.
Any evidence of delamination should immediately trigger a professional moisture inspection before you proceed with a purchase.
Inspect tires, wheels, and undercarriage
Check the tire sidewalls for cracks, bulges, or weathering that indicates age-related deterioration even if tread depth looks adequate. Measure tread depth with a gauge and verify the manufacturing date code on each tire, as RV tires should be replaced every six to eight years regardless of mileage. Inspect wheel bearings by rocking each tire at the top and bottom to feel for play that suggests worn components.
Get under the RV with your flashlight to examine the frame rails, crossmembers, and suspension for rust, cracks, or previous repair work. Look at all visible plumbing lines, electrical wiring, and tank mounts to confirm they're properly secured and not dragging or damaged.
Access and evaluate the roof condition
Climb onto the roof using a stable ladder and check that you distribute your weight carefully on manufacturer-approved walking areas. Inspect the roof membrane for cracks, punctures, or areas where the coating has worn through to expose underlying material. Pay special attention to seams around vents, air conditioning units, and skylights where leaks most commonly develop.
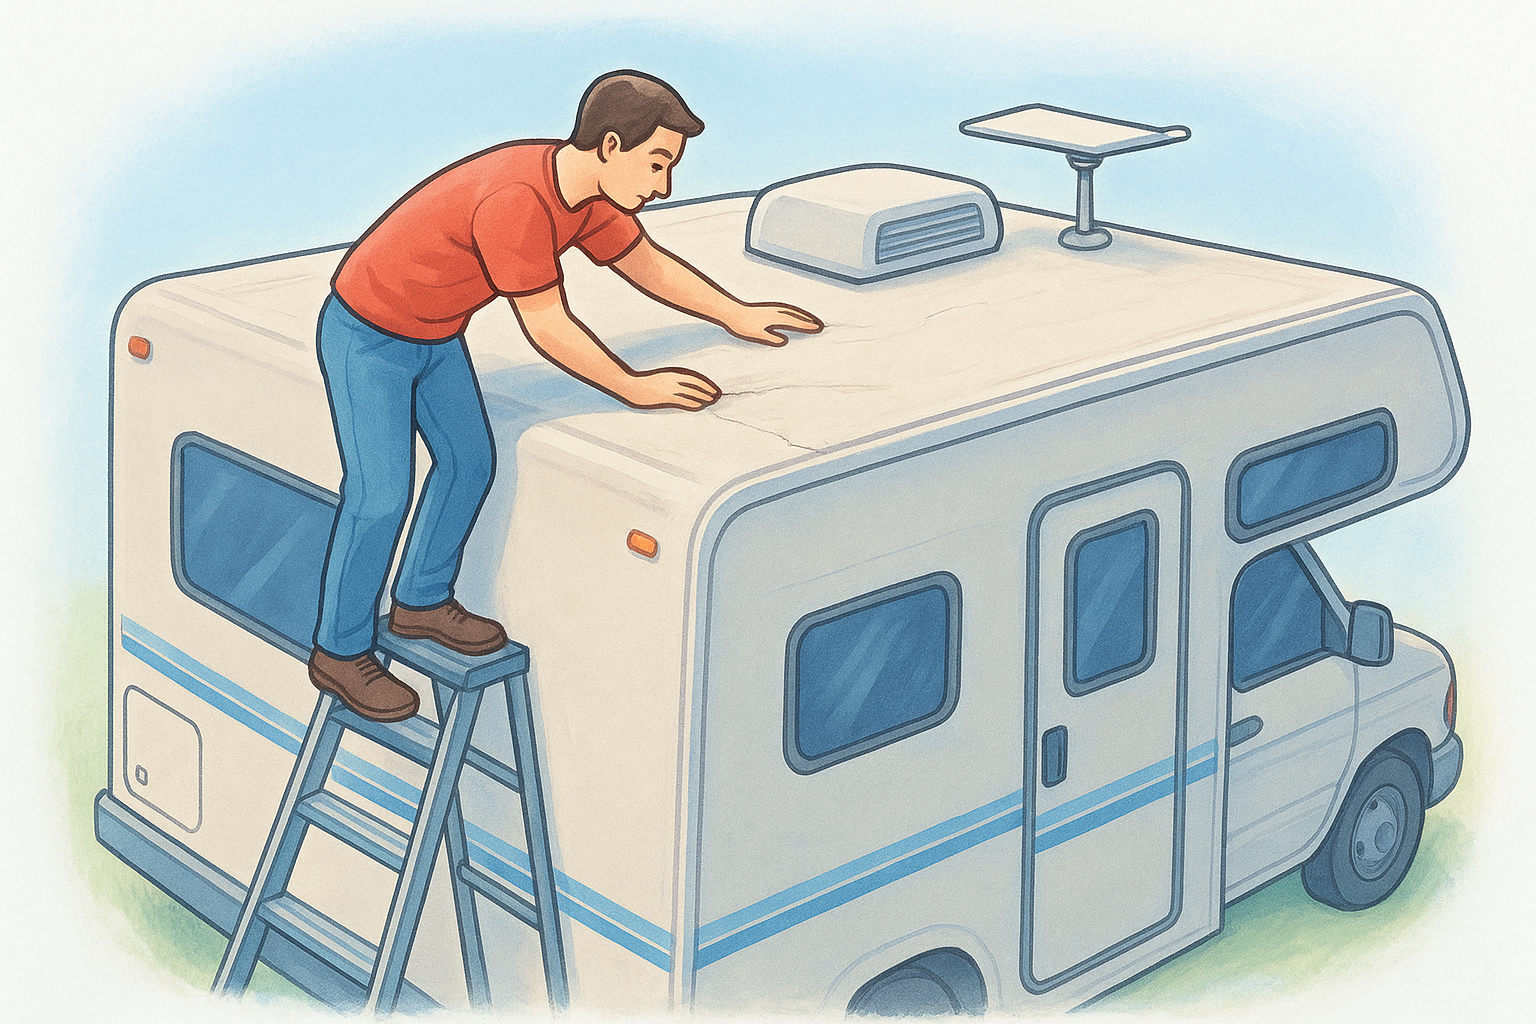
Test all roof-mounted components including solar panels, antennas, and ladder mounts for secure attachment. Check that vent covers open and close properly and look inside each one for water stains on the interior ceiling that indicate past or present leaks.
Step 2. Inspect the interior for water and wear
Move inside the RV with your flashlight and a critical eye for signs that water has penetrated the living space. Interior damage often hides behind furniture, under flooring, or inside cabinets where casual viewers never look. Your RV inspection checklist must include every surface and compartment, because water intrusion destroys value faster than mechanical wear and costs thousands to repair properly.
Look for water damage indicators
Check the ceiling around all vents, skylights, and air conditioning units for discoloration, soft spots, or bubbling that signals active or previous leaks. Press firmly on these areas to feel whether the substrate has weakened from moisture exposure. Open every overhead cabinet and storage compartment to inspect the interior walls and corners where water tracks down from roof penetrations.
Examine window frames and slides for staining, mold, or musty odors that indicate chronic moisture problems. Pull back carpeting and lift floor mats to check the subfloor for rot, especially near entry doors and bathroom areas where water commonly collects. Look at the bottom edges of walls where they meet the floor for any separation or discoloration.
Water damage that reaches the floor or frame structure typically exceeds repair costs of $5,000 to $15,000, making it a deal-breaker for most buyers.
Examine appliances and fixtures
Test every cabinet door, drawer, and appliance to confirm they open, close, and latch securely without binding or falling off their mounts. Check that the refrigerator door seals properly, the stove grates sit level, and the microwave turntable rotates freely. Flush the toilet multiple times and run water in all sinks to verify drains flow without backing up or leaking underneath.
Inspect upholstery and cushions for tears, stains, or excessive wear that indicates the interior has seen heavy use. Look under dinette cushions and mattresses for hidden damage or signs of pest infestation.
Test doors, slides, and storage
Operate the main entry door and emergency exits to ensure they open smoothly, seal tightly, and lock securely from both inside and outside. Extend and retract all slide-outs completely while watching for binding, unusual sounds, or gaps in the seals. Check that storage bay doors align properly and their latches engage fully without forcing or adjustment.
Step 3. Test every system under real load
Static checks only tell you part of the story. Your RV inspection checklist must include testing every system while it actually operates under normal use conditions, because hidden failures only appear when components work together under load. This step separates functional rigs from those with expensive problems waiting to surface during your first trip.
Run the electrical systems at full capacity
Turn on the shore power connection and then systematically activate every electrical component in the RV to test the system under realistic load. Switch on the air conditioning, microwave, water heater in electric mode, and multiple lights simultaneously to verify the breaker panel handles the amperage without tripping. Check that all outlets deliver power using your outlet tester, and confirm GFCI outlets trip and reset properly when you press their test buttons.
Start the generator and let it run for at least 15 minutes while powering the same combination of appliances you tested on shore power. Listen for unusual sounds, vibrations, or surging that indicates maintenance issues or failing components. Test the converter/charger by monitoring battery voltage while disconnected from shore power, then reconnect to verify it properly charges the house batteries.
Generators that haven't run regularly often fail within the first extended use, costing $1,500 to $4,000 for replacement or major repairs.
Test all plumbing under pressure
Fill the fresh water tank completely and turn on the water pump to pressurize the entire system. Open every faucet, flush the toilet multiple times, and run the shower for several minutes while checking underneath for drips or spray from connections. Look inside cabinets and storage areas below sinks and toilets for active leaks that only appear under pressure.
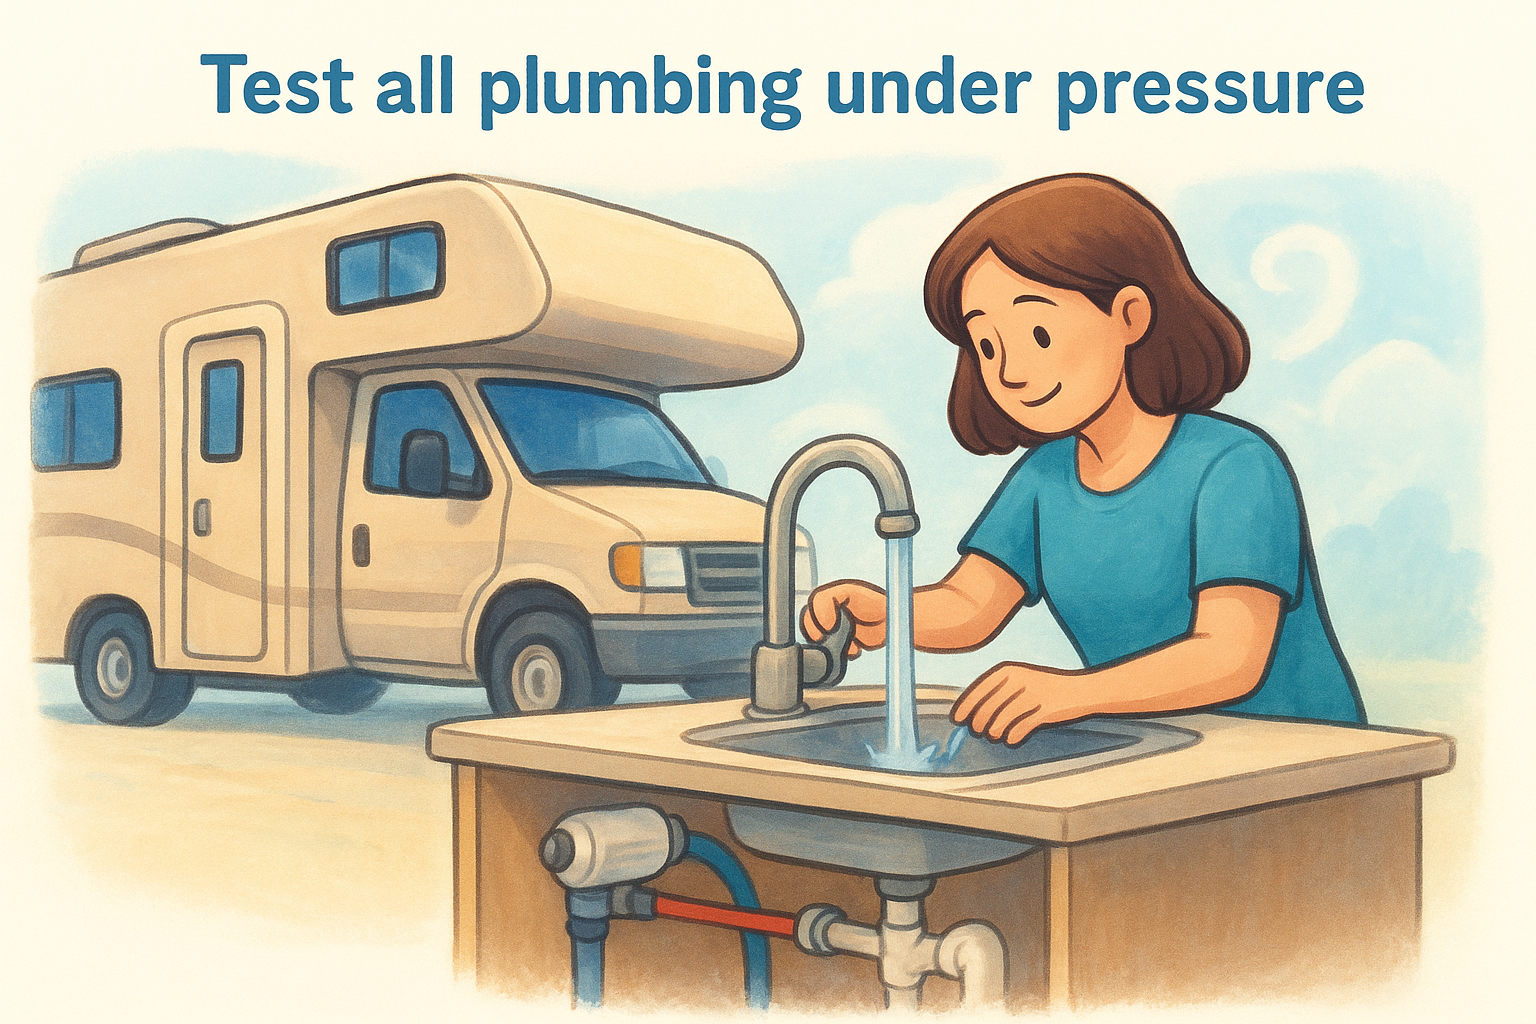
Test the water heater on both propane and electric modes by letting it heat a full tank, then drawing hot water from multiple fixtures to confirm it maintains temperature and recovers quickly. Check that drain valves on all tanks (fresh, gray, black) open and close without leaking.
Verify heating and cooling performance
Run the furnace through a complete heating cycle by setting the thermostat well above room temperature and letting it operate for 10 to 15 minutes. Listen for proper ignition, smooth fan operation, and check that heat distributes evenly through all vents. Test the air conditioning by dropping the thermostat significantly and verifying it cools the space adequately within 20 minutes while checking for refrigerant leaks or compressor struggles.
Step 4. Drive or tow test and decide on next steps
No RV inspection checklist provides complete information until you test how the vehicle performs on actual roads. Static checks reveal maintenance issues and visible damage, but only driving or towing exposes problems with handling, brakes, transmission, and overall road worthiness. This final step confirms whether everything you inspected actually functions correctly when the RV moves under real conditions.
Perform a test drive or tow
Take the RV on a 15 to 20 minute drive that includes highway speeds, stop-and-go traffic, and at least one significant hill if your area allows. Listen for unusual sounds from the engine, transmission, or suspension that indicate worn components or poor maintenance. Test the brakes multiple times at various speeds to confirm they stop smoothly without pulling to one side or requiring excessive pedal pressure.
Pay attention to how the steering responds and whether the RV tracks straight without constant correction. Accelerate briskly to feel if the transmission shifts smoothly through all gears and note any hesitation or slipping. If you're evaluating a towable unit, hook it to your vehicle and drive the same test route to verify the hitch, sway control, and brake controller work together properly.
Brake problems that seem minor during a short test drive often become dangerous safety issues during extended highway travel with a fully loaded rig.
Evaluate your findings and make the call
Review every item on your inspection list and categorize problems as critical safety issues, expensive repairs, or minor cosmetic concerns. Use your photos and notes to estimate repair costs, then decide whether the asking price justifies the work needed. Critical issues like frame damage, extensive water intrusion, or failing drivetrain components typically make a used RV a poor investment unless the seller drastically reduces the price.
For promising candidates with only minor issues, request that the seller address specific problems before closing or negotiate a price reduction that covers your estimated repair costs. Consider hiring a mobile inspector through MobileRVService.com if you found concerning items but lack the expertise to assess their severity accurately.
Leave with confidence
You now have a complete RV inspection checklist that covers every critical system from roof seals to brake performance under real operating conditions. Whether you're evaluating a purchase candidate or preparing for your next road trip, this systematic approach prevents costly surprises that could leave you stranded or financially drained. Follow each step thoroughly, document your findings with photos and detailed notes, and don't skip the road test no matter how good everything looks while parked.
When you need professional verification or discover issues beyond your expertise, mobile RV inspectors provide on-site evaluations without requiring you to move the rig anywhere. Connect with qualified technicians through MobileRVService.com who perform comprehensive pre-purchase inspections and identify problems before they become emergencies. Our nationwide network brings certified expertise directly to your location, giving you the peace of mind that comes from knowing exactly what you're buying or how your current RV truly performs before you commit your money.