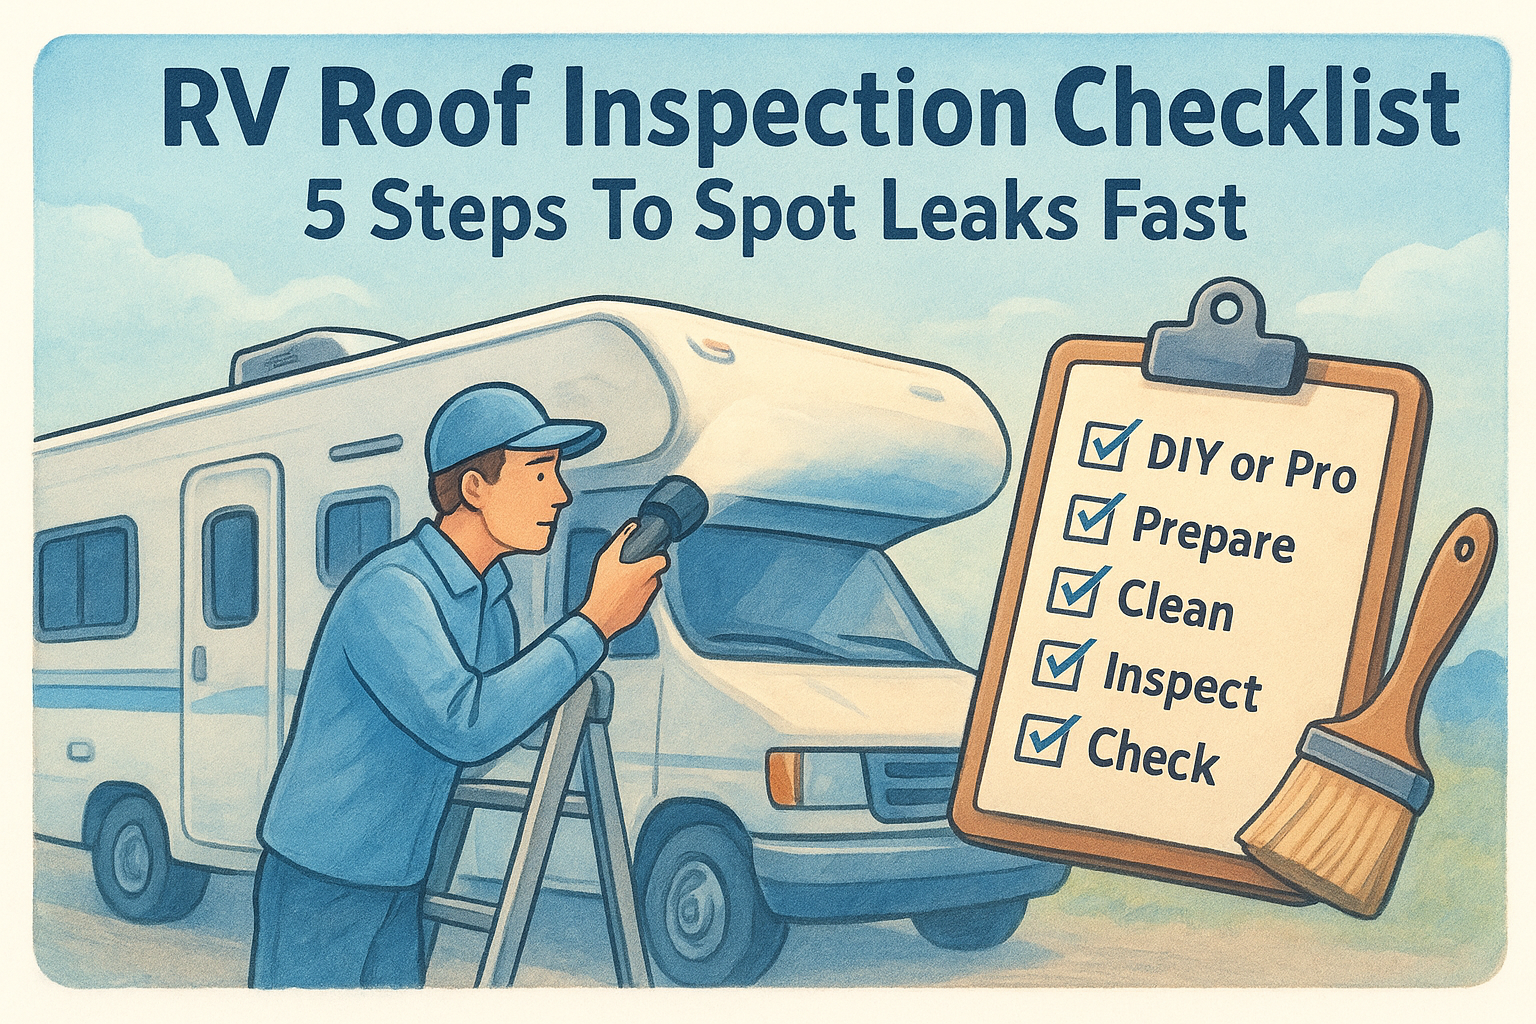
RV Roof Inspection Checklist: 5 Steps To Spot Leaks Fast
Water damage is one of the most expensive problems an RV owner can face, and it almost always starts at the roof. A small crack in a sealant seam or a lifted edge around a vent can let moisture seep into your walls and subfloor for months before you notice. That's why having a reliable RV roof inspection checklist matters more than most owners realize.
This guide breaks down the five critical steps to examine your roof systematically. You'll learn exactly where leaks hide, which components fail first, and how to catch problems before they turn into costly structural repairs. Whether you're maintaining your own rig or evaluating a used RV before purchase, these steps will save you time and money.
At MobileRVService.com, we connect RV owners with mobile technicians across North America who handle roof repairs, inspections, and maintenance right at your campsite. If you spot something beyond a DIY fix during your inspection, our directory makes it easy to find qualified help nearby, no hauling your rig to a dealership required.
1. Find a mobile RV tech or inspector fast
Not every problem you find on your roof requires professional help, but knowing when to call an expert can save you from making expensive mistakes. Before you climb up with a caulk gun, take a minute to assess whether you need a trained pair of eyes or skilled hands. This first step in your rv roof inspection checklist helps you decide if you should inspect on your own or line up a mobile technician before you start.
When to DIY and when to call a pro
You can handle routine inspections and basic sealant touch-ups if your roof is in decent shape and you're comfortable working at height. Simple tasks like cleaning debris, checking for obvious cracks, and applying caulk around vents fall within most owners' skill level. However, you should call a professional if you notice soft spots underfoot, widespread cracking across seams, or visible water stains on your interior ceiling. These issues often signal structural damage that requires specialized repair techniques and materials you probably don't have on hand.
How to use MobileRVService.com to find roof help
Start by entering your zip code or current location into the search tool at the top of the site. Filter results by selecting "Roof Repairs" or "Inspections" under service categories to narrow down technicians who specialize in roof work. You'll see ratings, availability windows, and service areas for each provider, so you can book someone who operates near your campground or storage facility. VIP members get concierge assistance if the initial search doesn't turn up the right fit.
If you're evaluating a used RV before purchase, booking a pre-buy inspection through the directory gives you leverage to negotiate price based on roof condition.
Questions to ask before you book service
Confirm the technician has experience with your specific roof type, whether that's EPDM rubber, TPO, fiberglass, or aluminum. Ask if they carry replacement sealants and membranes with them or if you need to source materials ahead of time. Request an estimated timeline for both the inspection and any repairs they might uncover, especially if you're on a travel schedule that can't accommodate delays.
2. Set up safely and gather the right tools
Climbing onto your RV roof without proper preparation creates unnecessary risk and makes it harder to complete a thorough inspection. Before you take that first step up the ladder, you need to verify safe access conditions and collect the right equipment. This section of your rv roof inspection checklist ensures you can work efficiently without injury or equipment failures that cut your inspection short.
Safety checks before you climb
Check that your ladder extends at least three feet above the roof edge and secure it to prevent slipping. Confirm the roof can support your weight by checking manufacturer specifications, as some materials tolerate foot traffic better than others. Wear rubber-soled shoes with good grip and avoid working in wet or windy conditions that increase fall risk.
Tools and supplies that make inspections easier
Bring a soft-bristle brush for debris removal, a spray bottle with diluted cleaner, and clean rags for wiping down surfaces. Pack a flashlight to examine shaded areas under vents and AC units, plus a small mirror to check seams from different angles. Carry a tape measure, notepad, and caulk gun with the correct sealant type for quick temporary fixes if you spot active leaks.

Photos and notes you should capture every time
Document every roof penetration with dated photos showing current sealant condition around vents, antennas, and skylights. Note any discoloration, soft spots, or cracks in writing with specific measurements and locations relative to roof features. These records help you track deterioration over time and provide valuable evidence if you need to file warranty claims or sell your RV later.
Consistent documentation turns guesswork into data, making it easier to spot patterns before small problems become expensive repairs.
3. Clean the roof so you can see problems
A layer of dirt, leaves, and road grime makes it impossible to spot hairline cracks or subtle discoloration that signal trouble. Before you move forward with the detailed inspection phase of your rv roof inspection checklist, you need a clean surface that reveals every seam, edge, and potential failure point. Cleaning does more than improve visibility, it also removes debris that can trap moisture and accelerate deterioration.
Match the cleaner to your roof material
EPDM rubber roofs require mild soap solutions or cleaners specifically formulated for rubber membranes, as harsh chemicals can dry out the material and cause premature cracking. TPO roofs tolerate slightly stronger cleaners but still respond best to pH-neutral products that won't compromise the membrane's integrity. Fiberglass roofs handle more aggressive cleaners, though you should still avoid abrasive compounds that scratch the gel coat and create pockets where water can collect.
Clean without damaging sealant and membranes
Start at the highest point and work downward using a soft-bristle brush that won't tear or scuff the roof material. Spray cleaner in sections, let it sit for the recommended dwell time, then scrub gently in circular motions to lift dirt without grinding it into seams. Rinse thoroughly with low-pressure water to avoid forcing liquid under sealant edges or loosening lap joints that are already compromised.
A gentle cleaning method protects your roof investment while still revealing the problem areas you need to address.
Spot stains that hint at leaks and UV damage
Dark streaks running downhill from seams often indicate water seepage that carries dirt and mold out from under sealant. Chalky white residue or faded patches signal UV breakdown of the roof material, which becomes brittle and more prone to cracking in those areas. Note any discolored rings around roof penetrations, as these typically mark spots where water pools after rain and slowly works its way into the layers beneath.
4. Inspect seams, edges, and roof hardware
Seams and hardware create the most common entry points for water because movement from road vibration and temperature changes constantly tests these joints. This phase of your rv roof inspection checklist focuses on the connections and penetrations where different materials meet, where fasteners hold components in place, and where sealant must flex without cracking. You'll spend the bulk of your inspection time in this step because catching failures here prevents the majority of leak-related damage.
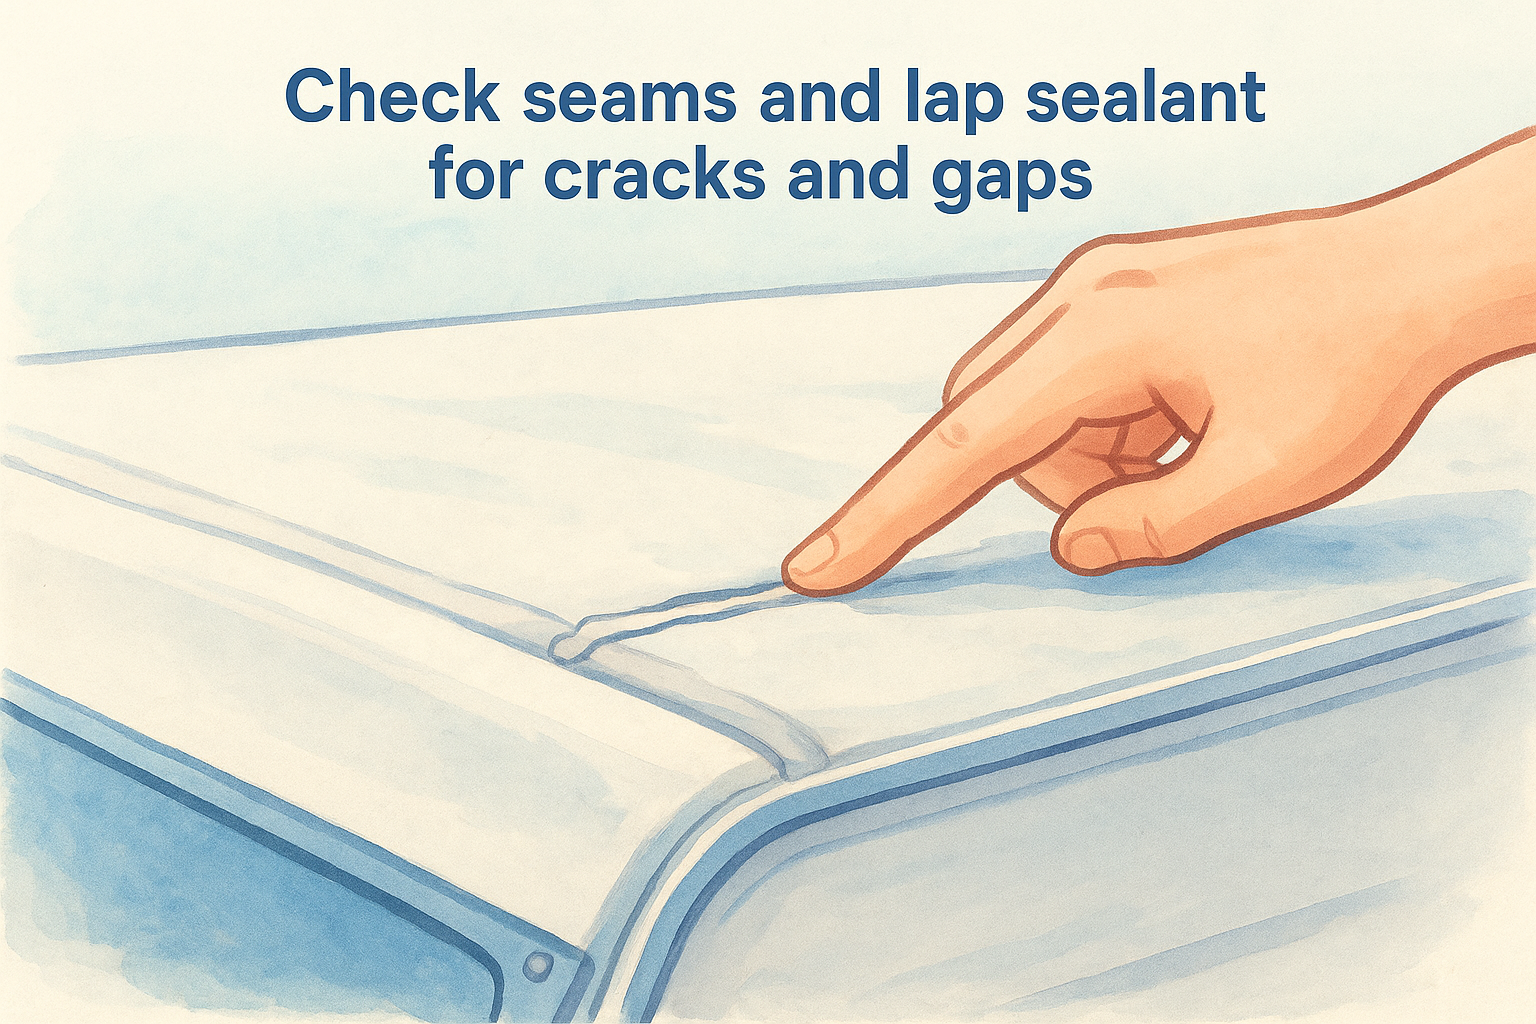
Check seams and lap sealant for cracks and gaps
Run your finger along every seam where roof panels overlap, paying attention to raised edges or areas where sealant has pulled away from the surface. Look for cracks in the caulk itself, especially at corners where stress concentrates during expansion and contraction cycles. Fresh sealant appears smooth and uniform, while degraded material shows texture changes, brittleness, or complete separation from the substrate.
Inspect roof edges, trim, and roof-to-wall joints
Examine the perimeter where your roof meets the sidewalls, as this transition point handles constant flexing from wind and road movement. Check drip rails and edge trim for loose fasteners or gaps that let water run behind protective barriers. Note any separation between trim pieces and roof material, which often starts small but widens rapidly once moisture infiltrates.
Roof edges experience the most stress from wind uplift, making them vulnerable points that deserve extra attention during every inspection.
Examine mounts and fasteners for movement and rust
Inspect mounting brackets for antennas, solar panels, and ladder hardware to verify they remain firmly attached without play or wobble. Look for rust stains around screws and bolts, which indicate moisture penetration through compromised sealant at the fastener base. Tighten any loose hardware immediately to prevent elongated holes that make proper resealing impossible later.
5. Check roof openings and confirm leaks inside
Roof penetrations create unavoidable weak points where water finds its way through even the smallest gaps in sealant. This final phase of your rv roof inspection checklist shifts focus to the specific openings that puncture your roof membrane and the interior signs that confirm whether moisture has already breached your defenses. You'll check both sides of the roof barrier to build a complete picture of where problems exist and which repairs demand immediate attention.
Inspect vents, skylights, antennas, and plumbing stacks
Examine the sealant ring around each roof vent by looking for separation from the vent base or cracks in the caulk itself. Check skylight frames for gaps where the mounting flange meets the roof surface, and verify that dome material remains crack-free and properly sealed. Inspect antenna and plumbing stack boots for tears, hardening, or deterioration that allows water to flow down the penetration shaft into your ceiling cavity.
Check AC shrouds, mounts, and drainage paths
Verify that AC unit mounting bolts remain tight and that gasket material hasn't compressed or dried out around the base. Look for standing water under the shroud or around drain openings, as pooled moisture indicates clogged drainage that can work its way into ceiling layers. Confirm that condensate drain tubes route water away from the roof opening rather than allowing it to collect near mounting hardware.
Confirm leaks from the inside and prioritize fixes
Go inside and examine ceiling panels directly beneath every roof opening for water stains, soft spots, or discoloration that marks active or past leaks. Press gently on suspicious areas to test for spongy material that indicates absorbed moisture compromising the substrate. Address any opening that shows corresponding interior damage first, as these represent active failures that worsen with every rain.
Interior confirmation turns roof observations into actionable repair priorities, ensuring you fix real leaks instead of guessing at potential problems.
Wrap up and book help if needed
Running through this rv roof inspection checklist twice a year keeps small problems from turning into structural nightmares that cost thousands to repair. You now know exactly where to look, what tools you need, and which warning signs demand immediate attention versus routine maintenance. The time you invest on your roof today directly prevents the water damage that destroys walls, floors, and resale value down the road.
When your inspection reveals problems beyond simple caulk repairs, MobileRVService.com connects you with qualified mobile technicians who handle everything from membrane replacement to complete roof restorations. Our VIP membership features include concierge assistance that matches you with the right specialist for your specific roof type and damage level, plus access to 24/7 support when emergency leaks happen on the road. Search your location now to find roof help that comes to you instead of forcing you to haul your rig across town.