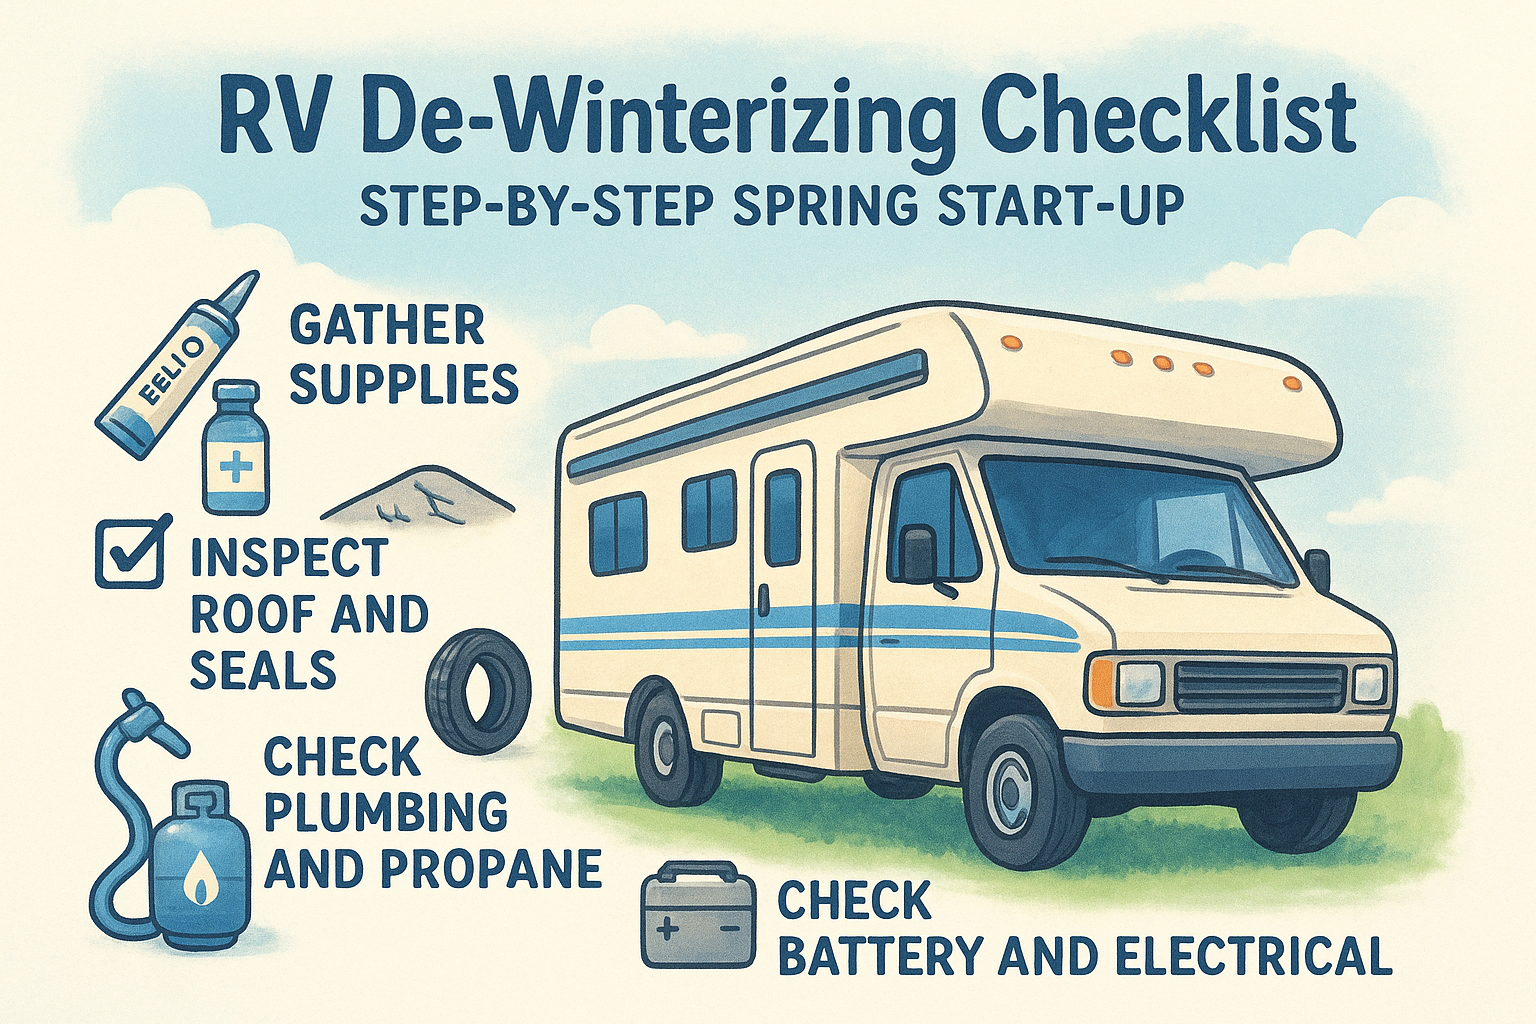
RV De-Winterizing Checklist: Step-By-Step Spring Start-Up
Spring is here, and your RV has been sitting in storage long enough. Before you hit the road, you need a thorough RV de-winterizing checklist to make sure every system is ready to perform. Skipping steps now can mean burst pipes, dead batteries, or nasty surprises at your first campsite, none of which make for a great start to the season.
De-winterizing covers more than just flushing antifreeze out of your water lines. You're inspecting seals, testing appliances, checking propane connections, and verifying that your electrical system didn't suffer over the cold months. It's a full mechanical and structural once-over, and doing it right takes a clear plan. That's exactly what this guide provides, a step-by-step walkthrough from water system flush to final road test.
If you run into something during de-winterization that's beyond a DIY fix, a cracked seal, a faulty water heater, or an electrical issue, MobileRVService.com connects you with mobile RV technicians who come to your location. No need to tow your rig to a shop. Search our directory of over 3,200 service providers across North America and get the help you need, right where you're parked.
What to do before you start
Before you touch a single valve or flip a switch, spend 15 to 20 minutes getting organized. Rushing de-winterization is how small, fixable problems turn into expensive repairs down the road. Pull out your owner's manual, clear a few hours from your schedule, and set up a dedicated workspace near a water hookup. This preparation phase makes every step that follows faster and more reliable.
Gather your tools and supplies
You'll need a specific set of items before working through the full RV de-winterizing checklist. Most are inexpensive and available at any hardware or RV supply store. Having everything in one place before you begin means you won't lose time hunting down a fitting or a cleaning solution halfway through a critical task.
Here's what to have ready before you start:
Dedicated potable water hose Safe water line flushing and filling Non-toxic RV sanitizer or unscented bleach Sanitizing the fresh water tank and lines Water pressure regulator (45-60 PSI) Protecting your plumbing connections Replacement water filter cartridges Fresh filtration after storage Teflon tape Resealing any threaded plumbing fittings Adjustable wrench and screwdrivers General mechanical checks Voltage meter or circuit tester Electrical system verification Ladder Roof and exterior inspection RV-rated sealant (lap and self-leveling) Patching any cracks or gaps found during inspection Propane leak detector solution or spray Checking gas connections before lighting appliancesUsing a standard garden hose instead of a dedicated potable water hose introduces chemicals and residue directly into your fresh water system. Keep a separate hose labeled and stored specifically for drinking water use.
Set your starting conditions
Before you connect water or shore power, confirm your RV is parked on a level surface. A level rig makes it easier to catch drainage issues and ensures your refrigerator, leveling system, and slideouts operate correctly while you test them. Turn your battery disconnect switch off and close your propane tank valve before you begin. Starting from a neutral baseline reduces the chance of an accidental electrical surge or gas release as you work through each system.
Check your winterization records too. If you used compressed air to blow out the lines, your flush process will be relatively quick. If you used pink RV antifreeze, budget extra time for a complete sanitization cycle in Step 2.
Step 1. Inspect the outside and running gear
Your exterior inspection is the foundation of any solid RV de-winterizing checklist. Winter storage puts real stress on seals, roof material, and tires, and a visual walkthrough now saves you from water damage, blowouts, and structural headaches once you're on the road. Start at the roof and work your way down to the wheels.
Check the roof and seals
Climb up and walk the entire roof surface, looking for cracks, lifted seams, or areas where the sealant has pulled away from vents, skylights, or A/C bases. Even a small gap lets water in, and by the time you notice damage inside, the rot has usually spread well beyond the entry point.
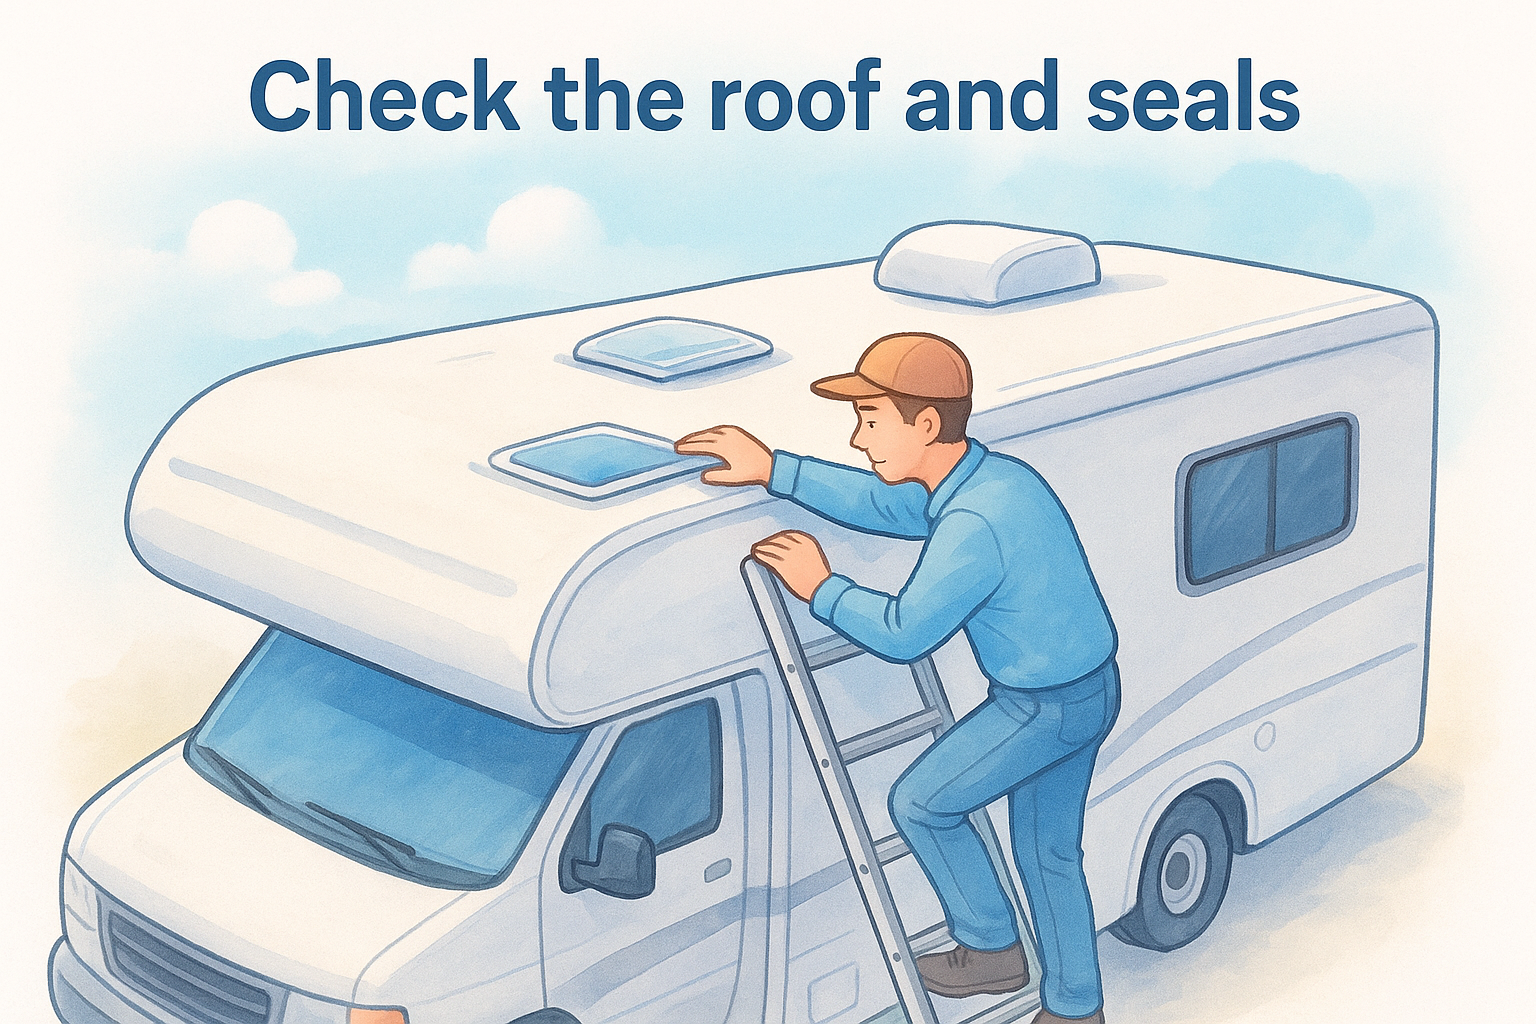
If you find a gap wider than a credit card or soft spots underfoot, stop and call a mobile RV technician before sealing over potential water damage.
After the roof, check every exterior seal along windows, slide-out perimeters, and entry doors at ground level. Press gently against any suspect areas. Fresh RV-rated lap sealant handles most roof repairs, while self-leveling sealant works best along vertical edges and window frames.
Inspect tires, wheels, and undercarriage
Check tire pressure against the manufacturer's spec printed on your sidewall or door placard before you move the rig anywhere. Tires lose roughly two to three PSI per month in cold storage, and underinflated tires heat up fast at highway speeds.
Look at tread depth and sidewall condition for cracking or bulging, both signs of UV and cold damage. Finish by crawling the undercarriage to check brake lines, axle seals, and any fresh rust or road damage from the previous season.
Step 2. Restore and sanitize the water system
Restoring your water system is the most involved part of the rv de-winterizing checklist, and it's also the most critical to get right. Residual antifreeze or bacteria left in your lines will contaminate your drinking water, and a missed leak can silently damage your flooring or cabinetry for weeks before you spot it.
Flush the antifreeze from your lines
Return your bypass valves to their normal operating position before connecting water. These valves, which you set during winterization to protect the water heater, must be reset first or your heater won't fill properly. Attach your potable water hose to a city water connection or fill your fresh water tank, then open each faucet one at a time until the water runs completely clear.
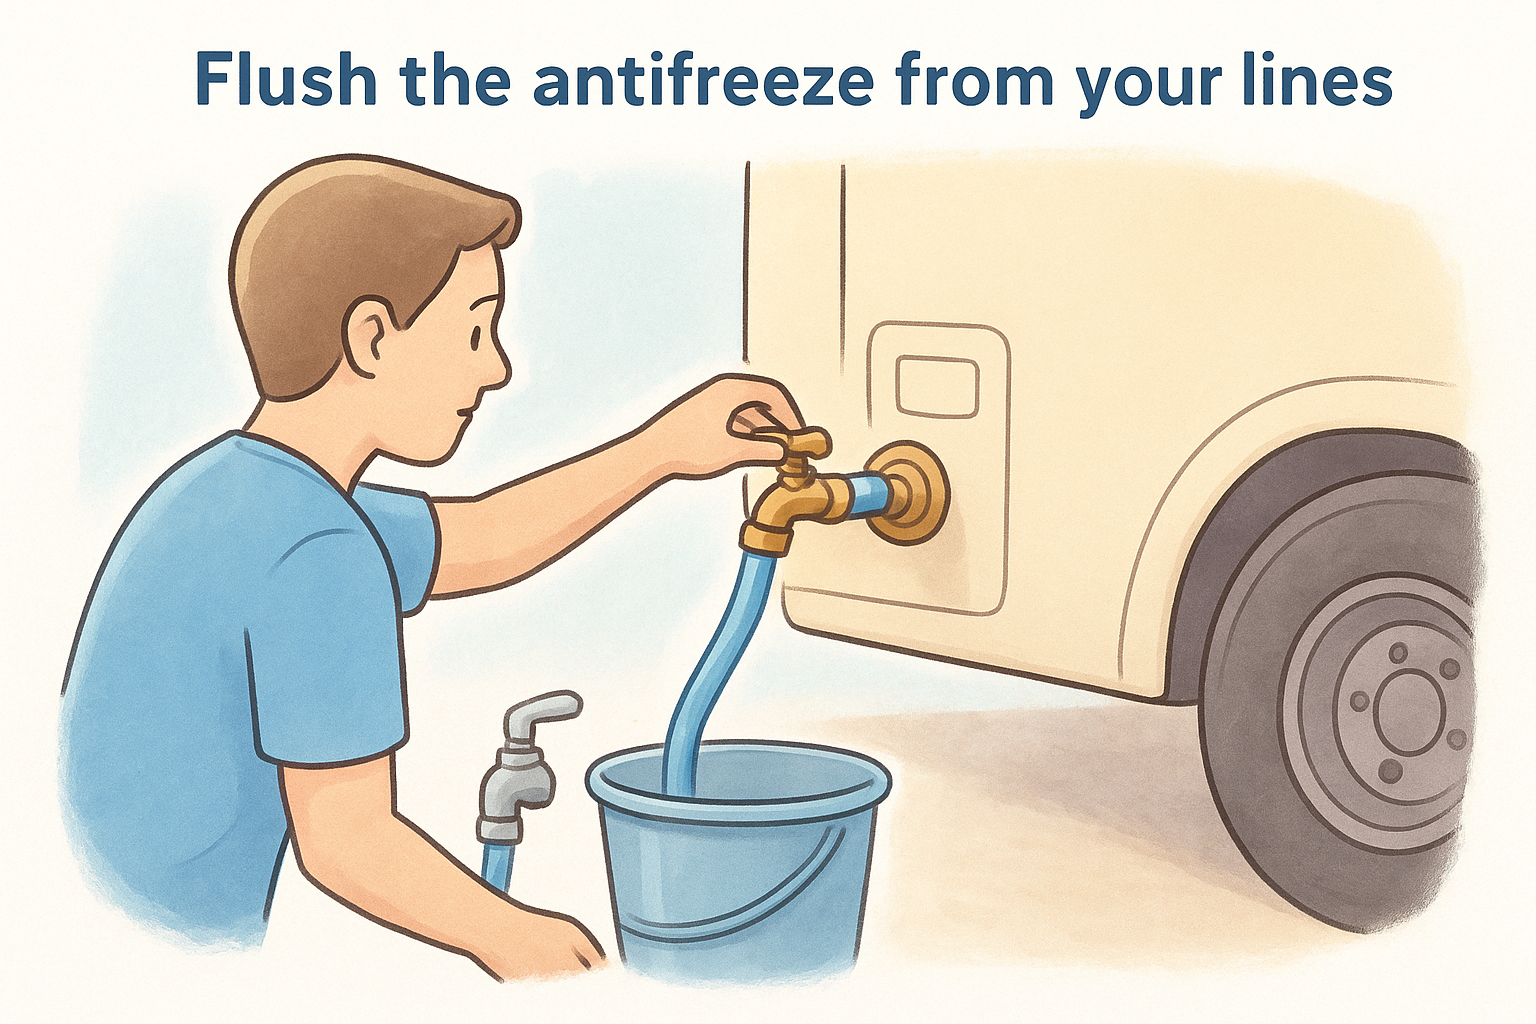
Work through these in order:
- Kitchen sink (hot and cold sides)
- Bathroom sink (hot and cold sides)
- Shower or tub valve
- Toilet flush valve
- Outdoor shower connection
- Ice maker or refrigerator water line
Run each faucet for at least 30 seconds after the water clears to push any remaining antifreeze fully through the drain.
Sanitize the fresh water tank
Once the lines are clear, sanitize your entire fresh water system before using it for drinking or cooking. Mix one-quarter cup of unscented household bleach per 15 gallons of tank capacity, dissolve it in a gallon of water first, then pour the solution directly into the tank.
Fill the tank completely, run each faucet until you smell bleach, and let the solution sit for at least four hours. Drain the tank fully and flush with fresh water until the bleach odor is completely gone.
Step 3. Check propane and appliances
Propane is the third major system on your rv de-winterizing checklist, and it demands careful attention before you light anything. Fittings can loosen over winter from temperature swings, and a small leak near an ignition source creates a serious hazard. Open your propane tank valve slowly and work methodically through each connection before you test a single appliance.
Test your propane connections
Reconnect your propane tank if you removed it for storage, and confirm the regulator connection is hand-tight before using a wrench to snug it up. Apply leak detector solution or soapy water to every threaded fitting along the supply line, including the tank valve, regulator, and any T-connections feeding multiple appliances.
If you see bubbles forming at any fitting, close the tank valve immediately and tighten or replace the fitting before proceeding.
Fire up each appliance
Once you confirm there are no leaks, work through your appliances one at a time. Pilot lights and igniter contacts can corrode during storage, so don't assume a failed first ignition means a bigger problem. Give each appliance two or three ignition attempts before investigating further.
Test your appliances in this order:
- Furnace: Run it for at least 10 minutes and verify heat comes from all vents
- Water heater: Switch to propane mode, wait for the burner to light, and confirm hot water reaches your faucets within five minutes
- Stove burners: Light each one individually and check for an even, steady blue flame
- Oven: Set to 350°F and run it for 15 minutes to burn off any storage residue
- Refrigerator: Switch to propane mode and verify the cooling cycle starts
Step 4. Test power, safety gear, and final checks
Electrical and safety systems are the final layer of your rv de-winterizing checklist, and they're too important to rush through. Batteries discharge significantly over winter, and safety detectors with expired sensors give you a false sense of security. Work through both areas carefully before you consider your rig road-ready.
Check the electrical system
Start by reconnecting your battery bank and checking the charge level with a voltmeter. A healthy 12V house battery reads between 12.6V and 12.8V at rest. If yours reads below 12.0V, put it on a smart charger for several hours before relying on it. Once the battery is charged, connect shore power or start your generator and verify that your converter is charging the battery correctly by watching the voltage climb on your monitor panel.
If your battery won't hold a charge above 12.2V after a full charge cycle, replace it before your first trip.
Walk through your circuit breakers and fuse panel and reset any tripped breakers. Test each 120V outlet with a simple plug-in outlet tester, and confirm your slideouts, awning, leveling jacks, and interior lights all respond correctly.
Test safety devices and complete the final walk-through
Replace CO detector and smoke alarm batteries now, regardless of how old the current ones are. Test each detector by pressing the test button and confirm the alarm sounds. Check your LP gas detector by holding a lighter near it without igniting it, the detector should trigger within seconds.
Finish by walking through the entire interior, checking cabinet latches, inspecting under sinks for any moisture or drips, and confirming your fire extinguisher is within its service date and fully charged.
Ready for the road
You've worked through every item on the rv de-winterizing checklist, and your rig is now structurally sound, properly sanitized, and mechanically verified. Every system from your water lines to your safety detectors has been tested and confirmed. That's the work that separates a smooth season from one defined by roadside problems and costly repairs.
If anything during this process turned up a repair that's beyond your tools or skill level, don't delay it until your first campsite. A mobile technician can come to your driveway or storage lot and handle the fix before you ever leave home. Search our directory of over 3,200 providers or explore RV owner membership options for concierge-level support when you need a qualified technician fast. Your first trip of the season deserves a rig that's ready, not one you're hoping holds together until the next rest stop.