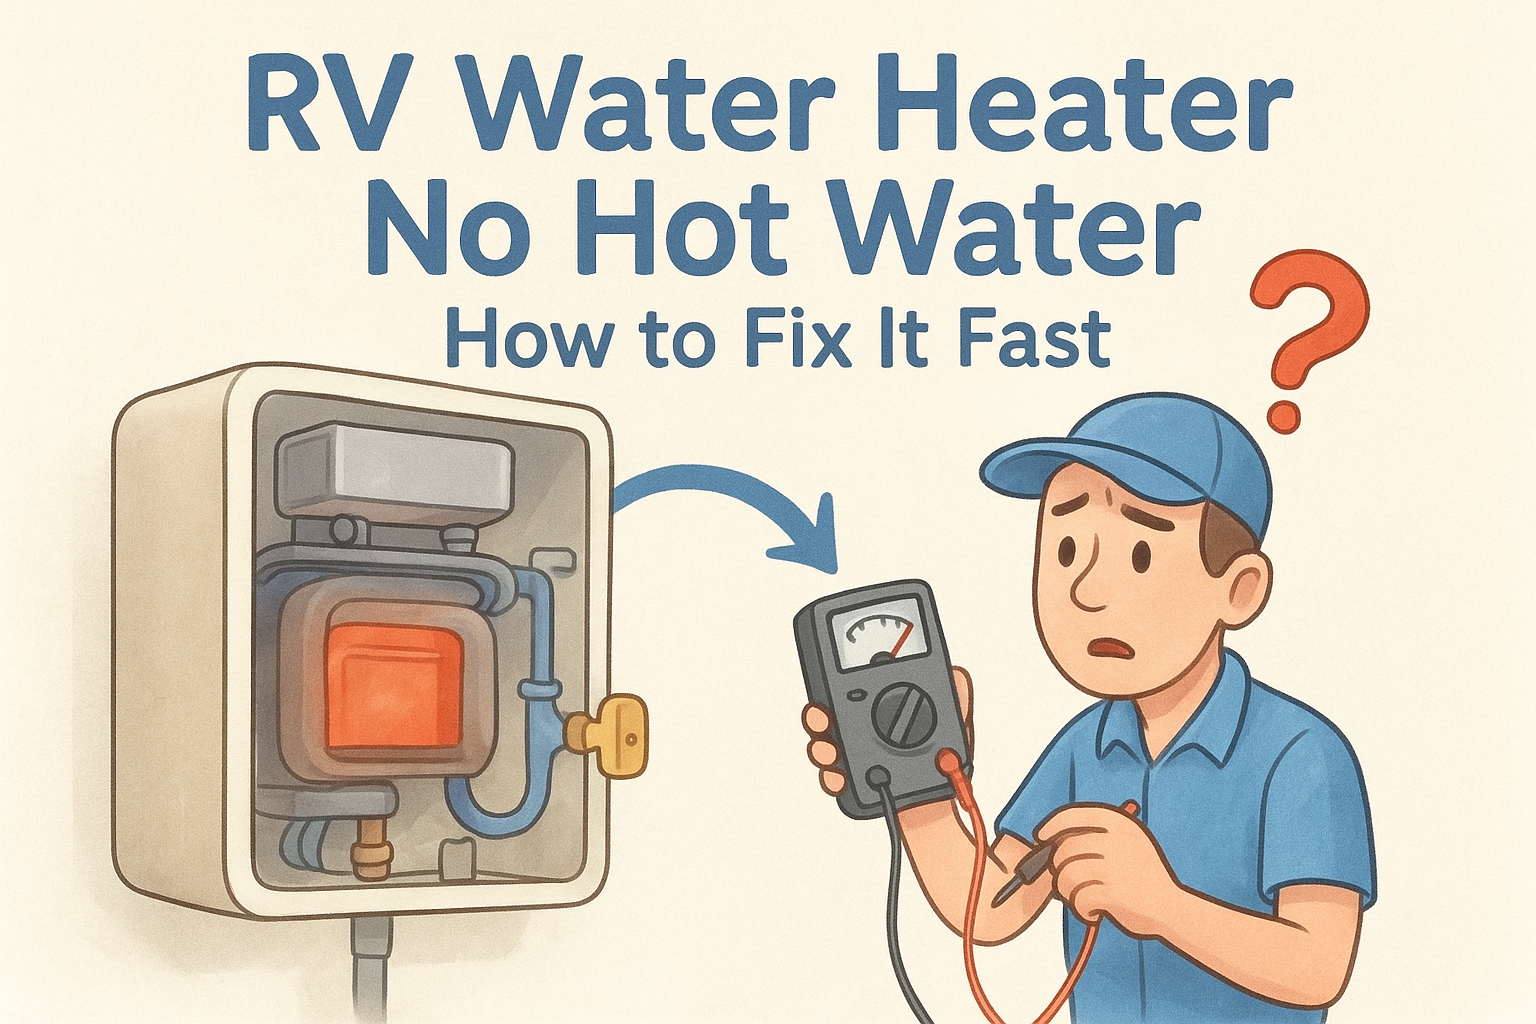
RV Water Heater No Hot Water: How to Fix It Fast
You turn on the hot water, wait the usual few minutes, and nothing but cold comes out. Meanwhile your water heater seems to be running fine, you can hear the burner or the electric element doing something, but the taps tell a different story. RV water heater no hot water problems are one of the most common calls mobile techs get, and the good news is that most causes are quick to diagnose once you know where to look.
This guide walks through the exact checks a technician would run on-site, starting with the simplest fixes first. You'll learn how to check your bypass valve position, test the thermostat and heating element, and spot a failed heating element or bad ignition board before you assume the whole unit is dead. Most of these steps take fifteen minutes with basic tools you probably already have in your rig.
If you work through these steps and still have cold water at every tap, that usually points to something beyond a DIY fix, like a cracked tank or wiring fault. That's exactly when it makes sense to call in a mobile RV technician who can diagnose the issue on-site, wherever you're parked, without you ever hitching up to drive anywhere.
Why your RV water heater runs but won't heat water
Most RV water heaters run on either propane, electricity, or both, and each fuel path has its own failure points. A gas/electric combo unit like a Suburban or Atwood can fail on the propane side while the electric element keeps working fine, or the other way around. That's why the first question you need to answer isn't "is it broken" but "which side of the system is broken." Figuring that out in the first five minutes saves you from replacing parts that were never the problem.
Before you touch a single wire or valve, rule out the obvious. Check your propane tank level and make sure the gas valve at the tank is fully open. Confirm your water heater's bypass valve is set to "normal" and not "bypass," since a bypass valve left in the wrong position after winterizing sends water around the tank entirely, and you'll get a heater that runs but never touches the water flowing through your pipes. Also check that your fresh water tank has water and your pump is building pressure, since a heater with no water inside will run dry and never produce hot water at the tap even if every component is healthy.
A running water heater and a hot tap are two different things, and confusing them is the number one reason people replace parts they didn't need to.
Common culprits behind no hot water
Once you've ruled out the basics, the failure usually falls into one of a handful of categories. Here's what mobile techs see most often, roughly in order of frequency:
Bypass valve in wrong position Both Easy, no tools needed Blown thermal fuse or ECO switch Electric Easy, replace part Failed heating element Electric Moderate, requires draining tank Faulty thermostat Both Moderate Bad circuit board or igniter Gas Moderate to hard Cracked tank or internal leak Both Requires professional repairRather than picking a part and hoping, work through these systematically. Start with anything you can check without tools, like the bypass valve and propane level, then move to electrical checks like breakers and fuses, and only after that dig into thermostats and heating elements. Sequencing your troubleshooting this way means you're never disassembling a panel or draining a tank before you've confirmed the simple stuff is actually set up right.
Think about how your unit is configured, too. Two-way units that run on both gas and electric sometimes have one side fail while the other keeps working, which can mask the real issue if you only test one fuel source. Testing both independently, running on propane alone, then switching to electric alone, tells you exactly which system needs attention before you start pulling anything apart.
Step 1. Confirm power and propane are reaching the heater
Start with the fuel source, since a heater with no propane or no power will run its fan or display lights while never actually heating anything. If you're on propane, check the tank gauge first, then walk out to the tank and confirm the valve is turned fully counterclockwise. A partially open propane valve can supply enough gas to keep an igniter clicking without ever lighting a sustained flame, which fools a lot of owners into thinking the heater itself is broken.
Next, check every other appliance that runs on propane, like your stove or furnace. If those work fine but the water heater won't ignite, the problem is likely isolated to that unit's gas line or igniter, not your propane supply overall. If nothing on propane works, you're dealing with a supply issue, possibly a closed valve, an empty tank, or a kinked line, not a water heater problem at all.
Before you condemn the water heater, prove the fuel is actually getting to it, because a starved burner looks identical to a dead one.
For electric-side units, confirm the water heater is plugged into shore power or your inverter is actually running, not just showing a charge indicator. Test the outlet or circuit connection with a multimeter if you have one, checking for around 120 volts at the terminal feeding the element. No multimeter on hand? Plug a lamp or phone charger into the same circuit to confirm power is live.
Here's a quick sequence to run through:
- Check propane tank level and confirm the tank valve is fully open.
- Test another propane appliance to confirm supply.
- Confirm shore power or generator output is active.
- Verify voltage at the outlet feeding the electric element.
Once you've confirmed fuel and power are both reaching the unit, you're ready to move inside the panel to check breakers and fuses.
Step 2. Check the switches, fuses, and breakers
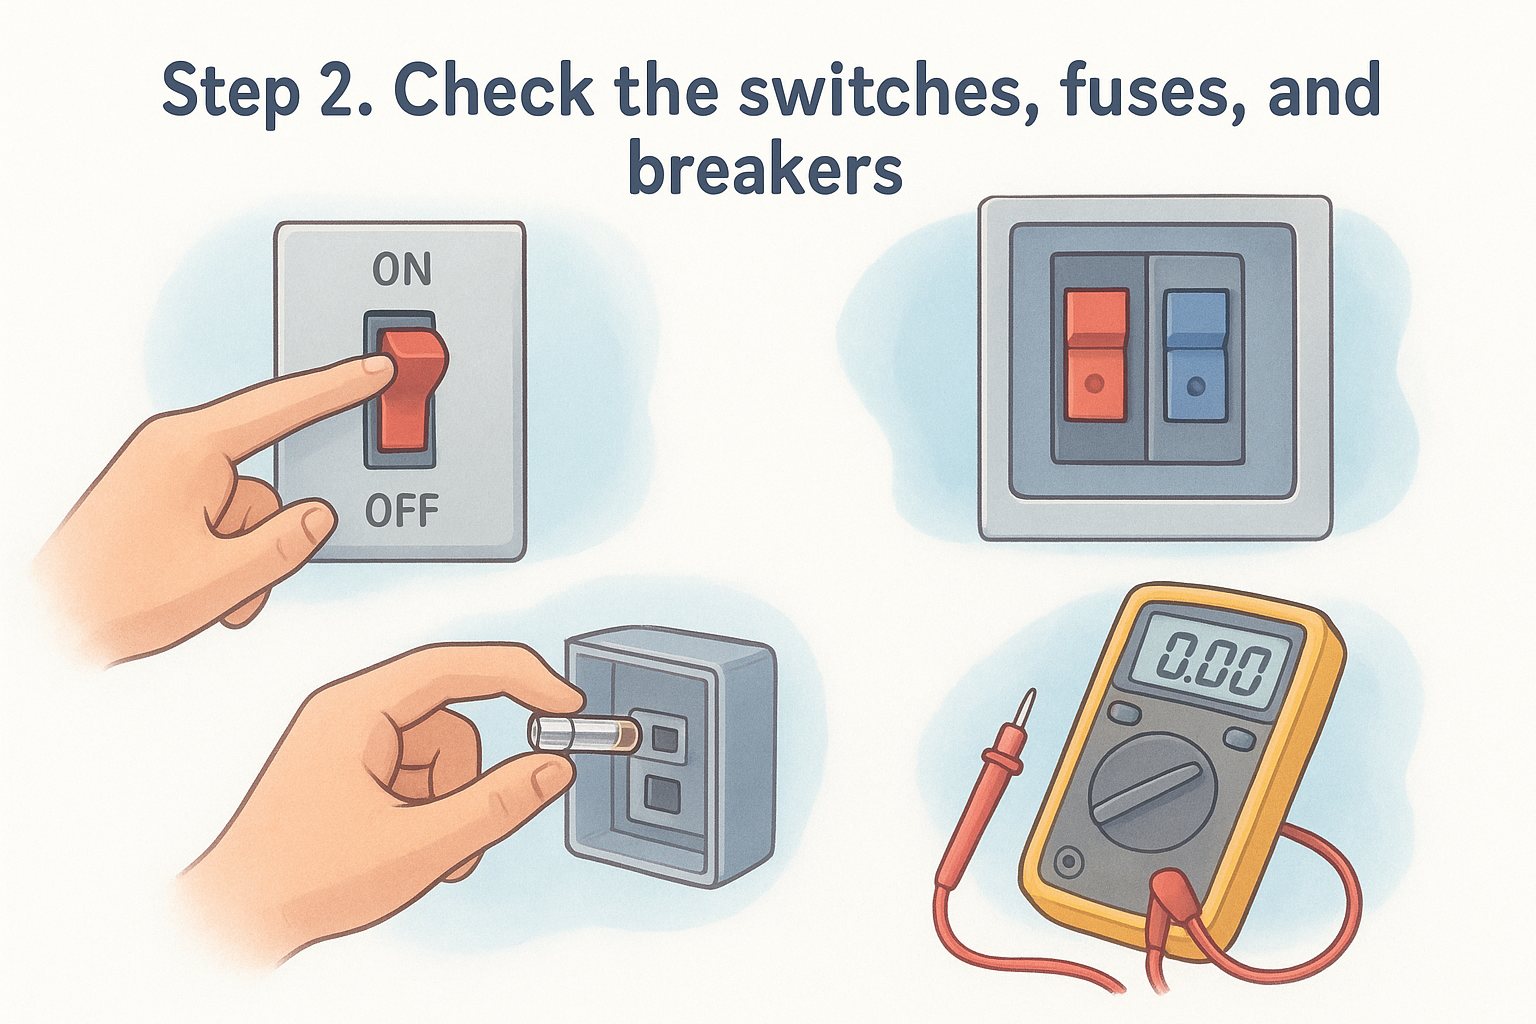
Once you've confirmed fuel and power reach the unit, look at the switches standing between that power and the heating element itself. Most gas/electric combo units have a dedicated toggle switch near the water heater, often mounted on an interior panel, that has to be flipped on separately from your main breaker panel. Owners flip this switch off during storage or winterizing and forget to turn it back on come spring, which produces a heater that seems dead even though every other system checks out fine.
Locate the DC and AC circuits
Your water heater likely draws from two separate circuits, a 12-volt DC circuit that runs the control board and igniter, and a 120-volt AC circuit that powers the electric heating element if you have one. Check your DC fuse panel first, since a blown 12-volt fuse kills the igniter on the gas side even when propane and the toggle switch are both fine. Pull the fuse and inspect it against a light source; a broken filament means it's done and needs replacing with the same amperage rating.
A single blown fuse can shut down an entire water heater while every other appliance in your rig keeps running normally.
Reset switches and test fuses
Work through this checklist before moving further into the unit:
- Locate and flip the water heater's dedicated on/off switch, usually near the unit or on a control panel.
- Check the 12-volt DC fuse panel for a blown fuse matching your water heater circuit.
- Reset any tripped AC circuit breaker feeding the electric element in your main panel.
- Confirm the switch position with a multimeter if the fuse looks intact but nothing responds.
If everything here checks out and the unit still won't heat, the thermostat or thermal cutoff switch is next on the list.
Step 3. Test the thermostat and thermal cutoff switch
If power and fuses check out, the next suspect is the thermostat itself, or its close cousin, the thermal cutoff switch (often called the ECO, short for energy cutoff). These two parts sit right on the heating element or tank wall, and either one can silently kill your hot water while everything upstream looks perfectly healthy. The thermostat tells the element when to turn on and off based on water temperature, while the thermal cutoff switch trips as a safety measure if the tank overheats, and once it trips, it usually needs a manual reset or replacement before the heater will run again.
Start by locating the access panel on the outside of your RV, usually a small door near the water heater unit itself. Behind it, you'll find the element with the thermostat and ECO switch mounted directly against the tank. Look for a small red reset button on the ECO switch first, since a tripped switch is the single most common reason a unit runs but never gets hot. Press it firmly; if it clicks and stays in, that's often all it takes.
A tripped thermal cutoff switch is an easy five-second fix that gets mistaken for a dead heating element more often than any other issue.
Testing with a multimeter
If the reset button doesn't solve it, pull the multimeter back out and test for continuity across the thermostat. With the unit unplugged or disconnected from power, set your meter to continuity mode and touch the probes to each thermostat terminal. No beep or reading means it's failed and needs replacing. Do the same test on the ECO switch terminals; a switch that shows no continuity even after resetting is done and needs a new one, typically a $15 to $25 part available at most RV supply stores.
With the thermostat and cutoff switch cleared or replaced, you're ready to look at the heating element and bypass valve next.
Step 4. Inspect the heating element and bypass valve
Assuming the thermostat and cutoff switch are good, the heating element itself is the next likely failure point on electric-side units. Elements burn out over time, especially in areas with hard water where mineral scale builds up around the element and insulates it from the water it's supposed to heat. A failed element draws no current, runs the breaker without tripping it, and leaves you with cold water no matter how long you wait.
Testing the element for continuity
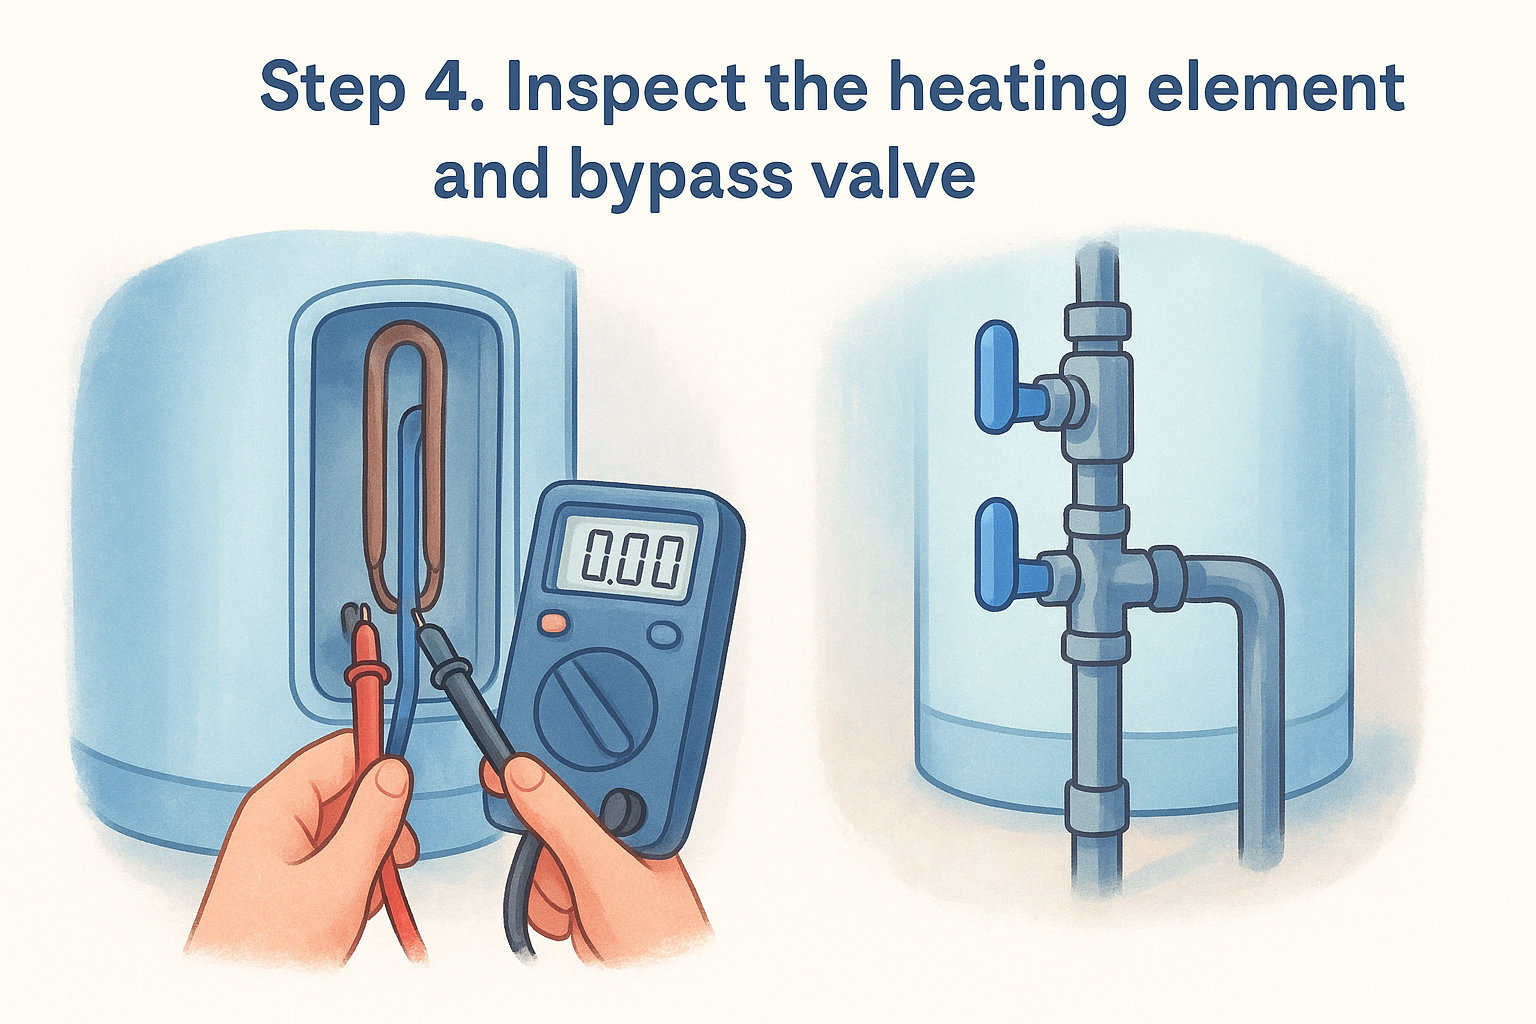
Unplug the unit from power before touching anything. Pull the access panel and disconnect the two wires feeding the element, then set your multimeter to continuity mode and touch a probe to each terminal.
- A steady beep or low-ohm reading means the element is fine.
- No reading at all means it's burned out and needs replacing.
- A reading with visible corrosion or scale on the element itself means clean it or swap it, since scale buildup mimics a failed element even when the coil still tests good.
An element that shows no continuity is dead, full stop, and no amount of resetting or waiting will bring it back.
Confirming bypass valve position
Go back and physically trace your bypass valve setup, since this single valve gets missed constantly after winterizing season. Follow the three valve handles near your water heater and confirm all are set to "normal operation," not "bypass" or "winterize." If even one handle sits in the wrong position, water skips the tank entirely and you get exactly the symptom you started with, a heater that runs but never touches your actual water supply.
Getting hot water flowing again
Most RV water heater no hot water problems trace back to something small: a bypass valve left in the wrong position, a tripped thermal cutoff switch, or a blown fuse hiding behind an otherwise healthy unit. Work through the steps in order, fuel and power first, then switches, then thermostat and element, and you'll usually find the culprit before you've spent a dime on parts.
Sometimes, though, the fix isn't a $20 part. A cracked tank, a wiring fault buried in the panel, or an element that keeps failing points to something bigger than a DIY afternoon should handle. When that happens, you don't need to break camp and drive to a dealership. Check out the remote assistance and membership options for RV owners to get a vetted mobile technician out to your rig, wherever you're parked, and get hot water flowing again without losing another day of your trip.