7 RV Tankless Water Heater Problems & How To Fix Them
Cold showers on a road trip ruin the mood fast, especially when your tankless unit was working fine yesterday. RV tankless water heater problems usually show up at the worst time, right after you've hooked up at a campground and turned the handle expecting hot water. Most of these units run on the same basic components, so the same handful of issues cause the majority of complaints: ignition failures, error codes you can't decode, and water that goes from scalding to freezing mid-shower.
This article walks through the seven problems that send RV owners searching online, with practical troubleshooting steps you can try before calling in a technician. You'll learn what triggers common error codes on brands like Girard and Truma, why low water pressure often has nothing to do with the heater itself, and when a gas supply issue is really an ignition problem in disguise.
Some fixes take five minutes with a screwdriver. Others mean the igniter or heat exchanger has failed and needs a professional look. If you get through this list and still can't get hot water flowing, MobileRVService.com connects you with vetted mobile technicians near your location who handle these repairs on-site, so you're not stuck hauling your rig to a shop.
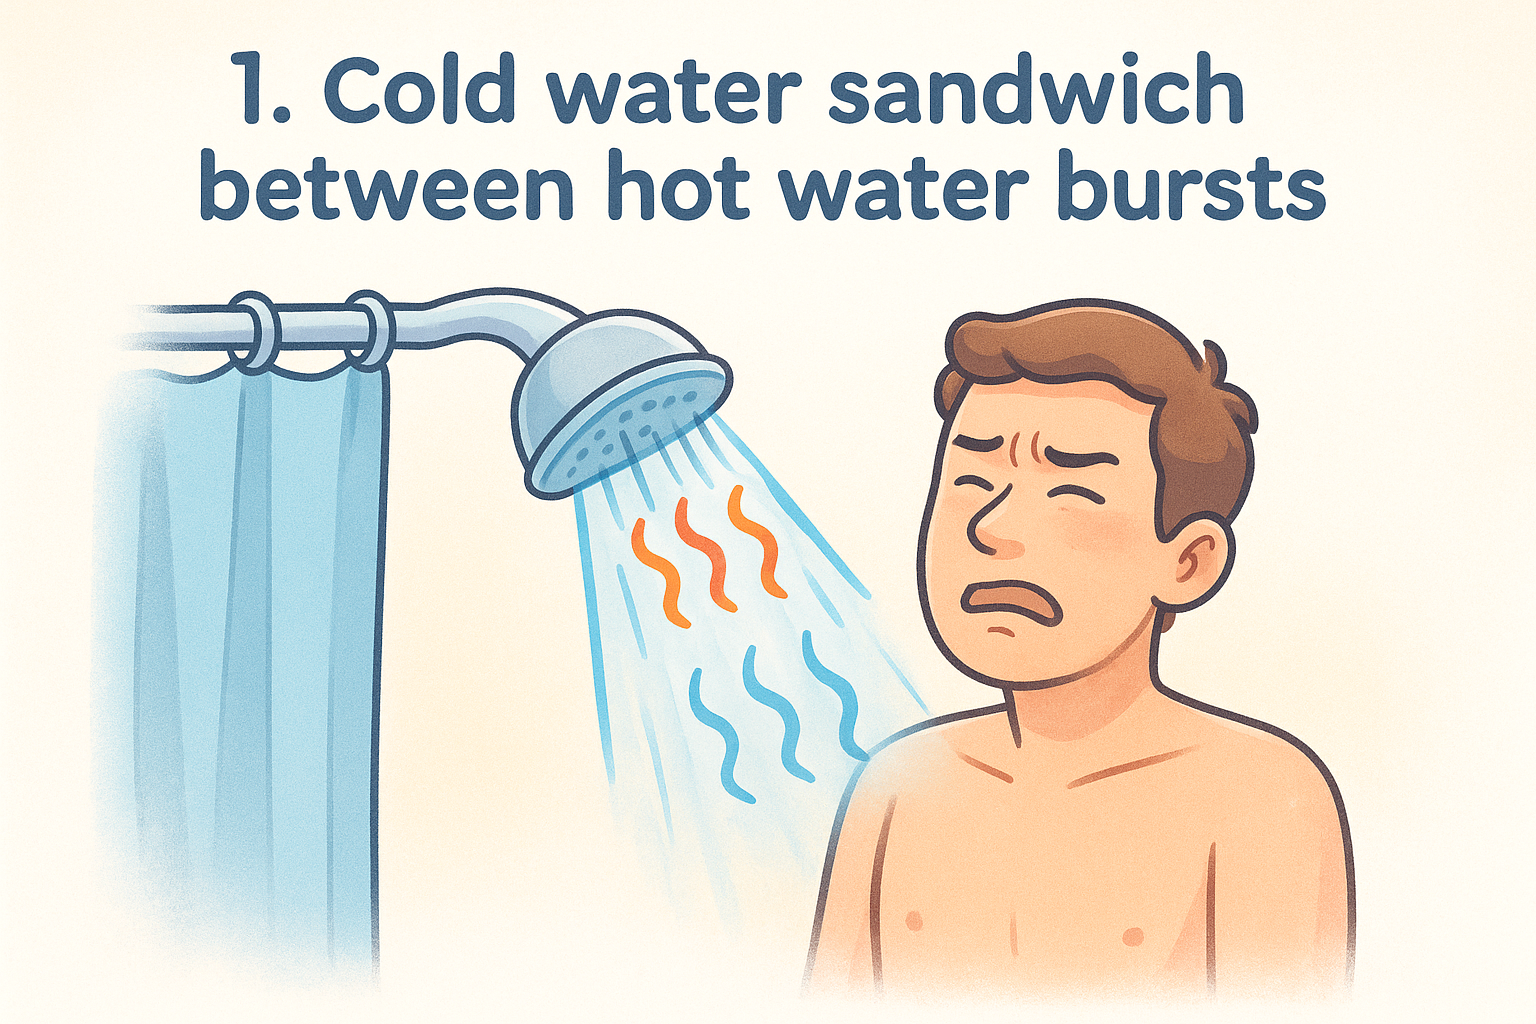
1. Cold water sandwich between hot water bursts
You start your shower, get a solid burst of hot water, then suddenly get hit with a blast of cold before it swings back to hot again. This is the classic cold water sandwich, and it's the single most common complaint tankless RV owners bring up. It's not a sign your unit is dying. It's a byproduct of how tankless heaters actually work.
Signs you'll notice
The pattern is pretty distinct once you know what to look for:
- A short burst of hot water right when you turn the tap on
- A sudden cold gap lasting a few seconds to half a minute
- Hot water returning afterward and staying steady
- The issue getting worse the longer the heater sat idle before use
If you're seeing this exact sequence, you're dealing with a sandwich effect, not a failing unit.
What's causing it
Here's the mechanism: tankless water heaters don't store hot water, they heat it on demand as it passes through a heat exchanger. When you first turn on the tap, there's already some residual hot water sitting in the line from the last use. That gets pushed out first, giving you that initial hot burst. Then the cold water that was sitting in the pipe between the heater and the faucet arrives, and the heater hasn't ramped up to full temperature yet, so you feel the cold gap. Once the unit catches up and starts producing hot water at full rate, the temperature stabilizes again.
The cold water sandwich isn't a malfunction, it's the physics of on-demand heating catching up with the water already in your lines.
Short plumbing runs make this less noticeable. Long runs from the heater to a rear bathroom, or a unit with a slow ignition delay, make the gap more obvious.
How to fix it
You can't eliminate the sandwich entirely on most units, but you can shrink it significantly:
- Turn the faucet to a lower flow rate instead of full blast. Many units have a minimum flow threshold (often around 0.4 to 0.5 gallons per minute) to trigger ignition, and running at full flow burns through the buffer of hot water faster.
- Check your unit's temperature setting. Some models let you adjust delay or recovery time through a control panel; lowering the set temperature slightly can shorten the gap.
- Insulate exposed water lines between the heater and the fixtures you use most, since insulation slows how fast that segment of pipe cools between uses.
- Update the firmware or control board settings if your model supports it. Girard and Truma have both released updates addressing ignition response time on certain units.
- Run the water briefly before stepping in, letting the sandwich cycle finish before you're standing under it.
None of these steps are complicated, and most owners find a combination of two or three noticeably improves the experience.
When to call a mobile RV technician
If the cold gap has grown longer over time, lasts more than 30 to 45 seconds, or shows up even on short plumbing runs, something beyond normal sandwich behavior is going on. That points to a failing flow sensor, a delayed ignition module, or a heat exchanger that's lost efficiency. A mobile technician can test ignition response time with diagnostic tools you won't have access to at home, and they can tell you whether you're looking at a simple sensor swap or a heat exchanger issue that needs a full inspection.
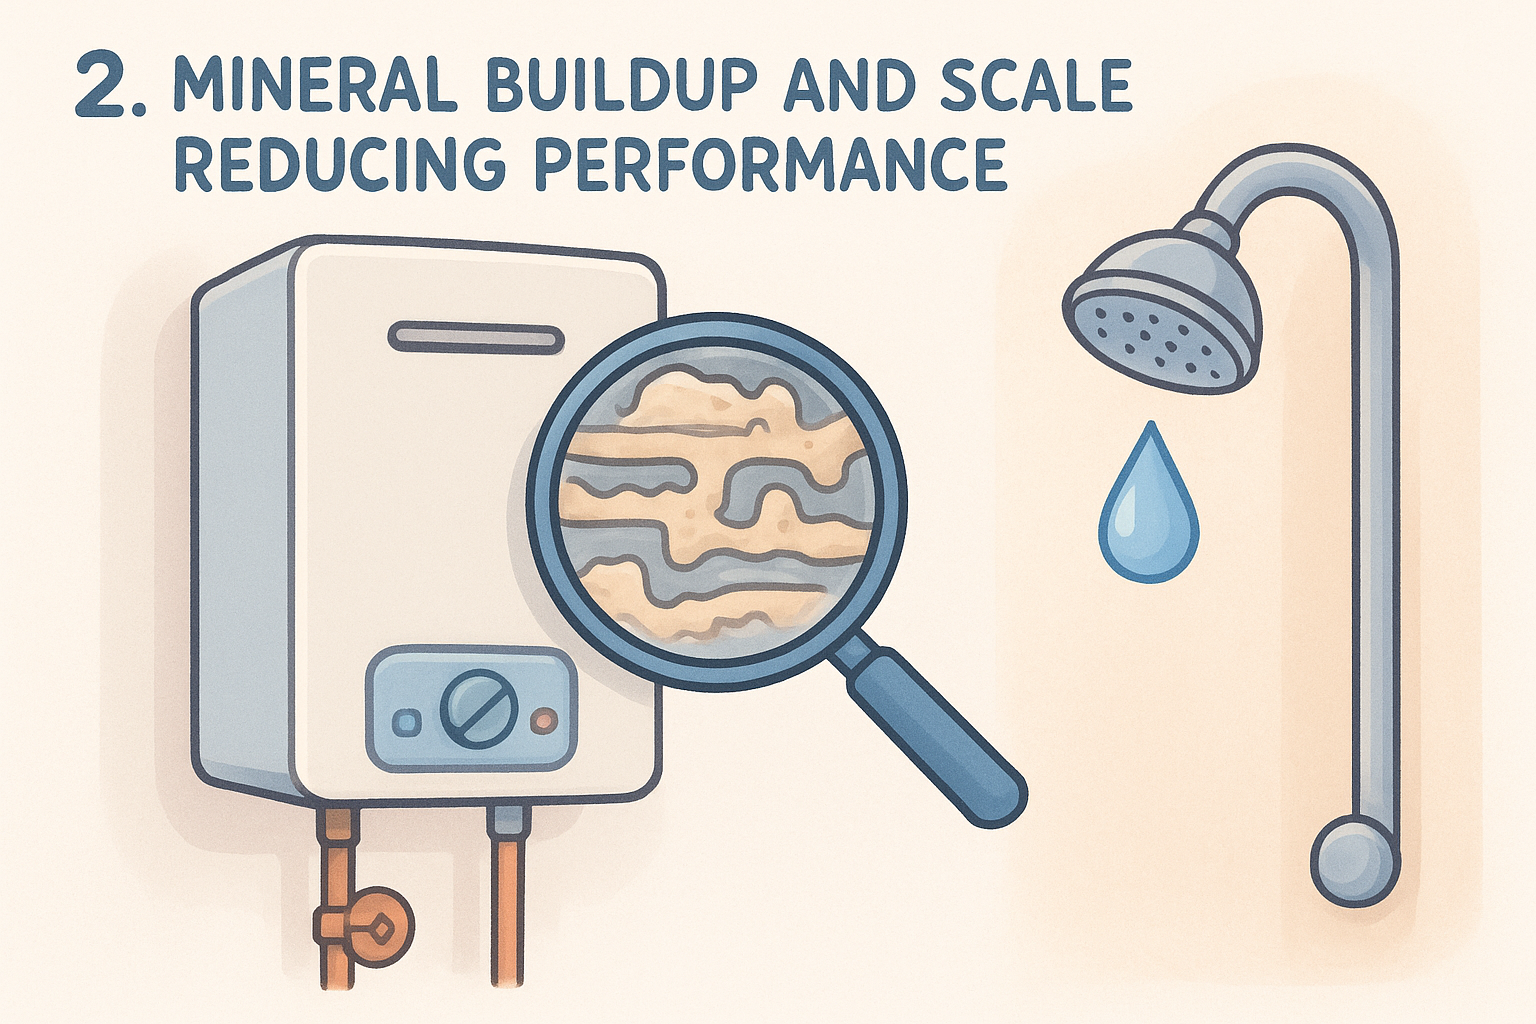
2. Mineral buildup and scale reducing performance
Hard water is the quiet killer of tankless RV water heaters. Mineral buildup collects inside the heat exchanger every time you fill your fresh tank or hook up to an unknown campground water source, and most owners don't notice until performance has already dropped noticeably.
Signs you'll notice
Scale buildup rarely announces itself with a single dramatic failure. Instead, you'll notice a slow decline:
- Water taking longer to reach hot temperature than it used to
- Reduced hot water flow even though your pressure is fine elsewhere
- Rattling or popping noises from inside the unit during operation
- Temperature fluctuating even when the flow rate stays steady
Catching these early saves you from a full heat exchanger replacement down the road.
What's causing it
Calcium and magnesium dissolved in hard water don't just pass through your system, they deposit on the interior walls of the heat exchanger every time water heats up. That layer of scale acts like insulation, forcing the burner to work harder to transfer heat through it. Campgrounds across the Southwest and parts of the Midwest are notorious for hard water, and RVers who fill up at multiple stops along a route often have no idea what mineral content they're introducing at each fill.
Scale buildup doesn't break your water heater overnight, it slowly chokes performance until one day the unit can barely keep up.
How to fix it
Descaling is a maintenance task you can do yourself with the right supplies:
- Shut off power and water to the unit before starting.
- Connect a submersible pump to the service valves using a bucket and hose kit designed for tankless flushing.
- Circulate a descaling solution (food-grade vinegar or a commercial descaler like the ones sold for Girard and Truma units) through the heat exchanger for 45 minutes to an hour.
- Flush thoroughly with fresh water afterward to clear out dissolved deposits.
- Repeat every three to six months if you regularly use hard water sources.
When to call a mobile RV technician
If descaling doesn't restore performance, or you notice reduced flow even after a flush, the buildup may already have damaged internal components. A technician can inspect the heat exchanger with a scope, confirm whether scale has caused permanent restriction, and replace parts that a home descaling kit can't reach.
3. System overload from low pressure or multiple fixtures
Run the shower and the kitchen sink at the same time, and your tankless unit might just give up on both. System overload happens when the demand placed on the heater exceeds what it can physically process, and it's a common complaint among owners who assume tankless means unlimited hot water everywhere at once.
Signs you'll notice
Watch for these patterns when multiple fixtures are in use:
- Hot water turning lukewarm or cold when a second fixture opens
- The unit shutting off entirely rather than just reducing output
- Weak flow even at a single fixture if incoming pressure is already low
- An error code appearing only during high-demand moments
These symptoms usually don't show up when you're only running one tap, which is your first clue that overload is the culprit.
What's causing it
Every tankless water heater has a maximum flow rate it can heat effectively, often somewhere between 1.5 and 3 gallons per minute depending on the model. Ask it to heat water for two fixtures simultaneously, and it either splits capacity between them (leaving both lukewarm) or hits a safety threshold and shuts down. Low incoming water pressure, whether from a weak campground spigot or an undersized pump, makes this worse because the unit needs a minimum flow just to detect demand and fire up.
A tankless heater isn't out of hot water, it's out of capacity when too many fixtures compete for it at once.
How to fix it
Start by isolating the demand:
- Run one fixture at a time and confirm whether performance returns to normal.
- Check your campground's water pressure with an inline gauge; anything under 40 psi can trigger flow-related shutoffs.
- Install a water pressure regulator if incoming pressure swings unpredictably between hookups.
- Avoid running the water pump and city water simultaneously, since competing sources can create pressure inconsistencies the heater misreads as low demand.
When to call a mobile RV technician
If a single fixture alone still struggles even with confirmed good pressure, the flow sensor or inlet screen may be restricting water before it ever reaches the heat exchanger. A mobile technician can measure actual flow rate against the manufacturer's spec and pinpoint whether the problem sits upstream in your plumbing or inside the unit itself.
4. Confusing error codes on the display panel
Your control panel flashes a code like "E1" or "LC" and gives you nothing else to go on. Error codes are meant to help you diagnose the problem faster, but most RV owners never got a manual that actually explains what each one means, so the panel ends up creating more confusion than clarity.
Signs you'll notice
The display itself tells you something's wrong, even if the meaning isn't obvious:
- A code or letter combination flashing on the control panel
- The unit refusing to ignite or shutting off mid-use alongside the code
- Codes that clear on their own after a power cycle, then return later
- Different codes appearing depending on whether you're using gas or electric mode
Writing down the exact code before you reset anything gives a technician a real starting point instead of a guess.
What's causing it
Each manufacturer uses its own code system, and the same letter can mean something completely different between brands. A quick reference helps, though you should always confirm against your specific model's manual:
E1 / LC Ignition failure Gas supply, igniter, or flame sensor issue E3 Overheat protection Restricted flow or scale buildup E5 Flame failure during operation Wind, low gas pressure, or dirty sensor LO / LP Low gas pressure Nearly empty propane tank or regulator faultHow to fix it
Start with the basics before assuming a component has failed:
- Record the exact code shown, since guessing later wastes time.
- Check propane level and gas line connections first, as low pressure triggers more codes than any other single cause.
- Power cycle the unit by cutting power for 60 seconds, then restoring it.
- Cross-reference the code against your model's printed manual or the manufacturer's official support page for Girard or Truma.
A flashing error code isn't the problem itself, it's the unit telling you where to start looking.
When to call a mobile RV technician
If the same code returns after a reset and confirmed gas supply, or you can't find documentation matching your exact model, stop guessing. A technician carries the diagnostic tools and cross-brand code references to pinpoint the failure fast.
5. No flame or failed ignition
You hear the unit click, maybe even smell a whiff of propane, but no flame ever catches. Failed ignition is one of the most common calls mobile techs get, and it's often mistaken for an empty propane tank when the real problem sits somewhere else entirely.
Signs you'll notice
Listen and watch closely during startup, since the failure pattern usually gives away where to look:
- Repeated clicking from the igniter with no flame catching
- A brief flame that lights, then sputters out within seconds
- Cold water flowing through the unit with zero heat added
- An ignition-related error code appearing right after the failed attempt
If the clicking sound is present but consistent, that points toward spark or gas delivery rather than a dead electrical system.
What's causing it
Ignition failure almost always traces back to one of three culprits: insufficient gas pressure, a dirty or faulty flame sensor, or a worn igniter electrode. Propane tanks running low deliver inconsistent pressure long before they read empty on a gauge. A flame sensor coated in soot can't confirm ignition even when the burner lights, so the control board shuts things down as a safety measure. Cold weather makes all of this worse, since propane pressure drops as temperatures fall.
No flame usually means the unit can't confirm it's safe to keep running, not that it's incapable of lighting at all.
How to fix it
Work through gas supply before assuming a part has failed:
- Check propane level and swap tanks if you're running close to empty.
- Verify the regulator is set correctly and free of ice or debris in cold weather.
- Inspect the flame sensor for soot buildup and clean it gently with fine sandpaper if accessible.
- Confirm 12-volt power is reaching the ignition module, since low battery voltage weakens spark strength.
When to call a mobile RV technician
If gas pressure and power both check out and the unit still won't hold a flame, the igniter electrode or control board itself has likely failed. Replacing either requires disassembly a mobile technician handles quickly, and attempting it yourself risks damaging the gas valve assembly.
6. Leaks at the pressure relief valve or inlet filter
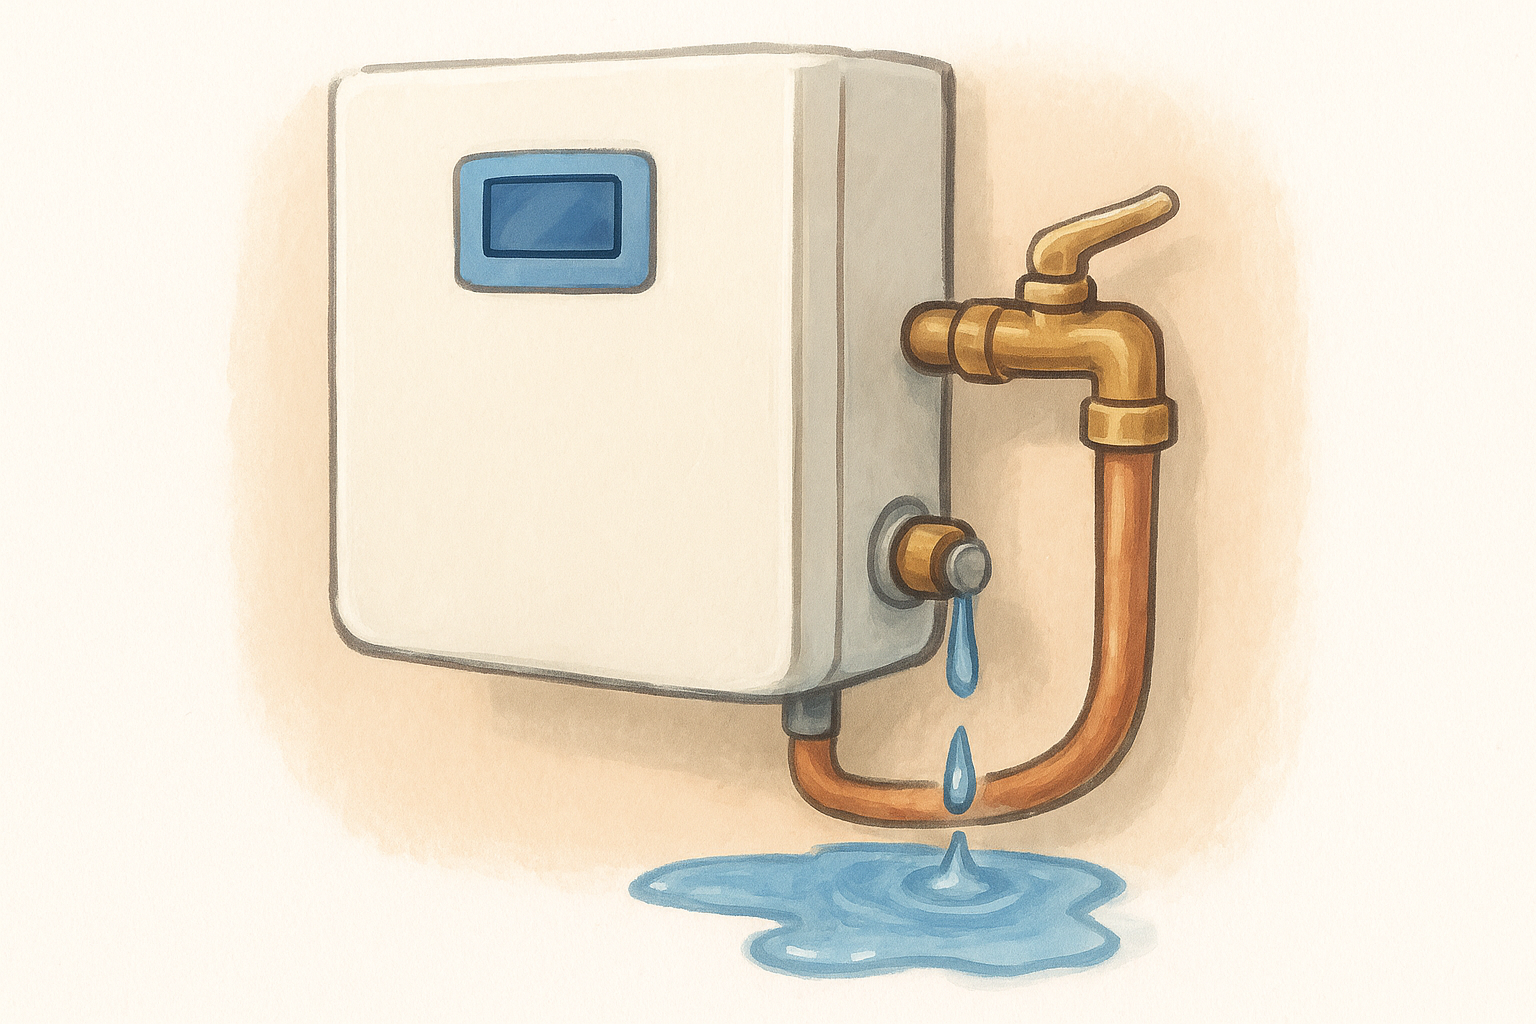
You spot a puddle under the water heater compartment, or water dripping from a small brass fitting on the outside of the unit. Leaks at the pressure relief valve or inlet filter are common on tankless units, and while some drips are normal safety function, others signal a part that needs replacing before it causes real damage to your rig's flooring or wiring.
Signs you'll notice
Leaks show up differently depending on where they originate, so pay attention to the pattern:
- Steady dripping from the pressure relief valve even when the unit isn't running
- Water pooling near the inlet filter housing after each use
- A hissing sound accompanying the drip, which suggests active pressure release
- Corrosion or mineral staining building up around a fitting over time
A drip that only happens right after the unit shuts off is different from one that never stops, and that distinction matters for diagnosis.
What's causing it
The pressure relief valve exists to release water automatically if internal pressure or temperature climbs too high, so a small amount of weeping after a hot cycle isn't unusual. Constant dripping, though, usually means the valve seat has debris trapped in it or the valve itself has worn out and can't seal properly anymore. Inlet filter leaks trace back to a cracked housing, a worn O-ring, or mineral buildup wedging the filter cap so it never seats flush against the threads again.
A relief valve that never stops dripping isn't protecting your system anymore, it's failing to seal.
How to fix it
Try these steps before assuming a full valve replacement is needed:
- Turn off water supply and depressurize the line before touching any fitting.
- Remove and inspect the inlet filter screen, clearing out sediment or scale that's preventing a clean seal.
- Check the O-ring on the filter housing and replace it if cracked or flattened.
- Test the relief valve manually by lifting its lever briefly; if it won't reseat and stop dripping, the valve needs replacement.
When to call a mobile RV technician
If the relief valve keeps dripping after cleaning and reseating, or you're seeing water inside the compartment near electrical connections, stop troubleshooting and call for help. A technician can confirm whether the valve itself has failed or whether excess system pressure upstream is causing it to release more often than it should, and replace the part safely without risking a bigger leak.
7. Water heater won't power on at all
You flip the switch or press the control panel button, and nothing happens. No display, no clicking, no fan spinning up. A water heater that won't power on at all is different from an ignition failure, since this points to the electrical side of the system rather than the gas or flame side.
Signs you'll notice
A dead unit gives you almost nothing to work with, but a few clues still separate a simple fix from a bigger one:
- A completely blank control panel with no lights or display
- No fan or blower sound when you try to start the unit
- Breakers or fuses that trip immediately when you attempt to power it on
- The unit working fine on shore power but failing on battery, or vice versa
Noticing which power source triggers the failure narrows down the search fast.
What's causing it
Most dead units trace back to low battery voltage, since tankless heaters need a stable 12-volt supply to run the control board and igniter even when the main heat source is propane. A blown fuse, tripped breaker, or corroded ground connection cuts that supply just as effectively as a dead battery. Loose wiring at the control board connector, often from vibration during travel, is another frequent culprit that's easy to miss during a quick glance.
A tankless heater that won't power on at all is usually starving for 12-volt power, not suffering a gas or ignition problem.
How to fix it
Work through the electrical basics before assuming the control board has failed:
- Check the fuse or breaker dedicated to the water heater and replace or reset it if tripped.
- Test battery voltage at the coach batteries, confirming it reads above 12 volts under load.
- Inspect wiring connections at the back of the control panel for looseness or corrosion.
- Try shore power and battery power separately to isolate which source is failing.
When to call a mobile RV technician
If fuses, breakers, and battery voltage all check out and the unit still won't power on, the control board itself has likely failed. A mobile technician can test the board directly and replace it on-site, saving you a trip to a shop for a part swap that takes minutes once diagnosed correctly.
Getting your hot water back on track
Most tankless water heater problems trace back to a handful of causes: scale buildup, low gas pressure, weak battery voltage, or a control board that's had enough after years on the road. Work through the checks in this guide before you assume the worst, since a good number of these fixes cost nothing but a little time under the rig.
When you've cleaned the flame sensor, checked your propane level, and reset every breaker twice, and you're still standing there with cold water, it's time to stop guessing. A failed heat exchanger or a fried control board isn't a weekend project, and forcing it usually turns a simple repair into an expensive one. Skip the trip to a dealership that's booked out for weeks. Check out the owner features on MobileRVService.com to see how a vetted mobile technician can get your hot water running again wherever you're parked.