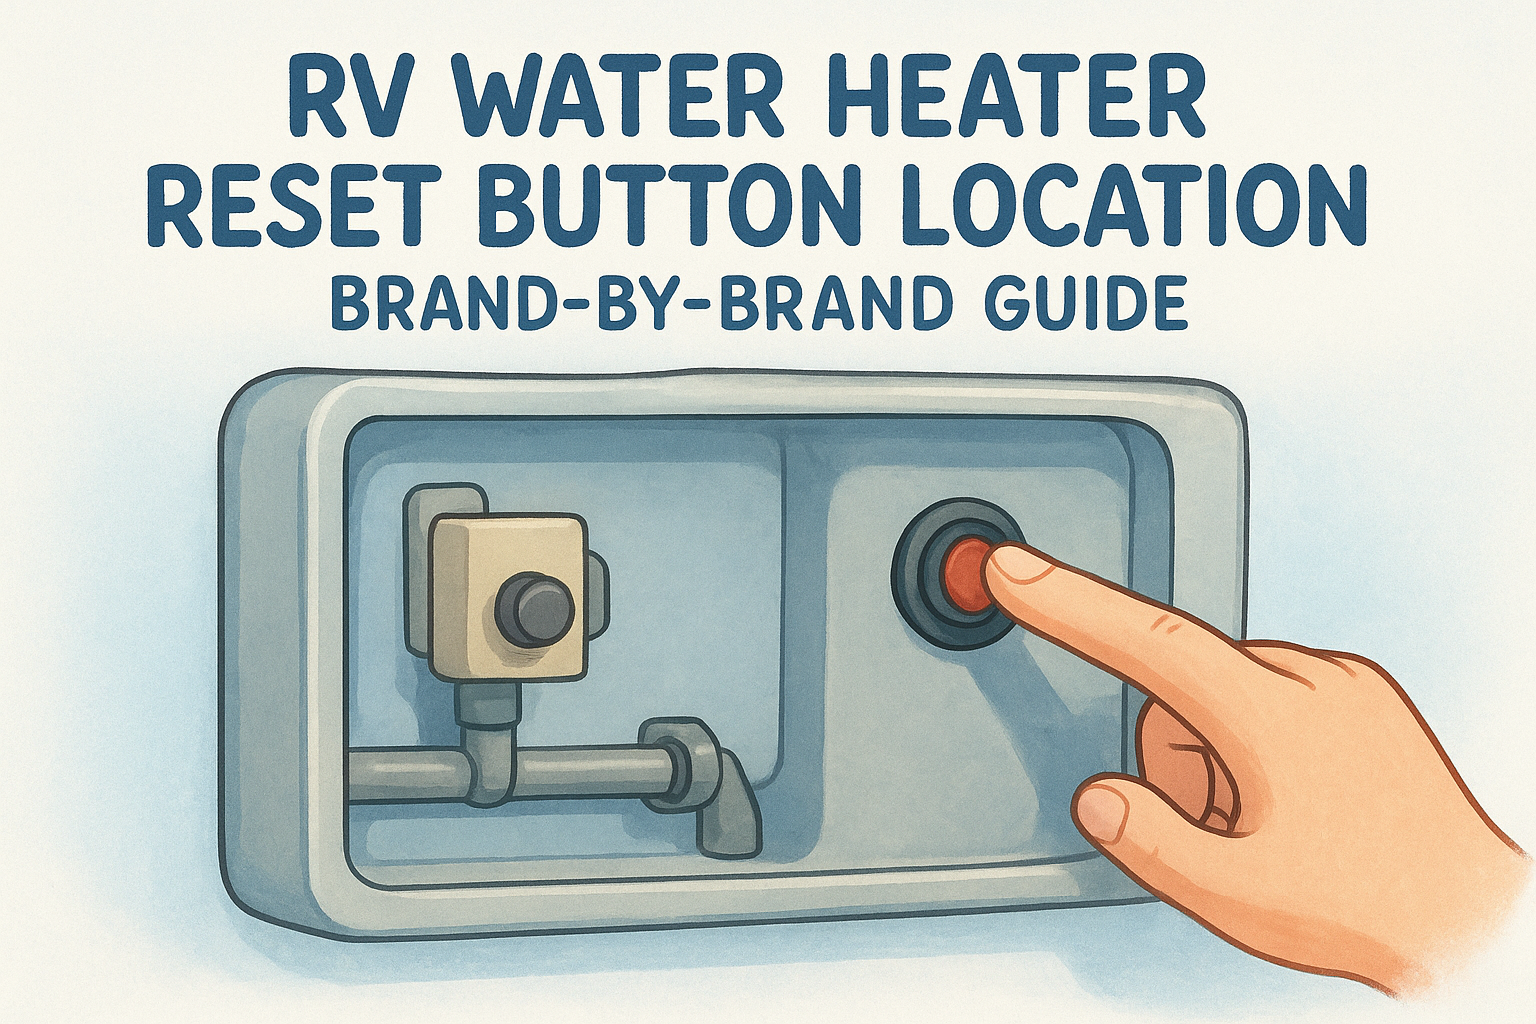
RV Water Heater Reset Button Location: Brand-by-Brand Guide
Your morning shower turns ice cold, or you notice your water heater isn't firing up at all. Before you start troubleshooting complex components or calling for backup, there's one simple step that fixes the problem more often than you'd expect: finding and pressing the rv water heater reset button location on your specific unit. It's a small thermal cutoff switch designed to trip when the heater overheats, and resetting it takes about 30 seconds, if you know where to look.
The catch is that every manufacturer puts it in a slightly different spot. What works on a Suburban unit won't match what you'll find on an Atwood or a Dometic. Searching blindly around hot components wastes time and risks burns. This guide maps out the exact reset button placement for each major RV water heater brand, so you can go straight to it.
If a reset doesn't solve the issue, or you'd rather have a professional handle it, MobileRVService.com connects you with mobile RV technicians in your area who come to your campsite or driveway. But most of the time, this is a fix you can knock out yourself. Below, you'll find brand-by-brand locations, safety precautions, and what to do if that reset button keeps tripping.
Before you reset, identify your water heater
Knowing your brand and model before searching for the rv water heater reset button location saves you from chasing the wrong spot on the unit. Four brands dominate the RV market: Atwood (now folded into Dometic), Suburban, Dometic, and Girard. Each one places its reset button in a different area, and some models don't have a user-accessible reset button at all. Spend two minutes identifying your unit before you touch anything, and the rest of the process becomes far more direct.
Find the exterior access panel
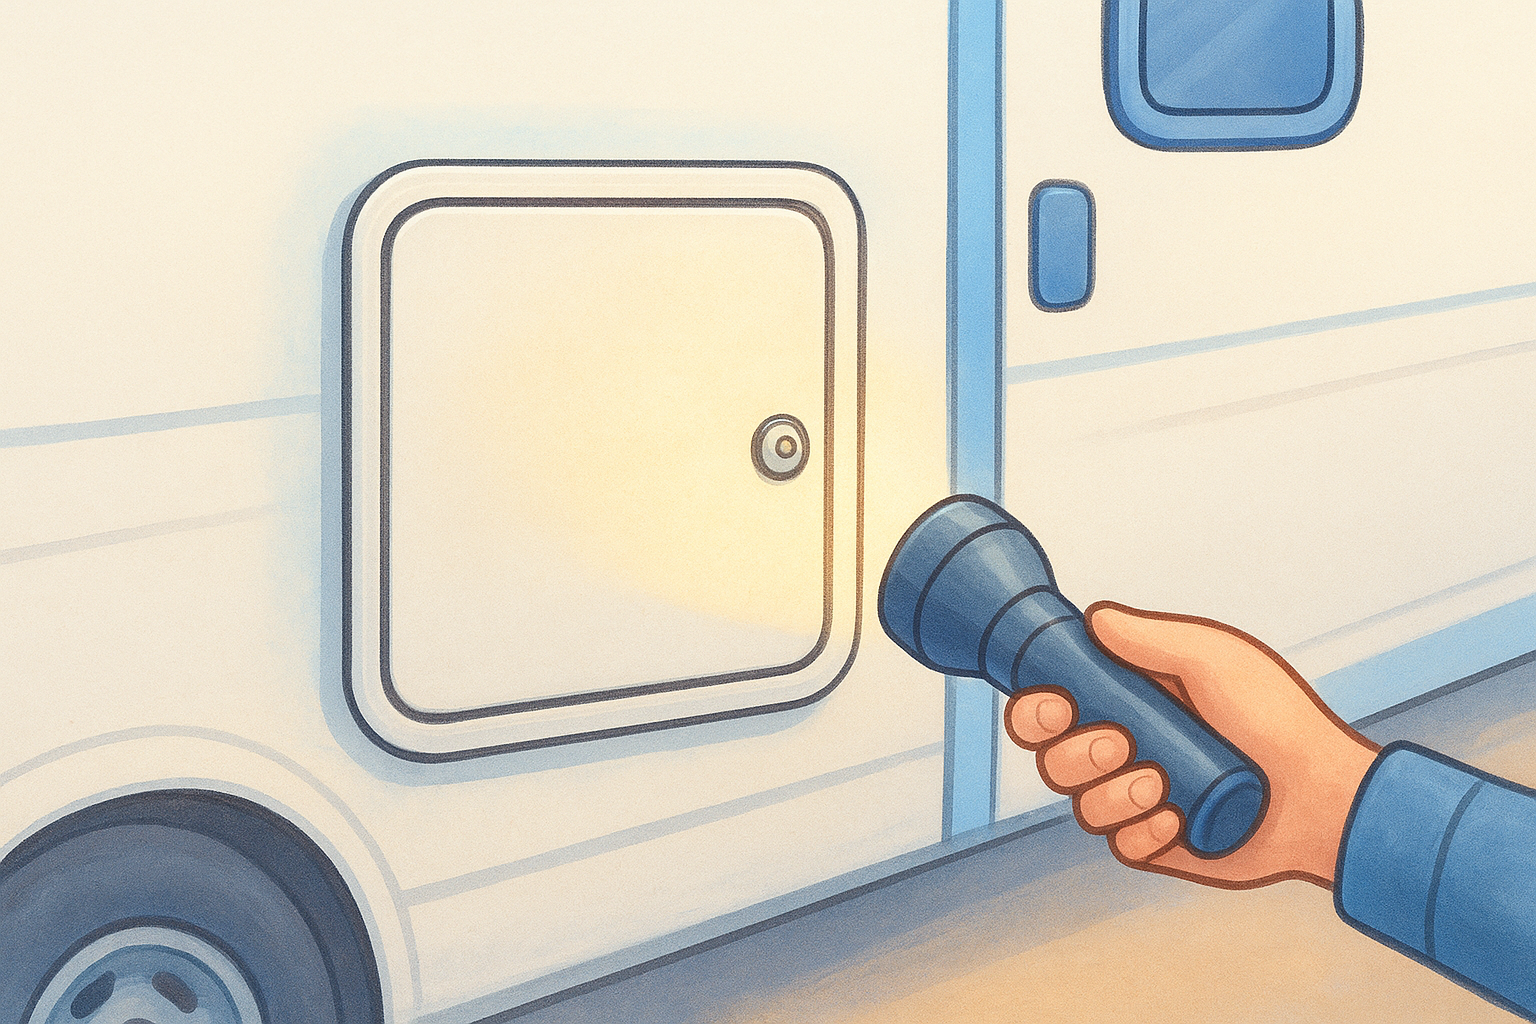
Your water heater sits in a dedicated compartment on the outside wall of your RV, accessible through a rectangular panel, usually on the street side or curb side of the rig. Open that panel and look directly at the face of the heater. On most units, you'll see a white or silver metal housing with either a piezo igniter button, a control board, or a basic on/off switch depending on the model. This compartment is your primary working area for any reset procedure, so make sure you have a flashlight handy before you start.
Locate the model and serial number plate
Every water heater carries a data plate or label affixed directly to the unit, typically on the top edge, the side of the tank, or inside the access door frame. That plate lists the brand name, model number, BTU rating, and serial number. Write down the exact model number before proceeding. If the label is faded or missing, check your RV's owner manual or look up your RV's original build sheet using the VIN through your RV manufacturer's records.
If you cannot confirm the model number, do not guess the reset button location. Touching the wrong component near live wiring or a hot burner creates a real safety risk.
Confirm the heat source: gas, electric, or both
Your water heater runs on propane, 120-volt AC power, or a combination of both, and the heat source directly determines where the reset button lives. A gas-only unit typically has its thermal cutoff positioned near the burner assembly. An electric or combination unit places the high-limit reset button on the element side, which sits behind a separate cover inside the same compartment. Pinning down your heat source upfront tells you exactly which side of the unit to inspect first, cutting your search time in half.
Safety checks before you touch the reset button
Working around your RV water heater means you're dealing with live propane lines, 120-volt AC power, and surfaces that stay hot long after the unit shuts off. Running through a short safety checklist before you search for the rv water heater reset button location takes less than five minutes and prevents burns, gas exposure, and accidental short circuits. Skipping this step because the fix looks simple is where most avoidable injuries happen.
Never press the reset button on a unit that still feels hot to the touch. The thermal cutoff tripped for a reason, and resetting it before the unit cools down can cause it to trip again immediately or, in rare cases, damage the heating element.
Turn off all power sources
Switch your water heater completely off at the control panel inside the RV before opening the exterior access door. If your unit runs on 120-volt electricity, flip the dedicated breaker in your RV's electrical panel to the off position. For propane operation, close the main LP gas valve at your tank. Do both steps even if you believe only one heat source is active, since combination units can draw from either source depending on settings.
Confirm the unit has cooled down
Press the back of your hand near the access panel, not directly on it, to test for heat before reaching inside. A water heater that recently ran at operating temperature will hold heat in the tank and burner housing for 20 to 30 minutes after shutdown. Wait until you feel no radiant heat before reaching in to locate any components.
Find the reset button by brand
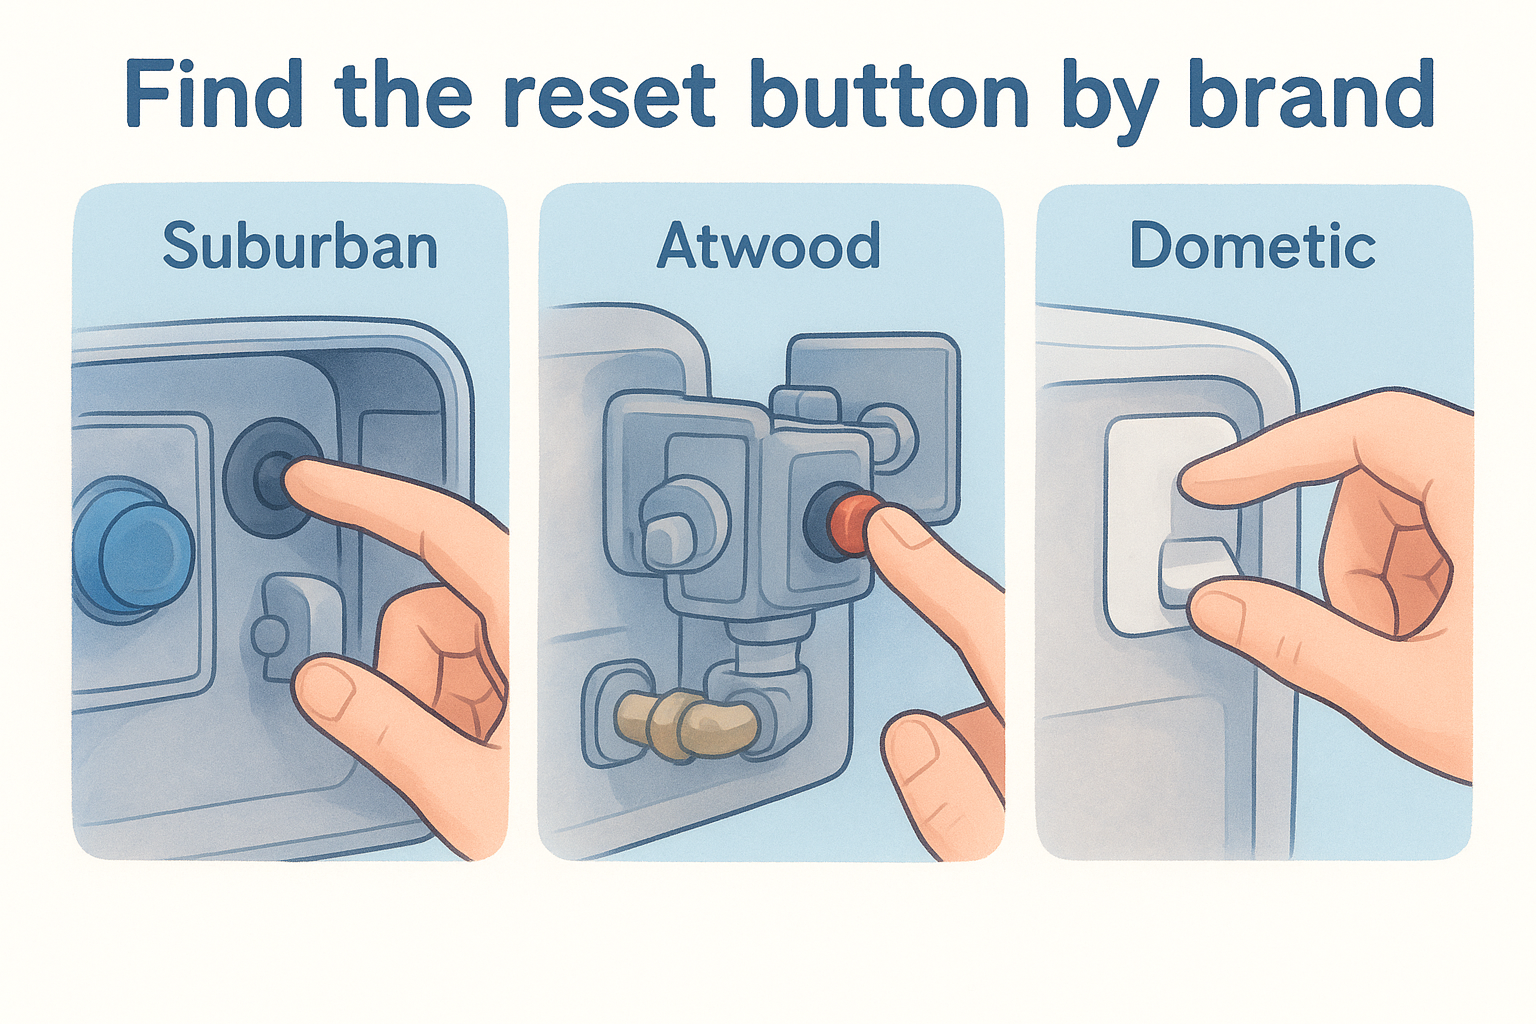
Once your unit has cooled and power is off, you can go directly to the rv water heater reset button location for your specific brand. The table below gives you an exact starting point for each major manufacturer so you don't waste time searching the wrong area of the compartment.
Suburban reset button
Suburban units mount the high-limit reset button on the outer right edge of the burner housing. Look for a small red or black button, roughly the size of a pencil eraser, recessed behind a rubber cap. Press the cap inward until you feel a distinct click.
If your Suburban unit runs on electricity as well, a second high-limit reset sits on the element flange on the opposite side of the tank, so check both sides before assuming the first button is the only one.
Atwood and Dometic reset button
Atwood and Dometic share the same design platform since Dometic acquired Atwood in 2015. On these units, the thermal cutoff button sits on the front face of the gas valve assembly. Newer Dometic models produced after 2018 position the reset behind a white plastic cover that you unclip rather than unscrew. Cross-reference the model number from your data plate with your owner's manual before you reach into the compartment.
Step 1. Shut down power and gas the right way
Before you move toward the rv water heater reset button location, you need to fully cut both power and fuel from the unit. A water heater that tripped its thermal cutoff already ran too hot, which means live current and open gas lines are still present until you manually shut them down. Rushing past this step is the single most common mistake people make before reaching into the compartment.
Treat every shutdown as if both the electric and gas supplies are active, even if you only use one mode. Combination units can hold residual voltage or gas pressure longer than you expect.
Cut shore power and battery supply
Walk inside your RV and flip the water heater breaker in your main electrical panel to the off position. If you run on shore power, also unplug your 30-amp or 50-amp cord at the pedestal. For rigs on battery power only, locate the water heater fuse in your 12-volt fuse block and pull it out. This step removes all electrical current from the unit before you put your hands near any internal components.
- Turn the water heater switch off at the inside control panel
- Flip the dedicated breaker in the main electrical panel
- Unplug shore power or pull the 12-volt fuse if running on batteries
Close the propane supply
Head to your LP tank compartment and close the main valve by turning it clockwise until it stops. If your rig uses dual tanks with an automatic changeover regulator, close both valves. Wait 60 seconds after closing the valve before opening the exterior access panel, giving any residual gas in the line time to dissipate before you reach in.
Step 2. Reset the heater and confirm it worked
With power and gas fully cut and the unit cooled down, you are now ready to press the reset button at the rv water heater reset button location for your brand. Use one finger to press the button firmly until you hear or feel a distinct click. The button should stay in once you release it. If it pops back out immediately, the thermal cutoff is still detecting excess heat and the unit has not cooled enough. Wait another 10 minutes and try again.
Do not press the reset button more than twice without identifying the underlying cause. Repeated tripping signals a real problem, such as a faulty thermostat or a failing heating element, that a reset will not fix.
Restore power and gas, then test
Once the button holds, reverse your shutdown steps in order. Reopen the LP tank valve first, wait 30 seconds, then restore shore power or replace the 12-volt fuse. Head inside and flip the water heater breaker back on, then switch the unit to its normal operating mode at your control panel.
Verify the unit is heating correctly
Give the water heater 15 to 20 minutes to reach operating temperature, then run the hot water tap nearest to the tank and check for consistent heat. A properly functioning unit will deliver steady hot water within that window. If the water stays cold, if the reset button trips again, or if you smell propane at any point during this test, shut everything down and contact a qualified mobile technician through MobileRVService.com before using the unit again.
Quick wrap-up
Finding the rv water heater reset button location on your specific unit comes down to knowing your brand, cutting power and gas before you reach in, and pressing the button only after the unit has fully cooled. Suburban, Atwood, Dometic, and Girard each place the reset in a different spot, but the process for every brand follows the same sequence: identify, cool down, shut off, reset, and verify.
If your reset button trips again within a day or two, the unit has an underlying problem that a button press will not fix. A faulty thermostat, a failing heating element, or a blocked flue all require hands-on diagnosis from someone who can actually see and test the components.
Rather than guessing your way through a repeat failure, connect with a qualified mobile technician who travels directly to your campsite or driveway. Find one fast through RV owner membership and remote assistance services at MobileRVService.com.