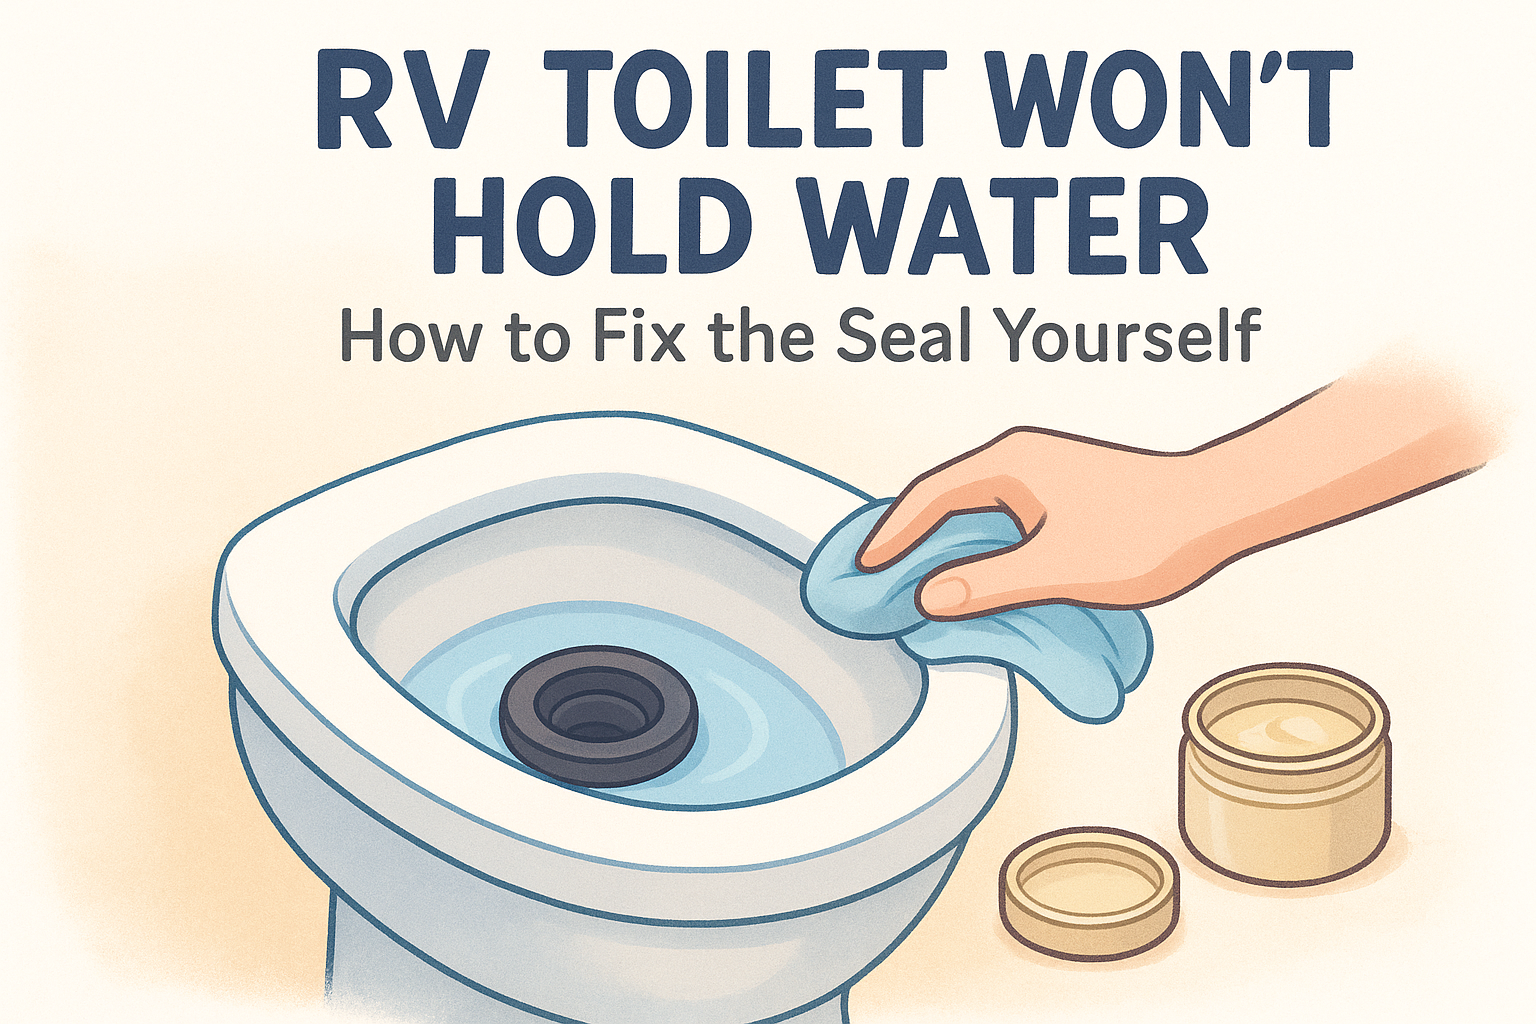
RV Toilet Won't Hold Water: How to Fix the Seal Yourself
When your RV toilet won't hold water, the cause is almost always the rubber seal at the bottom of the bowl. Dirt, dryness, or wear keeps the seal from closing tightly against the flush ball or blade. Fix it in order: clean the seal, lubricate it, then replace it if it is cracked or stiff. Most owners solve it in the first two steps, and a replacement takes about an hour on most Dometic and Thetford models.
The problem shows up at the worst times. You flush, the bowl looks fine, and ten minutes later it is bone dry. Then the smell from the black tank starts drifting into the bathroom. It happens most often at the start of camping season, right after winterizing, or on the road at a campground far from any dealer.
This guide explains why the bowl drains and how to tell which cause you have. It then walks through four steps you can do with basic tools, and covers what to check when a brand-new seal still leaks.
Why an RV toilet bowl loses its water
An RV toilet bowl loses water because the seal between the bowl and the black tank is no longer watertight. Gravity pulls the water down past the seal and into the tank, and the odor barrier goes with it. Figuring out which kind of failure you have saves you from buying parts you do not need.
What the water in the bowl does
Yes, RV toilets are supposed to hold water. A couple of inches in the bowl is normal after a flush, and that pool is your odor barrier against the black tank. Without it, tank gases rise straight into the coach.
The part that holds the water has several names. Thetford calls it a flush ball seal or blade seal, and Dometic literature often says waste ball seal or blade seal. They all describe the same job: a rubber ring that the ball or blade presses against when the pedal or button is released.
The four causes behind a draining bowl
Four problems account for nearly every case, and they run from cheapest to most expensive to fix.
- Debris in the seal groove. Toilet paper, mineral scale, or residue keeps the ball from seating fully.
- A dry, hardened seal. Rubber needs moisture, so it stiffens after weeks of storage or cold weather.
- A worn or cracked seal. Most seals last several years with care, then lose their shape.
- A damaged or misaligned ball or blade. Scratches, warping, or a loose ball valve let water creep past even a good seal.
A bowl that won't hold water is a sealing problem first, so start with the cheapest fix and work up.
Read the drain speed before you start
Fill the bowl and time how fast the water disappears. The speed points you to the likely cause.
Slowly over 30 to 60 minutes Debris or a slightly dry seal Step 1, then Step 2 Under 10 minutes Dried-out or worn seal Step 2, then Step 3 Almost immediately Ball or blade not closing, or a damaged seal Step 3 and Step 4 Water on the floor around the base Floor flange gasket, not the bowl seal Reseat the toilet and replace the flange sealOne more symptom to separate out. If the bowl keeps filling up on its own after you flush, the water inlet valve or vacuum breaker is leaking. That is a different repair from a bowl that empties.
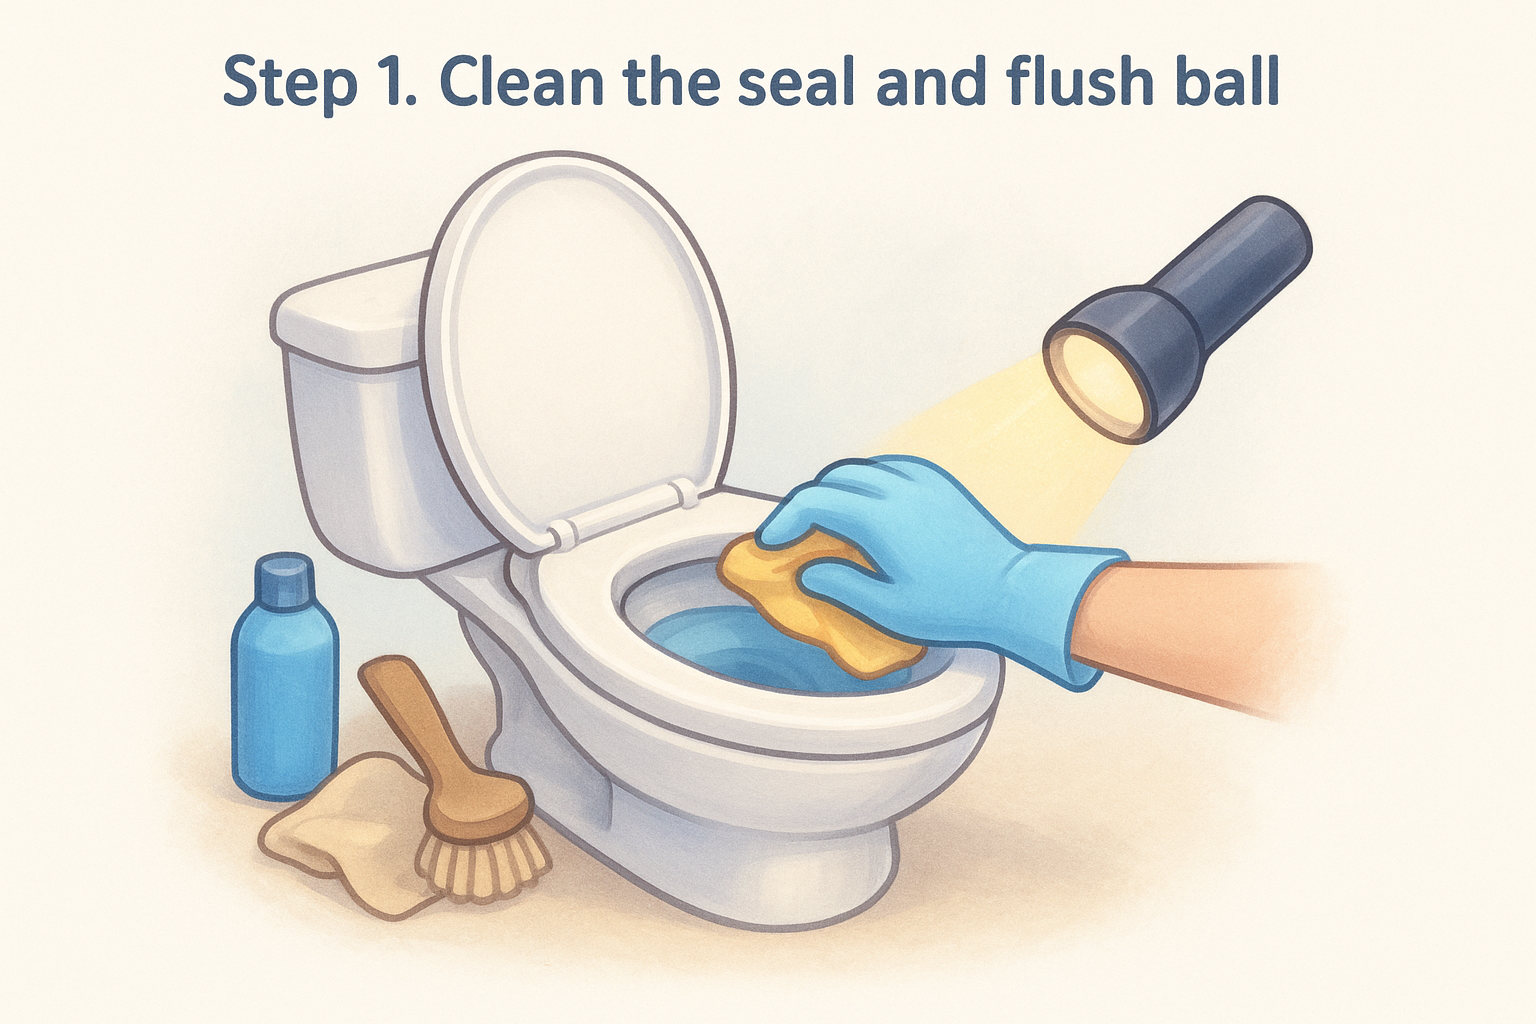
Step 1. Clean the seal and flush ball
Cleaning is the first step because it costs nothing and fixes more RV toilets than any part swap. A pinch of debris in the groove is enough to make an RV toilet that won't hold water drain in under an hour.
Gather supplies and shut off the water
Shut off the RV water pump and disconnect city water so the bowl cannot refill while you work. Then collect a few things: rubber gloves, a soft cloth, a soft-bristle brush, warm water, and a flashlight.
Skip the abrasive pads, metal scrapers, and bleach. Scratches on the ball or seal create channels that water follows, and bleach dries rubber out. These shortcuts cause more damage than the original problem.
Clean the seal surface
Put on the gloves and press the pedal or lever so the ball or blade opens. Shine the flashlight into the opening and look around the entire seal. Then run a finger around the ring and feel for grit, paper, or crusty mineral buildup.
Wipe the seal with a damp cloth and warm water. Use the soft brush for stubborn scale, and clean the face of the ball or blade too, since residue there stops it from seating. Release the pedal, refill the bowl with a few inches of water, and wait 30 minutes.
If the level has not dropped, you are done. If it still drains, move on to the seal's condition.
Clean first, because a bowl that drains slowly is usually dirty before it is damaged.
Step 2. Soften and lubricate the seal
If cleaning did not work, the seal has probably dried out, so soften it with heat and conditioner. Treating a dry seal is the standard fix when an RV toilet won't hold water after sitting in storage.
Revive a dried-out seal with heat
Pour two or three cups of hot, not boiling, water into the bowl and let it sit for 10 to 15 minutes. Heat makes stiff rubber more pliable. Boiling water can warp plastic parts, so stay with water that is hot from the tap or a kettle that has cooled a minute.
Then apply lubricant around the full ring of the seal, working the pedal back and forth a few times to spread it evenly. Refill the bowl and check after 30 minutes. If the bowl holds, repeat this routine every few months to keep the rubber flexible.
Choose the right lubricant
The wrong product ruins a seal faster than neglect does. Petroleum-based products make rubber swell and soften, and a swollen seal cannot seat against the ball.
RV toilet seal lubricant Yes Made for these rubber parts Plumber's silicone grease Yes Non-petroleum, stays flexible Vaseline or petroleum jelly No Swells and degrades rubber WD-40 No Petroleum-based Cooking spray No Leaves residue, not meant for rubber Bleach or harsh bathroom cleaners No Dries out and cracks the sealIf you or a previous owner ever used one of the "No" products, lubricating again will not help. The rubber is likely already deformed, so go to the next step.
If it contains petroleum, keep it away from the seal.
Step 3. Replace the worn seal
Replace the seal when it is cracked, brittle, flattened, or still leaking after cleaning and conditioning. Swapping it is the standard cure for an RV toilet that won't hold water because of age, and it typically takes 30 to 60 minutes.
Confirm the seal is beyond saving
Look for these signs: visible cracks or tears, rubber that stays hard after a hot water soak, a flat or distorted ring, and a bowl that holds water for a day or two before draining again. Two or more of these means the seal is finished. Repeated cleaning will only delay the swap.
Get the right part for your Dometic or Thetford
Find your toilet's model number before you order anything. Look under the seat, on the back of the base, or near the water line. Thetford and Dometic both sell models that look almost identical but use different seal kits, so order by model number, not brand alone.
If the ball or blade is scratched or warped, buy a ball or blade replacement kit with the seal. Our parts ordering page lets you create an account and order parts online, so the kit can be waiting at your next stop.
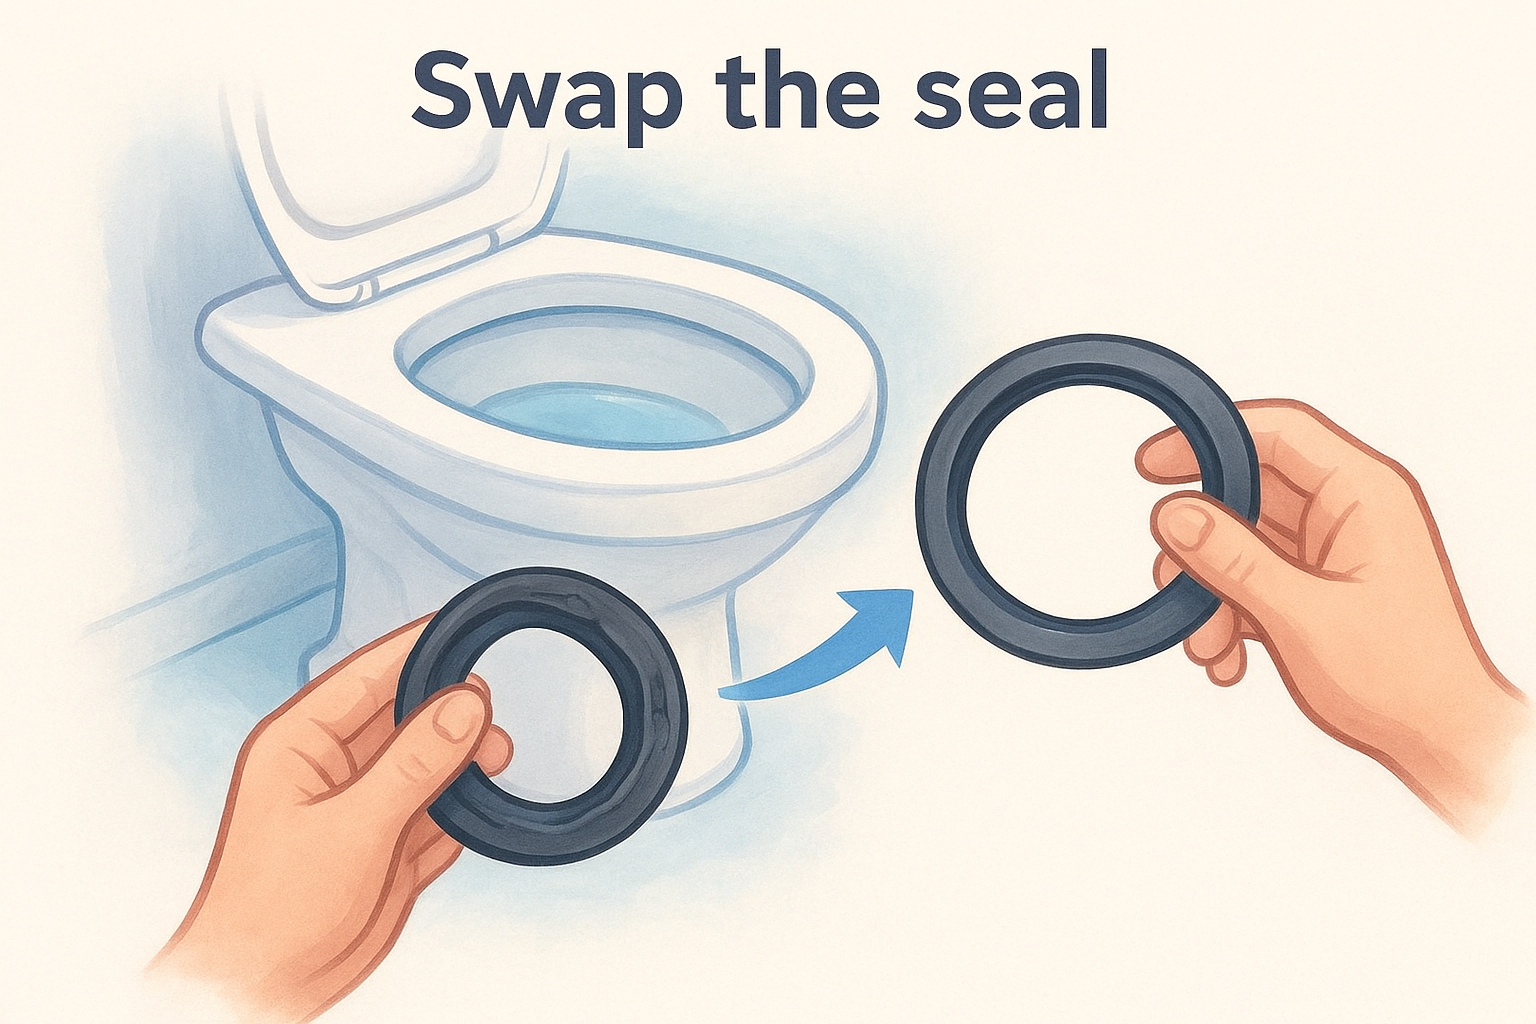
Swap the seal
Access differs by brand and model, so check your manual before you start. On many Thetford Aqua-Magic models, you reach the seal from underneath, which means lifting the toilet off the flange. Some Dometic models let you work from the bowl side, while others also require removal. If you lift the toilet, keep these steps in mind:
- Turn off the water and flush to empty as much as possible.
- Disconnect the water supply line and remove the base bolts.
- Lift the toilet and set it on a towel, being careful not to spill tank contents.
- Pull the old seal out and note exactly how it sits.
- Clean the groove, seat the new seal, and apply fresh lubricant.
- Install a new flange gasket if the old one is flattened, then reconnect everything.
Take care not to drop either seal into the black tank opening. Hold the old one in your hand until the new one is in place.
Order the seal by model number, because a close match that is not exact will not seal.
Step 4. Fix what a new seal does not
If a fresh seal still leaves your RV toilet unable to hold water, the problem sits next to the seal, not in it. Three checks cover almost every remaining case.
Check the bolts, the ball, and the bowl
First, check the base bolts. Overtightening them can warp the base slightly and pull the seal groove out of alignment, especially on plastic Thetford bases. Loosen them a little, retest, and tighten evenly only until the toilet is stable.
Second, watch the ball or blade close after a flush. It should snap fully shut with no gap. A scratched ball, or one that is not aligned with its linkage, will leak past a perfect seal. On Dometic models, a disconnected or misaligned ball valve is a frequent culprit.
Third, inspect the bowl. Dry it, then hold a flashlight at an angle and look for a thin dark line. A hairline crack is easy to miss and impossible to seal. If you find one, you will need to replace the toilet. Replace it too if the unit is a decade old and several parts are failing together.
Keep the seal healthy afterward
A few habits stretch the life of a new seal:
- Lubricate it every few months, and before and after storage.
- Use only RV-safe toilet cleaners, and no abrasive brushes.
- Leave a little water in the bowl during storage so the rubber stays damp.
- Keep your model number written down for the next order.
Most "failed" seals are really alignment, bolt, or lubricant mistakes, so check all three before you reorder.
Get your bowl holding water again
Almost every case of an RV toilet that won't hold water comes down to one thing: a seal that is dirty, dry, or worn. Clean it, condition it with the right lubricant, and replace it only when the rubber is clearly done. If a new seal still leaks, check the bolts, the ball, and the bowl itself.
If the repair is beyond what you want to tackle at a campsite, you do not have to figure it out alone. Get remote help and find a vetted mobile RV technician to take care of it on site.