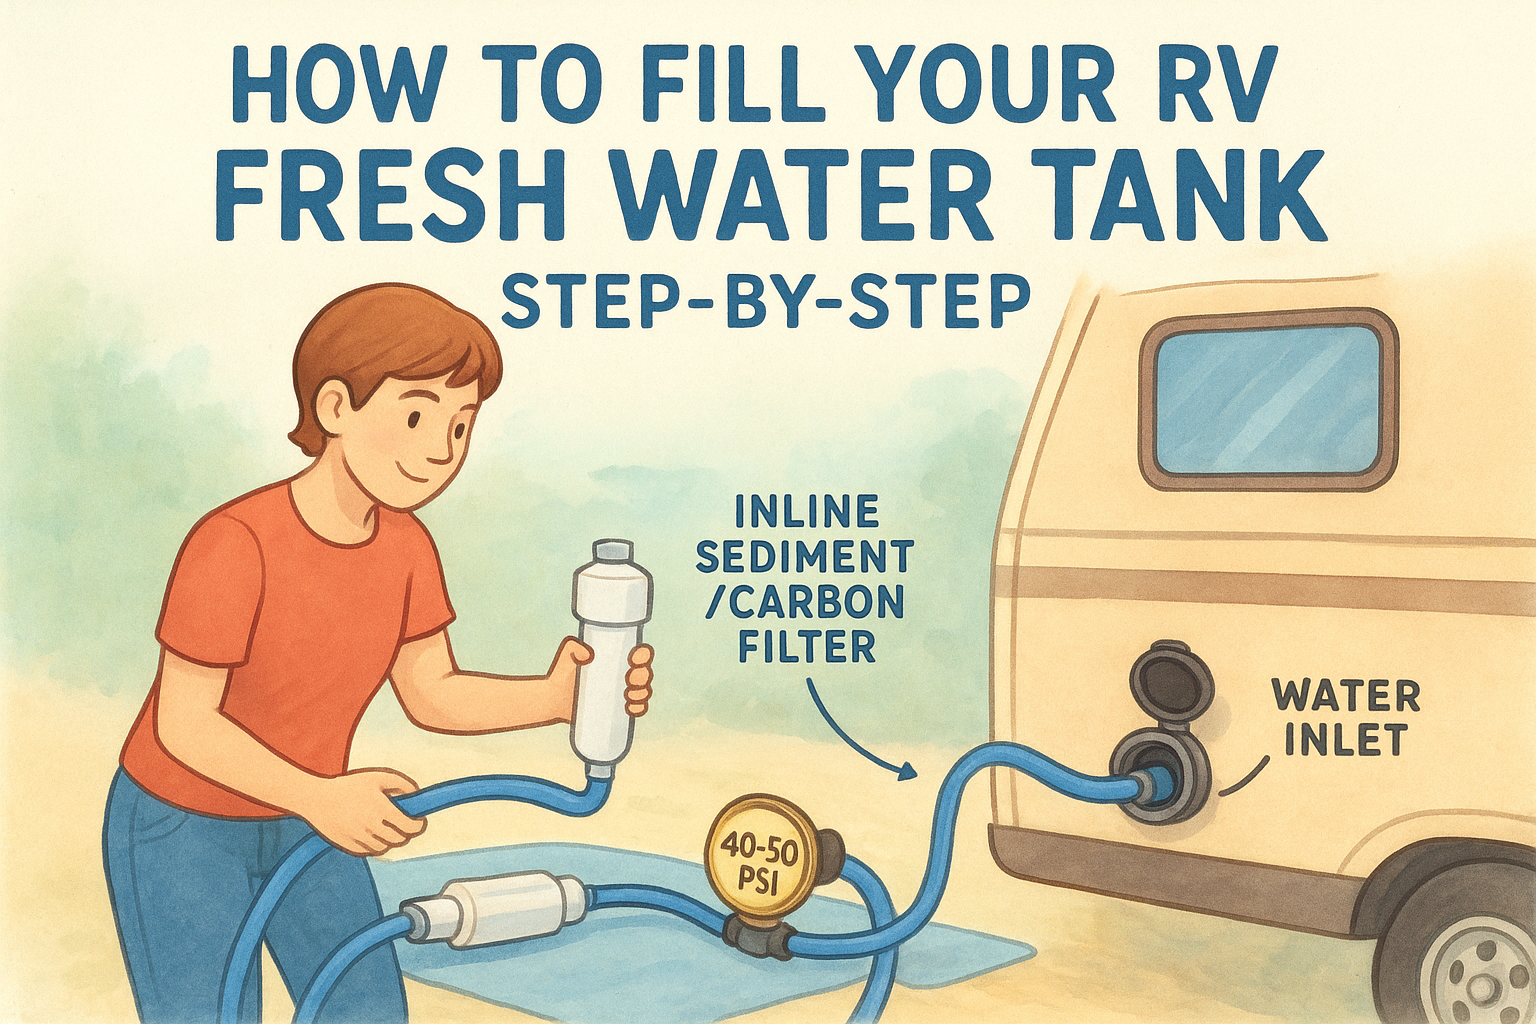
How to Fill Your RV Fresh Water Tank: Step-by-Step
You just pulled into a campsite with no hookups, and the first question is simple: how do you actually get water into the rig without flooding the compartment or wasting twenty minutes hunting for the right valve. Learning how to fill RV fresh water tank systems correctly saves you from cracked fittings, contaminated water, and that sinking feeling when you realize you filled the black tank inlet by mistake.
The short answer is that you'll either use a gravity fill port on the exterior of the rig or connect a hose directly to the city water inlet and run it through the pump, but the exact steps depend on your setup and how fast you want the tank topped off. Get the sequence wrong and you're looking at air locks, slow trickles, or water pooling where it shouldn't.
This guide walks you through locating your fill valve, choosing between gravity fill and hose hookup, and running water safely so it's actually drinkable. If a fitting fails mid-trip or you notice a leak while filling, that's exactly the kind of on-site problem a mobile RV technician through MobileRVService.com can fix at your campsite, no towing required.
What you need before filling your RV's fresh water tank
Before you touch a valve, gather the right gear. A drinking water safe hose is the single most important item on this list, and it's not the same as the green garden hose you use to wash your car. Regular garden hoses leach chemicals and can carry residue from lawn chemicals or dirt, which ends up in your tank and eventually in your coffee. Look for a hose labeled "potable" or "drinking water safe," usually sold in white or blue at any RV supply store or big box retailer.
Carrying a good RV inline water filter matters just as much as the hose itself. Campground spigots vary wildly in water quality, and a basic sediment and carbon filter screwed onto the hose end catches rust, chlorine taste, and small particulates before they reach your tank. If you're filling from a source with unknown pressure, like some older campground systems or a well at a family member's property, add a pressure regulator too. RV plumbing is rated for lower pressure than residential lines, and skipping a regulator is how you blow a fitting or crack a fill valve fitting on a cold morning.
The essential checklist
Keep this short list in your gear bin so you're never scrambling at the campsite:
- Potable water hose, at least 25 feet, rated for drinking water
- Inline water filter (carbon/sediment combo works for most trips)
- Water pressure regulator (40-50 PSI is typical for RV systems)
- Hose-to-fill-port adapter if your rig uses a threaded gravity fill
- Flashlight or headlamp for checking fill port location and tank level at dusk
- Rubber gloves if you're unsure about the source water
A drinking-water-rated hose and an inline filter aren't optional extras, they're the difference between clean water and a tank you'll regret using.
Know your tank capacity and system layout
Every rig handles this differently, so check your owner's manual or the manufacturer's spec sheet for your exact fresh water tank capacity, usually somewhere between 20 and 100 gallons depending on class and size. Knowing this number matters because it tells you roughly how long a full fill will take and helps you avoid guessing when the tank monitor panel inside is unreliable, which happens more often than manufacturers admit. Newer rigs often have digital monitor panels near the entry door showing tank levels in quarters, while older units may only have a simple empty/full light or no gauge at all.
Different RVs also route water differently once it's inside. Some route the gravity fill directly into the tank with a simple vented cap, while others funnel it through a check valve system that also connects to the city water inlet. Understanding which setup you have prevents confusion in the next step, because gravity fill ports and city water inlets look similar from the outside but serve completely different purposes.
Test your water pump before you leave home
Running the onboard water pump for thirty seconds while dry, before you're at a campsite with no other water source, tells you if it's working before you actually need it. A pump that's seized, clogged, or has a dead fuse won't announce itself until you're standing there with a full tank and no pressure at the faucet. Catching that problem in your driveway beats catching it three states from home.
Step 1. Locate your fresh water fill port
Walk the exterior of your rig before you touch any hose, and look for a small access panel with a symbol showing a water droplet or the word "fresh" stamped near it. Most travel trailers and fifth wheels put the gravity fill port on the driver's side, roughly midway down the rig, often grouped with other water and utility connections behind a single hatch. Motorhomes sometimes hide it in a bay near the entry step or even under a flip-up panel on the front cap, so don't assume it's in the same spot as your last rig just because the layout looks familiar.
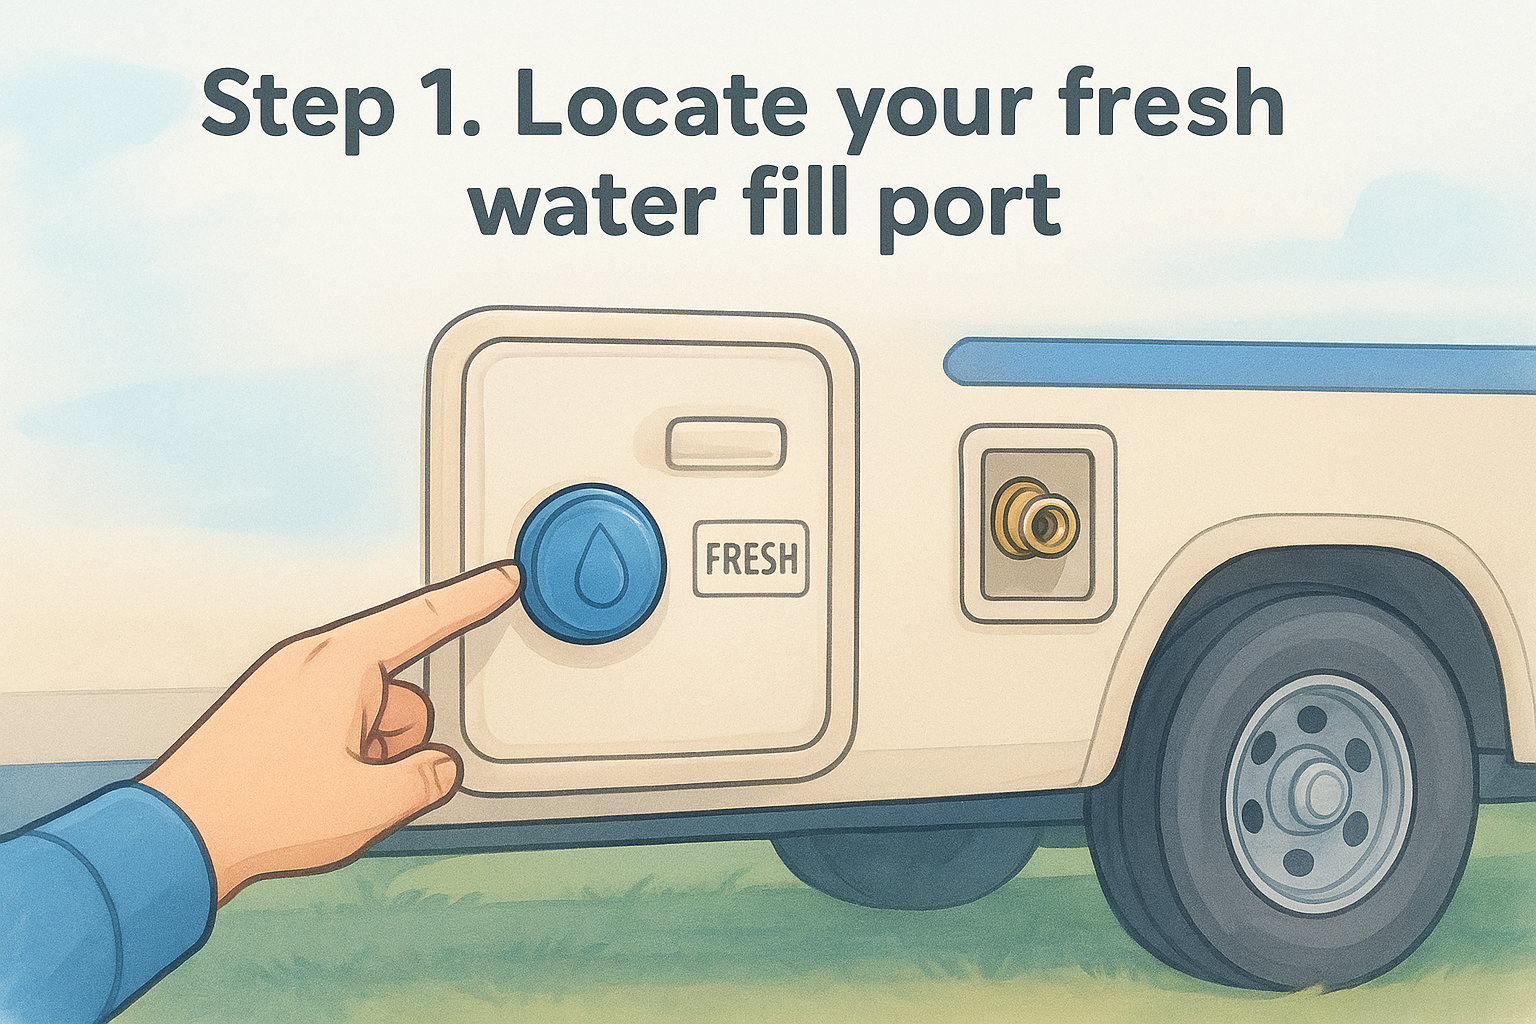
The gravity fill is usually a round, screw-on cap about the size of a gas cap, sometimes marked with a raindrop icon or the word "water." It sits separate from the city water inlet, which is typically a smaller brass or plastic fitting with a spring-loaded check valve and a garden-hose-style thread, often labeled "city water" right next to it. Mixing these two up is the single most common mistake first-time RVers make. Pour water into the city water inlet and it won't fill your tank at all since that port feeds the pressurized system directly, bypassing the tank entirely in most setups.
Confusing the gravity fill port with the city water inlet wastes water and time, so confirm the label before you connect anything.
How to tell the two ports apart
If your rig has no clear labeling, a quick visual check settles it:
- Gravity fill: wider opening, screw cap, no spring-loaded valve, often flush with the panel
- City water inlet: garden-hose threads, spring-loaded flap or check valve inside, sometimes paired with a low-point drain nearby
- Black or gray tank flush ports: usually marked separately and located near the sewer outlet, not near the fresh water fittings
If you're still unsure, open the access panel and trace the line with a flashlight. The gravity fill line runs straight down into the tank with no valve body attached, while the city water line connects to a check valve assembly that often has a small pressure regulator or accumulator tank bolted nearby.
Once you've confirmed which port is which, wipe down the fill area with a clean rag. Dust, pollen, and road grime collect around these openings during travel, and any debris sitting on the threads can fall into the tank the moment you remove the cap. A clean connection point now saves you a contaminated tank later.
Step 2. Connect a potable water hose and filter
Grab your potable water hose and thread the inline filter onto the spigot end first, not the RV end. Filters work best when they catch contaminants right at the source, before anything travels down twenty-five feet of hose and picks up whatever's living in there. Screw the filter directly onto the campground spigot, then attach one end of your hose to the filter outlet and hand-tighten until it's snug. Overtightening with a wrench cracks plastic fittings, so stop once you feel resistance.
Next, decide which port you're feeding based on the method you picked in Step 1. If you're using the gravity fill method, run the other end of the hose to the fill port and either hold it in place or use a fill funnel adapter that seats into the opening, since most gravity ports aren't threaded to accept a standard hose connection. If you're filling through the city water inlet with the pump running in fill mode, thread the hose directly onto that fitting, it's built with garden-hose threads specifically for this connection.
Filter the water at the spigot, not at the tank, or you're just delaying the contamination instead of preventing it.
Add the pressure regulator if you're on an unknown source
Install a water pressure regulator for RV plumbing between the filter and the spigot whenever you're at a campground you haven't used before, a residential hose bib, or any source where you can't confirm the output pressure. City and campground water pressure can spike well above the 40 to 50 PSI most RV plumbing systems tolerate, and a sudden surge is how you end up with a split fitting under the sink at 2 a.m.
Quick connection order
Follow this sequence every time so you don't skip a step under pressure, literally:
- Spigot
- Pressure regulator (if needed)
- Inline filter
- Potable hose
- Fill port or city water inlet
Check every connection point for drips before you turn the spigot on full. A slow leak at the filter threads is easy to miss once water starts flowing, and it's the kind of thing that soaks a storage bay for hours if nobody catches it early.
Step 3. Fill the tank through the hose or by gravity
Turn on the spigot slowly once every connection is snug, and watch the fill port for the first few seconds before walking away. Opening the valve too fast can cause a burst of pressure that splashes water back out of a gravity fill opening, especially on rigs with a narrow neck. If you're using the gravity fill method, keep the hose nozzle angled slightly downward into the opening so air can escape as water rises, otherwise you'll get a sputtering, uneven flow that takes twice as long to fill the tank.
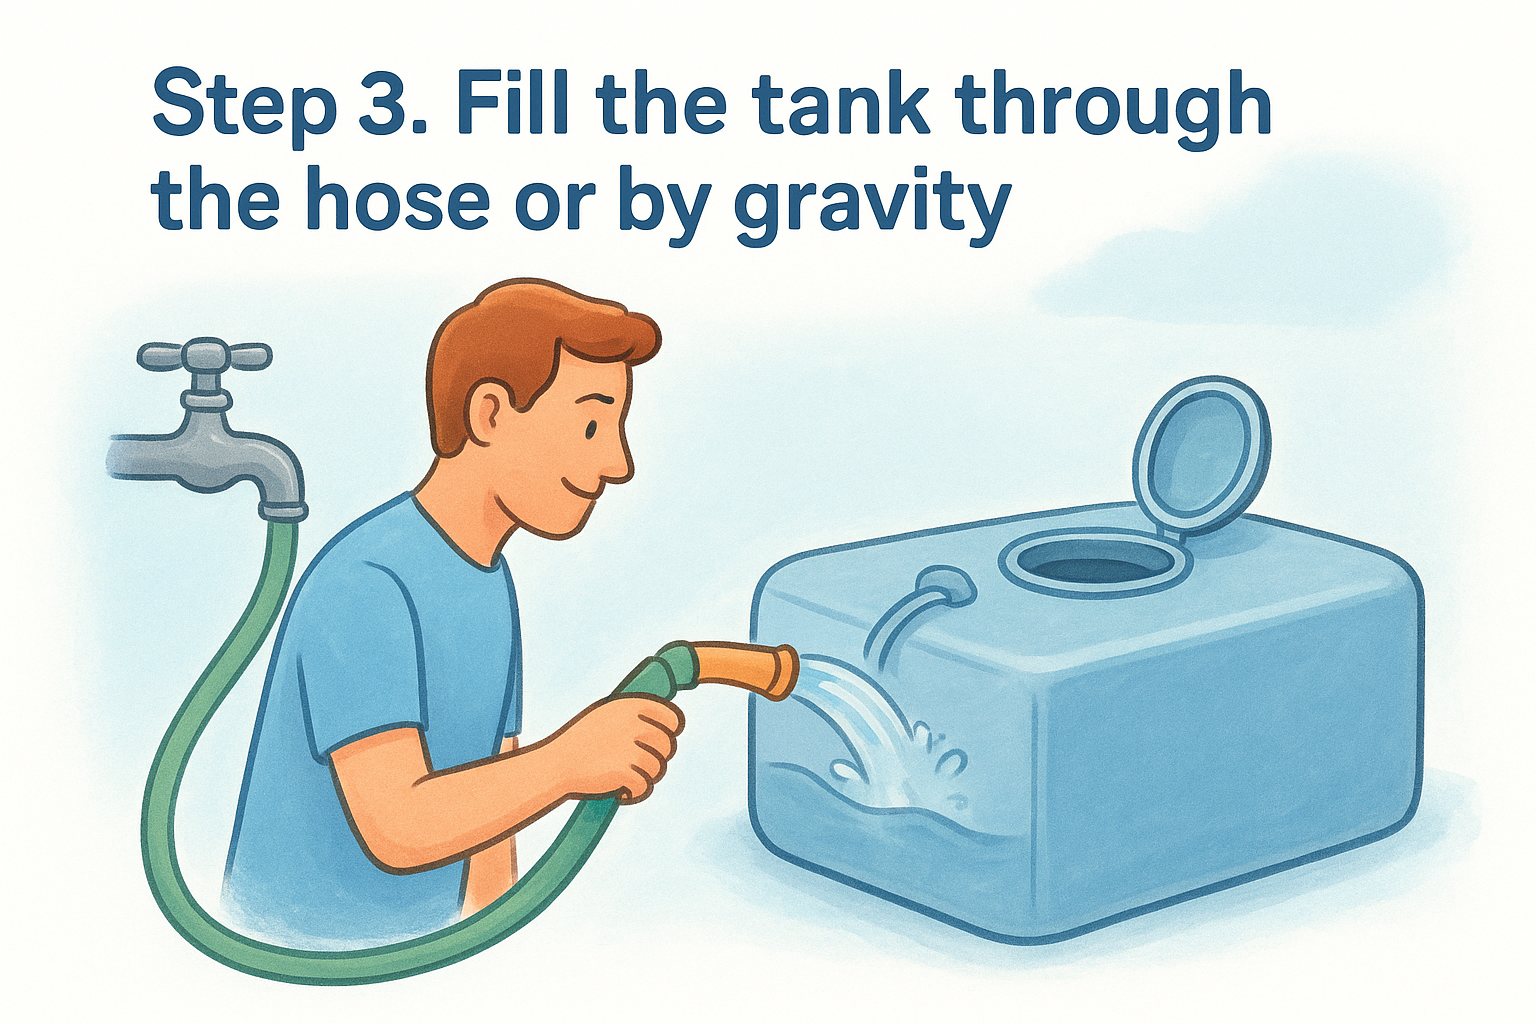
Slow and steady beats fast and messy every time you're filling a fresh water tank you actually plan to drink from.
Filling through the city water inlet
Switching to the city water inlet changes the process because you're now relying on your onboard water pump to pull water into the tank rather than gravity alone. Flip the pump switch to the "fill" or "tank fill" setting if your rig has one, since some water pump systems include a dedicated valve that redirects flow from the city inlet straight into the tank instead of just pressurizing the lines. Not every RV has this feature, so check your owner's manual if you're not sure your model supports it. Without that valve, water entering through the city inlet only pressurizes the system for immediate use and never actually fills the tank, which trips up a lot of first-time owners who assumed one hose hookup handled everything.
Comparing the two fill methods
Both methods work, but they behave differently enough that picking the right one for your situation matters.
Gravity fill Moderate, depends on hose diameter Rigs without a tank-fill valve, quick top-offs Splashback, air locks if hose angle is wrong City water inlet with tank-fill valve Faster with good spigot pressure Rigs with a dedicated fill valve, full tank fills Pump not switched to fill mode, spigot pressure too lowCheck your pressure gauge or listen for the pump cycling normally once flow starts. A pump that runs continuously without building pressure usually means the tank-fill valve isn't engaged, or there's an air lock somewhere in the line that needs to be worked out before water moves freely.
Step 4. Watch the water level to avoid overfilling
Watch the tank monitor panel near your entry door as the fill progresses, and don't trust it blindly if you've noticed it read wrong before. Most panels use resistance sensors mounted inside the tank, and those sensors get fouled by mineral buildup or debris over time, so a reading of three-quarters full sometimes means the tank is actually topped off already. Glance at the panel every minute or two rather than walking away for ten, since a tank that fills faster than expected can overflow before you notice the light change.
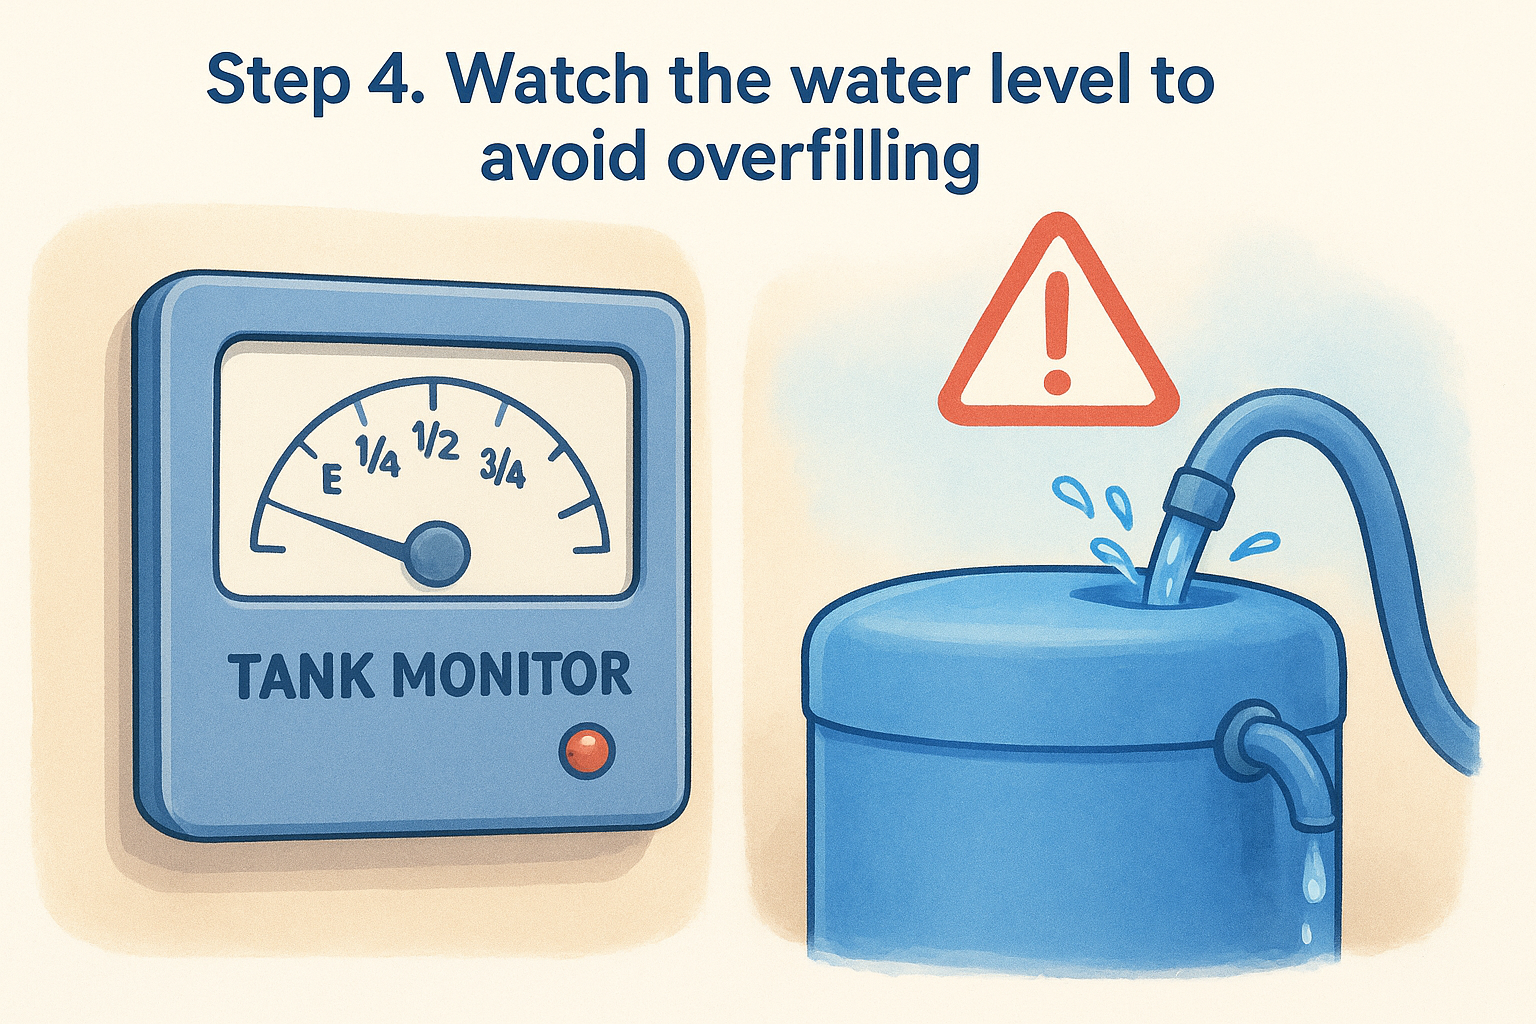
Trust your eyes and ears over the monitor panel, because a fouled sensor won't warn you before water starts spilling out.
Signs the tank is nearly full
Listen and look for these cues, especially if your monitor panel has a history of inaccurate readings:
- Water trickling or spraying from the overflow vent tube, usually a small pipe on the exterior near the fill port
- A change in sound at the gravity fill opening, from a steady stream to gurgling or splashing back
- The pump cycling off if you're filling through the city water inlet with tank-fill mode engaged
- Water pooling inside the fill compartment itself, which means it's already overflowed internally
Why overfilling actually causes problems
Overfilling isn't just wasteful, it stresses parts of your plumbing that aren't built for it. Excess water backs up through the overflow vent, and on some rigs that vent dumps near wiring harnesses or storage compartments rather than straight to the ground outside. Sitting water in a storage bay corrodes connectors and rusts hardware over a season of trips, and finding that damage months later is a lot more expensive than shutting off a spigot ten seconds earlier. Rigs parked on a slight incline make this worse too, since a tank that reads full on a level driveway can spill sooner once you're parked at a tilted campsite.
Turning off the spigot the moment you see or hear water reach the top saves you this cleanup entirely. If you're filling overnight or stepping away, set a timer based on your tank's known capacity and your hose's flow rate rather than relying on memory.
Step 5. Disconnect the hose and pressurize the system
Shut off the spigot completely before you touch any fittings, and give the hose a second to depressurize before you disconnect it. Twisting off a hose end while it's still under pressure sprays water across the compartment and soaks whatever's stored nearby. Once the flow stops, disconnect the hose from the fill port or city water inlet first, then work backward through the filter and regulator, coiling each piece so grit from the ground doesn't get into the threads before your next fill.
Cap the gravity fill port securely and check that the seal seats flush against the opening. A loose or cracked cap lets dust and bugs into the tank while you're driving, and it's an easy thing to miss since nothing leaks immediately. If you filled through the city water inlet, that fitting's spring-loaded check valve closes on its own once the hose is off, but give it a quick look anyway. Debris caught in the valve keeps it from sealing fully, which lets water dribble out or air sneak in over time.
A capped fill port and a pressurized pump are what actually make your water system usable once you're off the hose.
Switching to pump power
With the hose disconnected, flip your onboard water pump switch to the "on" position and, if your rig has a separate tank-fill valve, switch it back to normal operation mode. Running the pump on tank fill mode after you've disconnected the hose sends the pump spinning with nothing to draw, which burns it out fast if left unattended.
Open a faucet inside the rig, preferably one farthest from the tank like a bathroom sink, and let it run until the sputtering stops and a steady stream comes out. That sputtering is trapped air working its way through the lines, and it's normal for the first thirty seconds or so after any fill. Once the water runs clear and steady, check your water pressure at the faucet. If it seems weak, the tank-fill valve might still be partially engaged, or there's an air pocket further down the line that needs another faucet cycle to clear.
Repeat this at each faucet and the shower head one at a time, since air can hide in separate branches of the plumbing even after the kitchen sink runs clean. Skipping this step is how people end up with a knocking noise in the pipes three days into a trip.
Troubleshooting common fresh water tank filling problems
Even with the right hose, filter, and connection order, filling an RV fresh water tank doesn't always go smoothly. Most problems trace back to a handful of repeat offenders, and knowing what they look like saves you from tearing apart fittings that were never the issue in the first place.
Slow or stalled water flow
A sudden slowdown mid-fill usually points to a kinked hose or a clogged inline filter that's caught more sediment than it can handle. Check the hose for sharp bends first, since even a potable-rated hose kinks under its own weight when coiled wrong. If the hose runs clear, unscrew the filter and look for discoloration or grit buildup, a filter that's due for replacement chokes flow to a trickle within minutes.
Water pump won't fill the tank
If you're pushing water through the city water inlet and nothing's reaching the tank, confirm the pump is actually set to fill mode, not just running. Some pumps default back to standard operation after being switched off, so a fill attempt right after a stop can silently fail. Air locks cause the same symptom, and running a faucet briefly to release trapped air often clears it.
No water reaching tank Pump not in fill mode Recheck pump switch, consult manual Trickle from gravity fill Kinked hose or clogged filter Straighten hose, inspect/replace filter Water smells or tastes off Stale tank or unfiltered source Sanitize tank, use inline filter next fill Water leaking at fitting Cross-threaded or worn washer Retighten by hand, replace washerMost fill problems come down to a switch left in the wrong position or a filter that's overdue, not a broken tank.
Persistent leaks or smells
A fitting that drips no matter how tight you make it usually has a worn rubber washer or cross-threaded connection, and forcing it further only cracks the plastic housing. Cleaning, flushing and sanitizing your fresh water system at the start of the season clears up most odor complaints tied to stale water sitting through storage. If a leak keeps coming back after you've swapped the washer and reseated the connection, that's a sign the fill valve or check valve itself is failing, and what mobile RV repair includes and how it works covers how a tech can diagnose and replace it on-site without pulling your rig into a shop.
Keeping your water system ready for the next trip
Getting water into your tank is really just the first habit worth building. Once you've got the gravity fill and city water inlet sorted out, the rest comes down to repetition: check your connections, filter at the source, and watch the level instead of trusting a fouled sensor. Do this a few times and it stops being a chore, it's just part of setting up camp.
Down the road, small parts wear out. Fill valves crack, check valves stick, washers dry out. When that happens, you don't need to haul your rig anywhere. Order the replacement fitting yourself and have a mobile tech install it at your site, or lean on remote assistance and RV owner membership support if you'd rather someone else handle the diagnosis. Either way, see how easy it is to order RV parts online before your next fill turns into a repair job.