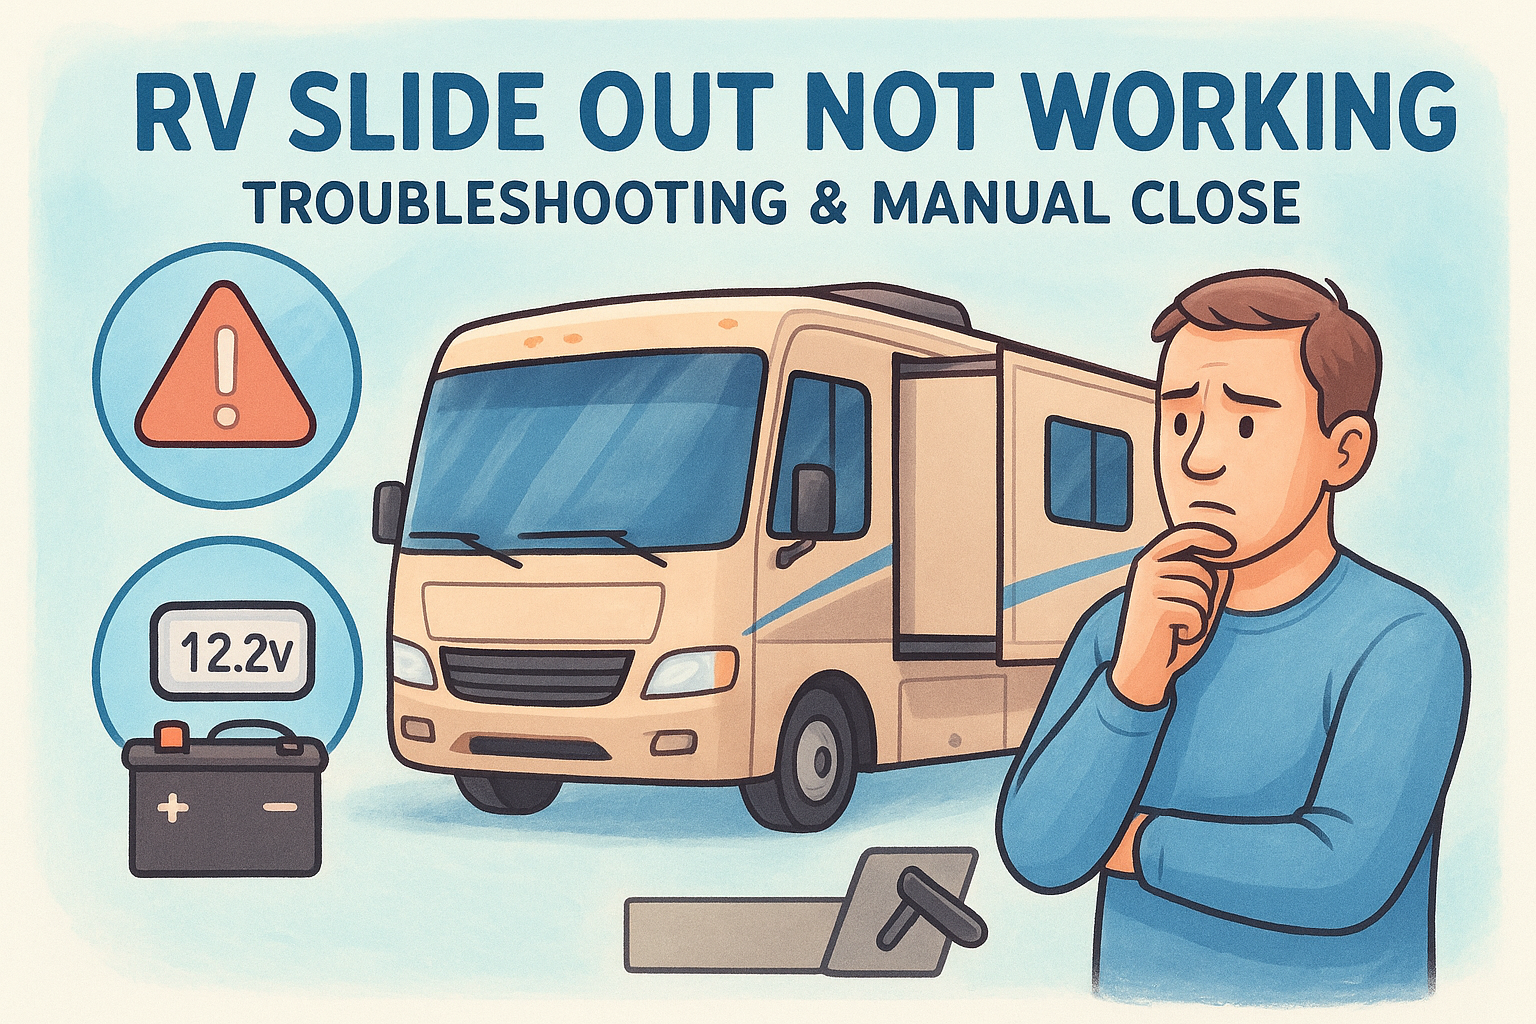
RV Slide Out Not Working: Troubleshooting & Manual Close
Few things kill the momentum of a trip faster than an RV slide out not working when you're trying to set up camp, or worse, when you're trying to pack up and hit the road. A stuck slide can turn a relaxing evening into a stressful standoff with a mechanism that won't budge, and the causes range from dead batteries to burned-out motors to a simple blown fuse.
The good news: many slide-out failures come down to a handful of common problems, and several of them are fixable on the spot without professional help. This guide walks you through a clear troubleshooting sequence, from electrical checks to hydraulic issues, and covers how to manually retract a stuck slide so you're never stranded with your rig wide open.
For problems that go beyond basic troubleshooting, a mobile RV technician can come directly to your location and handle the repair on-site. Through MobileRVService.com, you can search over 3,200 service providers across North America to find qualified help near you, no need to tow your rig to a dealership. But first, let's see what you can diagnose and fix yourself.
What to check before you troubleshoot
Before you start pulling fuses or reaching for your owner's manual, take two minutes to gather some basic information about your rig. Knowing your slide system type and running through a few quick visual checks will narrow down the problem and save you real time. Jumping straight into electrical diagnostics when the actual issue is a physical obstruction is a common mistake, and it costs people an hour of unnecessary frustration when a simple walk-around would have revealed the culprit immediately.
Know your slide system type
Not all slide-outs work the same way, and the troubleshooting path changes depending on what's driving your room. Most RVs use one of three systems: electric motors with a rack-and-pinion or cable drive, hydraulic systems that share fluid with the coach's main hydraulic pump, or a combination setup that uses electric motors for the slides and hydraulics for the leveling jacks.
If you don't know which system your rig uses, check the owner's manual or look for a data plate near the slide mechanism itself before doing anything else.
Your system type tells you where to look first. Electric systems point you toward the battery, fuse panel, and drive motor. Hydraulic systems require you to check the fluid reservoir and pump before touching anything else. Knowing this upfront stops you from chasing the wrong problem through three different troubleshooting steps before realizing you were looking in the wrong place entirely.
Quick visual checks to do first
With an RV slide out not working, the first move before touching any controls is a straightforward walkthrough of the obvious. External debris, leveling problems, and physical obstructions cause a surprising number of slide failures that have nothing to do with the electrical system, and a visual scan takes less than five minutes.
Run through this checklist before you start any deeper diagnostics:
- Check your leveling jacks: A rig that isn't level puts side-load on the slide mechanism that can prevent movement entirely. Level the coach first, then try the slide again.
- Look for objects in the slide's path: Items stored near the room, both inside and outside the rig, can block the mechanism completely.
- Inspect the slide seals: Torn or folded rubber seals can catch on the frame and lock the slide in position.
- Check for visible damage to the track or frame: Bent rails or a warped slide frame will physically stop movement regardless of what the motor does.
- Confirm the travel lock is disengaged: Many RVs use a manual lock pin or bar that secures the room for road travel. Verify it is fully released before assuming something is broken.
Finding an issue at this stage means you solve the problem without any tools at all, which is the best possible outcome when you're parked at a campsite.
Step 1. Confirm power and battery voltage
The slide-out motor draws a significant amount of current, and low battery voltage is the single most common reason an RV slide out not working turns out to have nothing to do with the motor or the mechanism itself. Before you touch anything else, you need to know exactly what voltage your house batteries are sitting at, because a battery at 12.2 volts or below doesn't have enough power to run the slide motor reliably, even if your lights and other accessories seem to work fine.
How to measure your battery voltage
You need a basic digital multimeter to get an accurate reading. Set the meter to DC voltage, connect the red lead to the positive terminal and the black lead to the negative terminal, and read the number on the display. A fully charged 12-volt battery reads between 12.6 and 12.8 volts. Anything at 12.4 volts or lower means the battery is partially discharged, and at 12.0 volts or below, the motor will not run consistently.
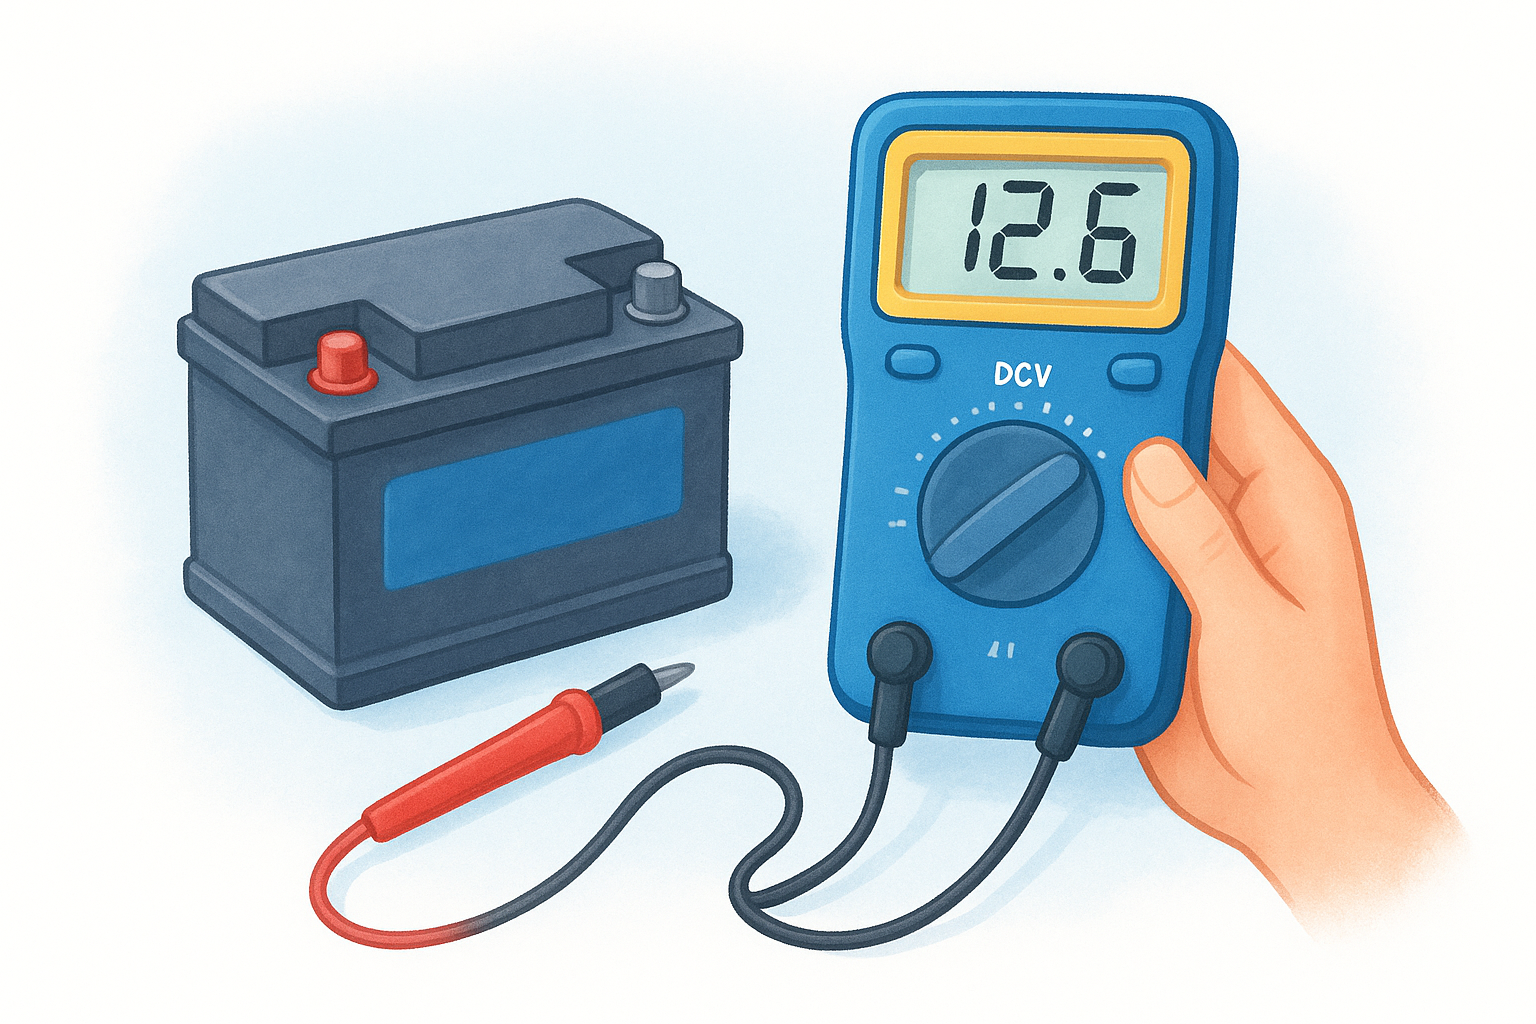
12.6 - 12.8V Fully charged Yes 12.4 - 12.5V Partial charge Borderline 12.0 - 12.3V Low charge No, charge first Below 12.0V Critically low No, motor will not functionA reading below 12.2 volts is enough to prevent the slide motor from operating, even when the battery still powers lights and other accessories without any obvious problem.
What to do when voltage is low
Connect to shore power or run your generator for at least 30 minutes to bring the battery up before attempting the slide again. Once voltage is restored, retry the slide control and see if the motor responds.
If the battery won't hold a charge after a full charge cycle, the battery itself likely needs replacement. No amount of troubleshooting the slide mechanism will solve a battery that can no longer store adequate charge.
Step 2. Check fuses, breakers, and the switch
Once you've confirmed battery voltage is adequate, the next place to look is the electrical protection sitting between the battery and the slide motor. A blown fuse or tripped breaker will cut power to the motor completely, which is exactly why an rv slide out not working often shows zero response when you press the switch, even with a fully charged battery. This step takes under ten minutes and requires only a fuse puller or a small flathead screwdriver.
Find and test the dedicated slide fuse
Your slide system runs on a dedicated circuit, and the fuse or breaker for that circuit typically lives in the main 12-volt fuse panel, usually near the driver's seat or inside a cabinet at the front of the coach. Check your owner's manual for the exact panel location and the labeled circuit for your specific slide room before pulling anything.
A blown fuse shows a broken or darkened wire inside the plastic housing. Even a hairline break means the fuse has failed and needs replacement.
Pull the fuse and inspect it visually, then confirm it with a multimeter set to continuity mode. Replace any blown fuse with one of the identical amperage rating. Installing a higher-rated fuse removes the protection that circuit was designed to have, which can damage the motor or wiring on the next operation.
Test the slide switch itself
A faulty wall switch is easy to overlook when bigger components seem like the more likely cause. Switches wear out gradually, and a switch that feels normal to the touch can still fail to send any signal to the motor.
Set your multimeter to DC voltage and probe the switch terminals while pressing the button. If power arrives at the switch but nothing exits when you activate it, the switch is the failed component and needs replacement before anything else in the circuit matters.
Step 3. Inspect for jams and alignment issues
When battery voltage is good and the fuse panel checks out clean, but your rv slide out not working problem persists, the issue is often mechanical rather than electrical. Physical jams and alignment problems are more common than most people expect, especially on rigs that have seen a few seasons of road travel, and they're often visible without any tools at all.
How to spot a physical obstruction
Walk the full perimeter of the slide room and look along the top, bottom, and both sides of the opening. Debris like gravel, sticks, or acorns can lodge in the track and stop the mechanism mid-travel. Inside the coach, check whether any furniture, rugs, or stored items have shifted into the slide's path during transit.
Even a single small rock wedged in the lower track can generate enough resistance to stall the motor or trigger the circuit's thermal protection cutoff.
Clear any debris you find with a stiff brush, then wipe the track clean before attempting the slide again.
How to check for alignment problems
A slide that runs out of alignment will bind against the frame opening and either stall or move unevenly. Stand outside the rig and watch the gap between the slide room and the main coach frame as you slowly activate the control. An even gap on all four sides means the room is tracking correctly; a gap that closes on one side while opening on the other is a clear sign of an alignment problem.
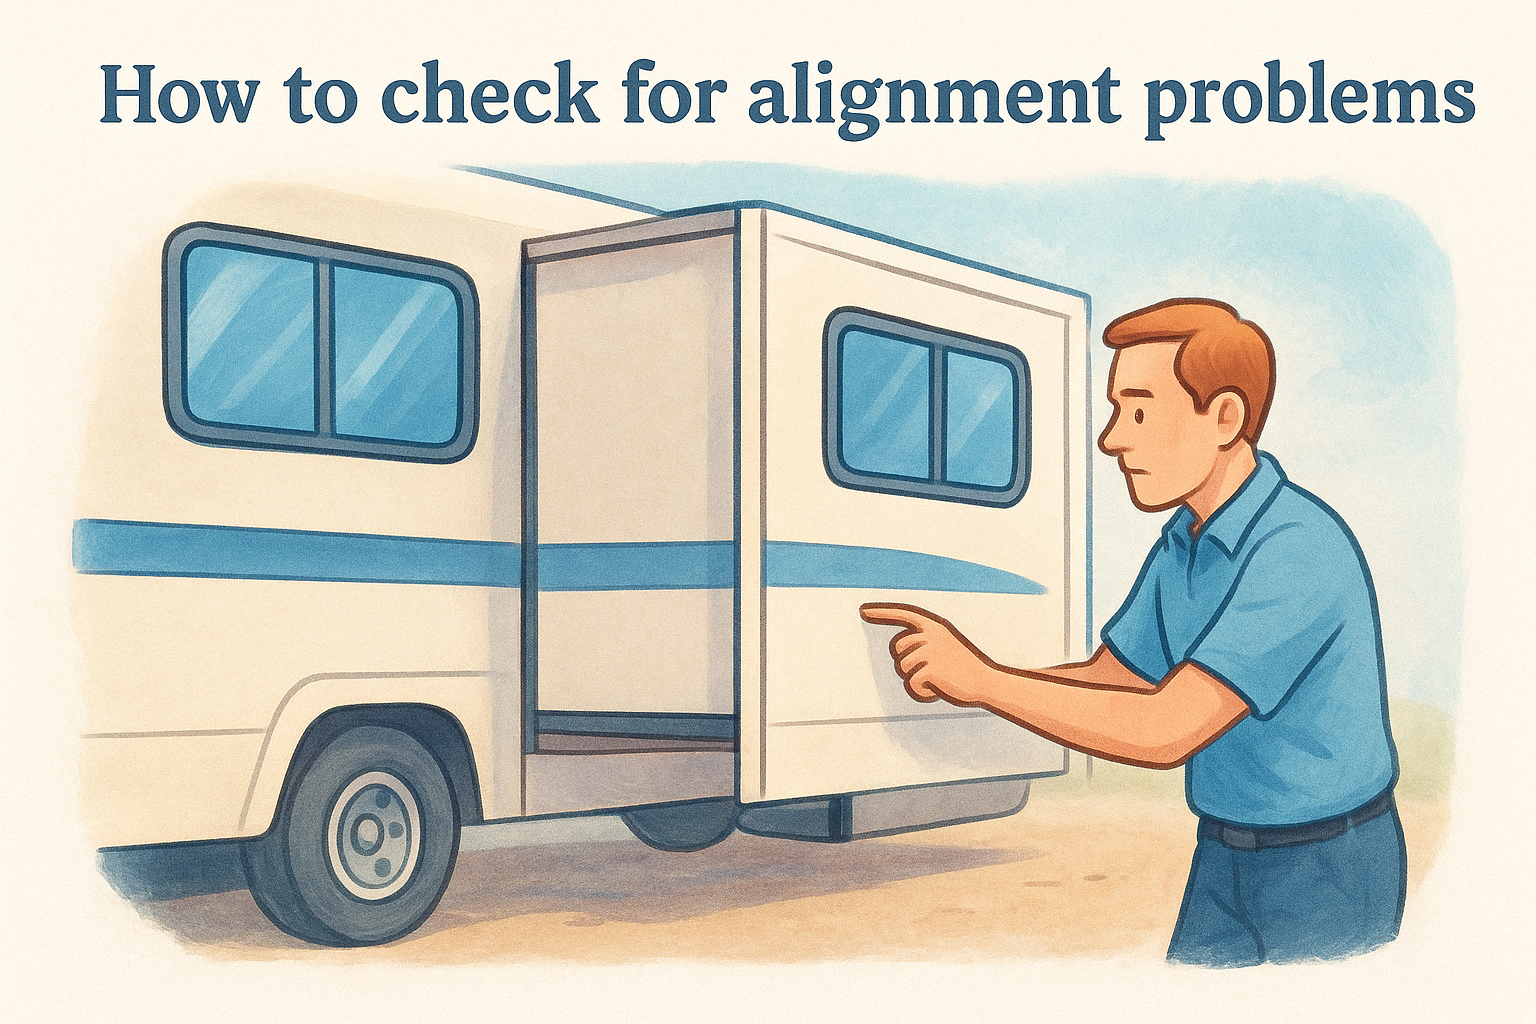
Check these specific areas for alignment indicators:
- Top rail: Look for scuff marks or paint transfer where the room rubs the frame
- Bottom track: Watch for uneven movement or a dragging sound on one side
- Corner seals: Compression that is tighter on one corner than the other points to a tilted slide
Alignment problems beyond minor debris typically need a technician to adjust the slide's mounting hardware directly.
Step 4. Manually retract the slide in an emergency
When every electrical and mechanical check has failed and you need to move your rig right now, the manual override is your last line of defense. Every slide-out system built on a major RV platform includes a way to retract the room by hand, and knowing how to use it means an rv slide out not working never leaves you stranded with the room extended at a campsite you need to vacate.
Never force the manual override crank past the point of moderate resistance. Forcing it signals a physical obstruction that needs to be cleared before you continue.
Locate the manual override point
The location of the manual override depends on your slide system type. Electric rack-and-pinion systems typically have a hex-head bolt or a hand-crank fitting located directly on the motor housing, which sits along the outer edge of the slide mechanism under the coach. Hydraulic systems use a manual valve, usually a small fitting near the hydraulic pump or along the slide's hydraulic line, that bleeds pressure and lets the room move freely.
Check your owner's manual for the exact location on your specific model before you get under the rig. Most manufacturers also label the override point with a small tag or arrow stamped into the housing.
How to operate the manual crank
Once you find the override fitting, the process is straightforward. Use the steps below to retract the slide without power:
- Gather the right tool: Most electric overrides require a 3/8-inch or 1/2-inch drive socket wrench or a dedicated hand crank stored in the rig's tool kit.
- Engage the fitting: Insert the socket or crank directly onto the hex bolt on the motor shaft.
- Turn slowly in the retract direction: Rotate steadily and watch the room move inward. Stop if resistance increases sharply.
- Secure the room: Once fully retracted, insert the travel lock pin or bar before driving.
Document the direction you turned the crank so you can reverse the process if you need to extend the slide again manually.
Get back on the road
Working through these steps in order gives you the best chance of resolving an rv slide out not working situation without outside help. Start with battery voltage, move to the fuse panel and switch, check for physical jams, and use the manual override only when the other steps have not solved the problem. Most slide failures come down to one of these four areas, and catching the issue early prevents a minor inconvenience from becoming a costly repair.
Some problems go past what you can diagnose at a campsite. A failed motor, damaged gear rack, or hydraulic leak requires hands-on work from someone with the right tools and parts. When that happens, a mobile technician can come directly to your location and get your slide working without you needing to tow anything. Search our network and find a qualified mobile RV technician near you to get back on the road fast.