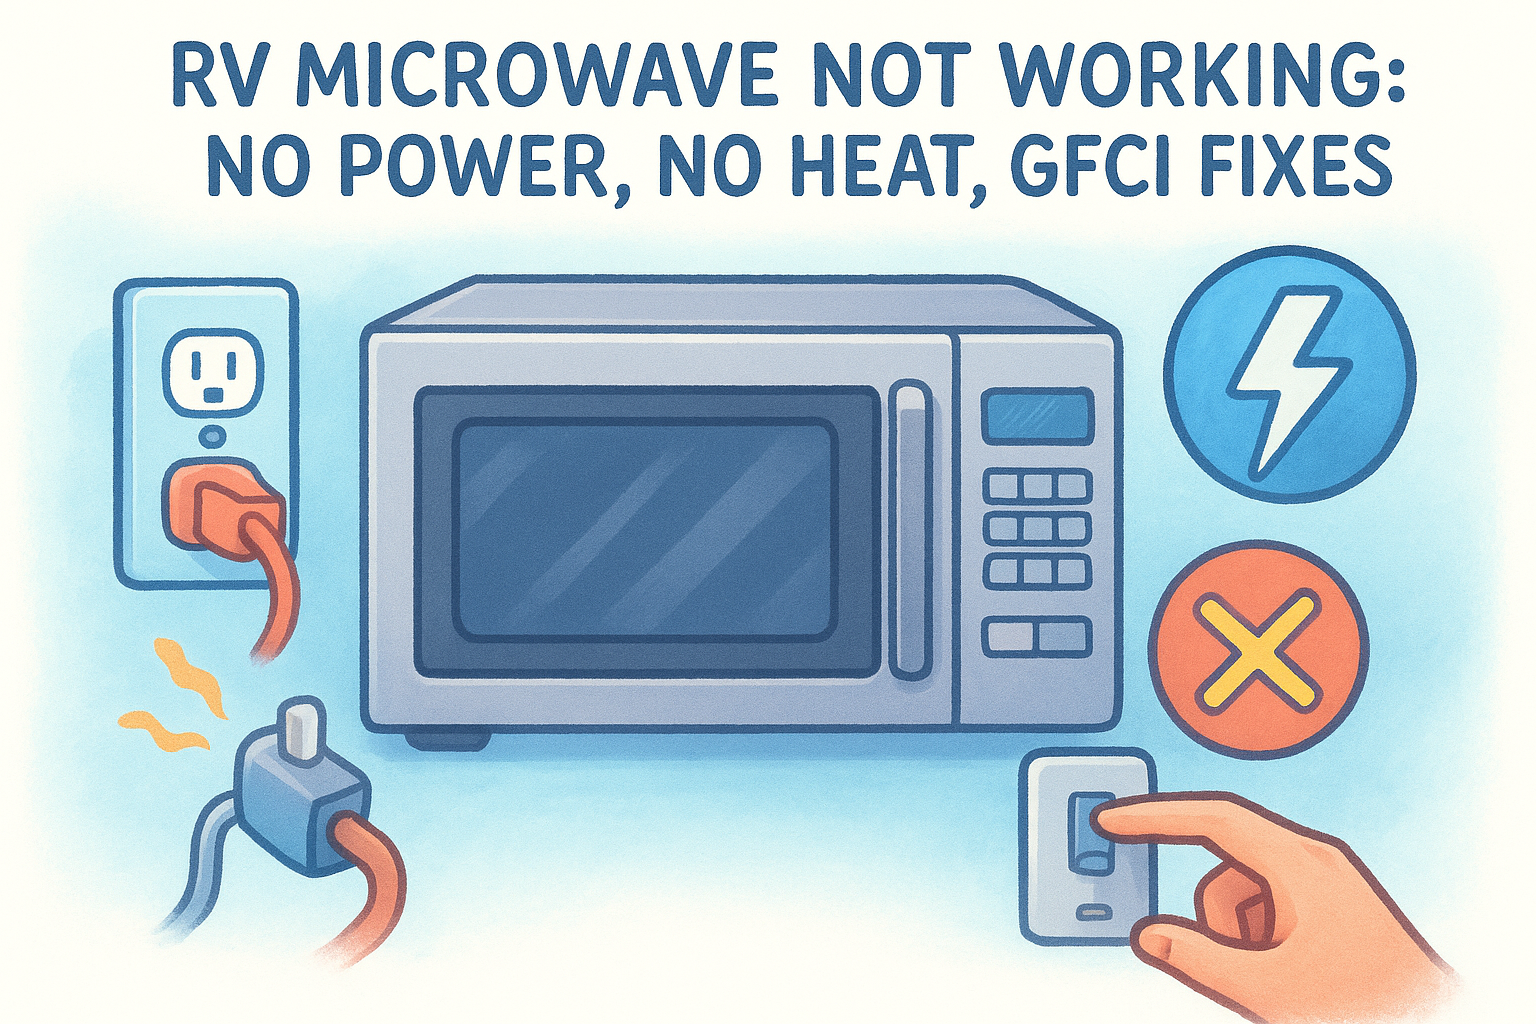
RV Microwave Not Working: No Power, No Heat, GFCI Fixes
Your RV microwave not working can mean anything from a completely dead unit to one that spins the turntable but produces zero heat. Either way, it puts a dent in your routine, especially when you're parked at a campground with no shop within a reasonable distance. The good news is that most RV microwave failures come down to a handful of common causes you can check yourself before calling in a pro.
This guide walks you through the most likely culprits: tripped breakers, blown fuses, GFCI outlets that need resetting, and power source issues that catch even experienced RV owners off guard. You'll also learn how to tell the difference between a simple fix and a problem that requires a qualified technician with the right tools. If you hit a wall during your troubleshooting, MobileRVService.com connects you with mobile RV repair technicians across the U.S. and Canada who come directly to your rig, no towing or dealership wait times required.
Safety and how RV microwaves get power
RV microwaves pull significantly more power than most other appliances in your rig. A standard unit draws between 900 and 1,500 watts, and your RV's electrical system has to supply that load without dropping voltage or tripping a breaker. Before you start any troubleshooting, recognize that household-level voltage runs through your RV's 120V circuits, and mishandling a live circuit can cause a serious shock or an electrical fire. Keep that in mind at every step below.
Why RV power sources behave differently from a home setup
Unlike a house with a single grid connection, your RV can draw power from three separate sources: shore power from a campground pedestal, an onboard generator, or an inverter that converts your battery bank's 12V DC power into 120V AC. Each source has its own voltage limits and current capacity. Your microwave will only run correctly when it receives stable 120V AC power at adequate amperage, and any weak link in that chain, whether a 30-amp pedestal struggling to supply multiple rigs or a small inverter maxed out at 1,000 watts, will prevent normal operation.
If your inverter is rated below 1,500 watts, it likely cannot run your microwave at all, even if every other component in your system tests fine.
Most RV microwaves are plugged into a dedicated outlet on the kitchen branch circuit or wired directly into that circuit. This matters because a GFCI outlet (Ground Fault Circuit Interrupter) protecting that circuit can trip without any visible indicator light, leaving your microwave completely dead. The breaker in your 120V distribution panel can do the same thing, which is why your first checks always start at the power source, not the microwave itself.
Safety steps to take before you touch any wiring
Starting your troubleshooting the right way means running a short but firm safety routine. Never assume a circuit is de-energized just because the microwave shows no signs of life. Voltage can still be present at the outlet even when the unit is completely dark. Work through this list in order before you inspect any outlet or open any panel:
- Unplug the microwave from the wall outlet if it has a removable cord, or at minimum switch it off at its own control panel.
- Flip the kitchen circuit breaker to the OFF position in your 120V distribution panel before touching any wiring or outlet terminals.
- Use a non-contact voltage tester to confirm the outlet is de-energized before you make contact with any terminal.
- Disconnect from shore power or shut down your generator before opening your distribution panel or handling any wiring connections.
- Keep your hands dry and avoid any wet surfaces near outlets or panels throughout the process.
Running through this checklist takes under two minutes and eliminates the most serious risks. Once you know the circuit state, you can move through each diagnostic step with confidence and avoid turning an rv microwave not working problem into a larger electrical issue.
Step 1. Confirm shore, generator, and inverter power
Start your diagnosis at the power source, not the microwave. With an rv microwave not working, the most common root cause is that the unit isn't receiving adequate 120V AC power in the first place. Before you open any panel or press any reset button, spend two minutes verifying that your actual power source is delivering what your microwave needs.
Shore power checks
When you're plugged into a campground pedestal, your first job is to confirm the pedestal itself is live and supplying the correct voltage. Campground pedestals can lose power independently of your RV's internal systems, which means your rig's panel may show no faults even though power stopped at the source.
Use a plug-in outlet tester or a multimeter at the pedestal outlet to confirm it reads between 108V and 126V. Readings below 108V, often called a brownout, will cause your microwave to behave erratically or refuse to start entirely. Check with your campground host if the pedestal reads dead or out of range.
A consistently low voltage reading at the pedestal damages your microwave's internal components over time, so this check protects more than just your next meal.
Generator and inverter checks
Running on a generator or inverter changes your diagnostic approach. Confirm your generator is fully warmed up and producing stable output before testing the microwave, since generators often show voltage fluctuations during the first 60 to 90 seconds of operation. Check that your generator's circuit breaker, typically located on the generator housing itself, has not tripped.
With an inverter, the situation is more direct. Confirm your battery bank is sufficiently charged (above 12.4V for a standard 12V system) and that your inverter's rated wattage exceeds your microwave's draw. A 1,000-watt inverter cannot run a 1,200-watt microwave regardless of battery state.
Step 2. Reset GFCI and breakers, then check the outlet
Once you've confirmed your power source is supplying adequate voltage, the next place to look when dealing with an rv microwave not working situation is your GFCI outlet and your 120V breaker panel. A tripped GFCI or a tripped breaker cuts power to the entire kitchen branch circuit, which means your microwave shows zero signs of life even though nothing inside the unit is actually broken.
How to locate and reset your GFCI outlet
Your RV likely has one or more GFCI outlets in the kitchen, bathroom, or utility area, and a single tripped GFCI can cut power to multiple outlets downstream on the same circuit. Find the outlet with the TEST and RESET buttons on its face, which is often located in the bathroom or near the kitchen sink rather than directly behind the microwave. Press the RESET button firmly until you feel it click. If it trips again immediately, you have a ground fault somewhere on the circuit that requires a technician to diagnose safely.
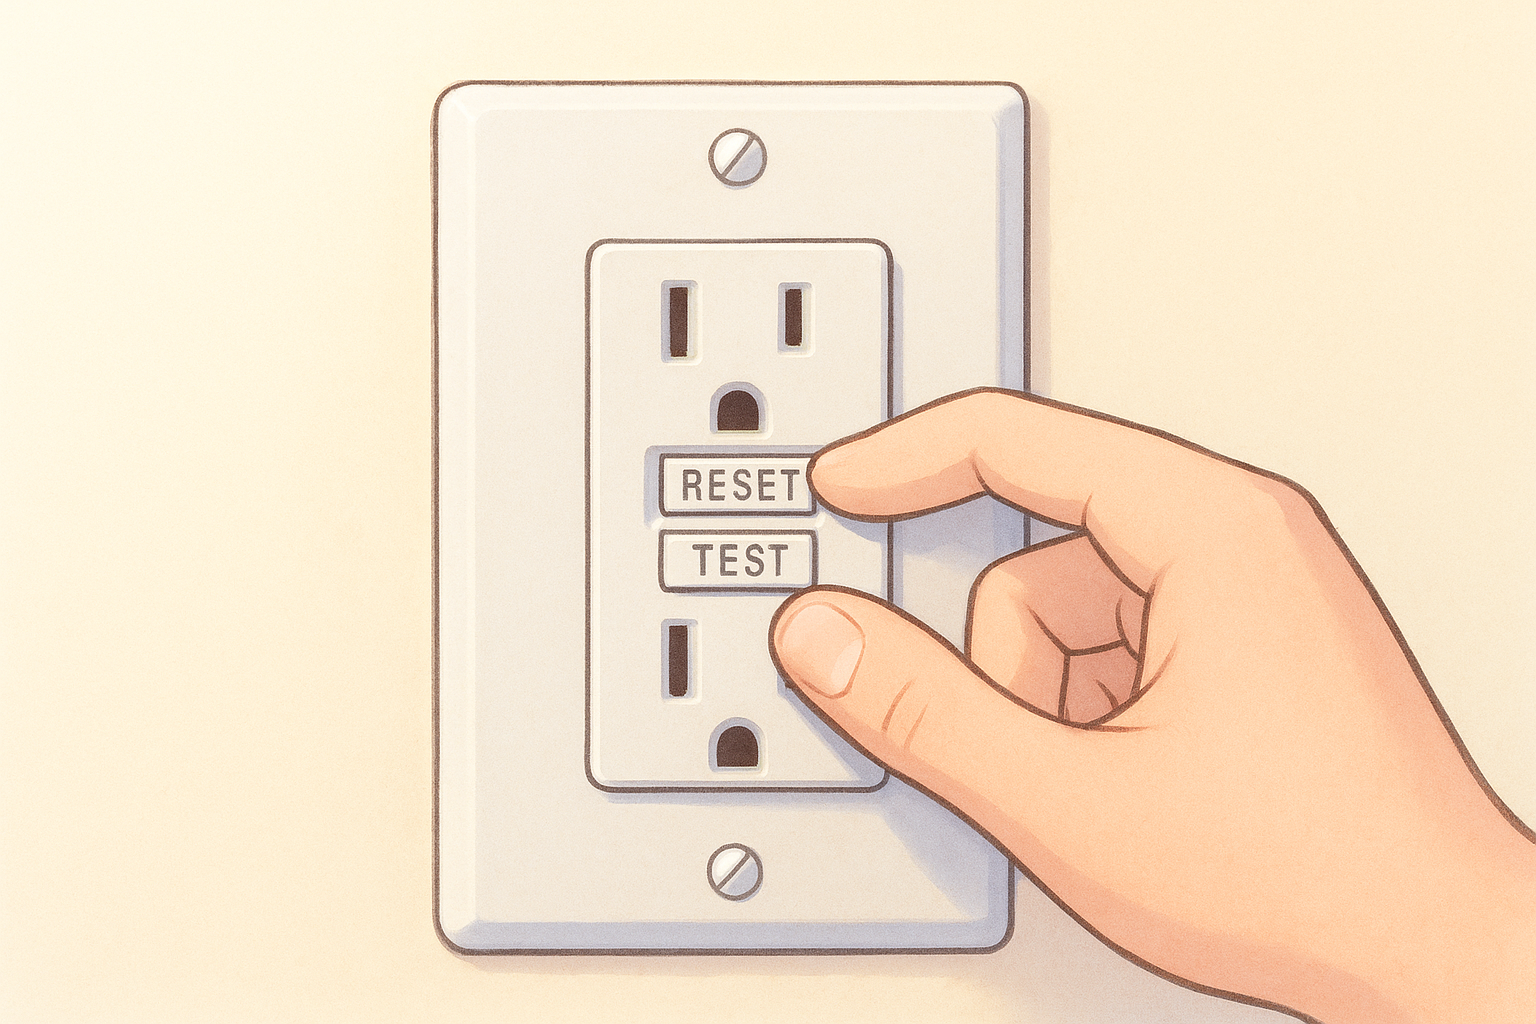
A GFCI that trips repeatedly after you reset it is telling you there's an actual wiring problem, not just a nuisance trip, so do not keep resetting it and walking away.
How to check the breaker panel and test the outlet
Open your 120V distribution panel, which is typically located in a bedroom closet, a utility bay, or near the entry door. Look for any breaker that sits in a middle position between ON and OFF, since that is the tripped state for most residential-style breakers. Flip the breaker fully to OFF first, then back to ON to properly reset it. After resetting, use a plug-in outlet tester at the microwave outlet to confirm it shows correct wiring. The tester's indicator lights will tell you instantly if the outlet has reversed polarity or an open ground, both of which prevent your microwave from operating correctly.
Step 3. Fix low voltage and overloaded circuits
Low voltage and circuit overloads are two of the most overlooked causes of an rv microwave not working situation. Your microwave needs a steady 108V to 126V to operate correctly, and when other high-draw appliances share the same circuit or pedestal, voltage can sag just enough to prevent your microwave from starting or heating properly.
Identify a low voltage problem
Your best tool here is a plug-in digital voltmeter or a multimeter set to AC voltage. Plug it into the microwave outlet and take a reading while the microwave attempts to run. If the reading drops below 108V under load, you have a low voltage condition that needs to be addressed at the source before anything else will help.
120V - 126V Normal operating range 108V - 119V Marginal; may cause performance issues Below 108V Too low; microwave will not run correctlyA voltmeter reading that looks fine at rest but drops sharply the moment your microwave starts is a clear sign of a weak power source or an undersized supply connection.
Reduce circuit load to free up capacity
Your 30-amp or 50-amp shore power connection has a fixed ceiling, and stacking the microwave alongside an air conditioner, electric water heater, and space heater pushes the total draw past that ceiling. Turn off any non-essential high-draw appliances before running the microwave, starting with the air conditioner and electric water heater since those pull the most current.
Campground 30-amp pedestals are especially prone to this problem during peak hours when neighboring rigs are pulling heavy loads simultaneously. Prioritize your microwave by running it in a window when other major appliances in your rig are off, which also protects internal components from repeated low-voltage stress over time.
Step 4. If it runs but won't heat, stop and diagnose
A microwave that powers on, lights up, and spins the turntable but produces no heat at all represents a completely different category of rv microwave not working problem. The control board, door switches, and power delivery are all functioning at this point, but the component responsible for generating heat has failed. This situation requires a different response than the power and GFCI checks covered in the previous steps.
What's likely failing inside the unit
Three components account for nearly all no-heat failures in a functioning microwave: the magnetron, the high-voltage diode, and the high-voltage capacitor. The magnetron is the tube that converts electrical energy into microwave radiation, and when it fails, the unit runs normally in every visible way except it never heats your food. The diode and capacitor work together to supply the magnetron with the voltage it requires, and a failure in either one produces the same symptom.
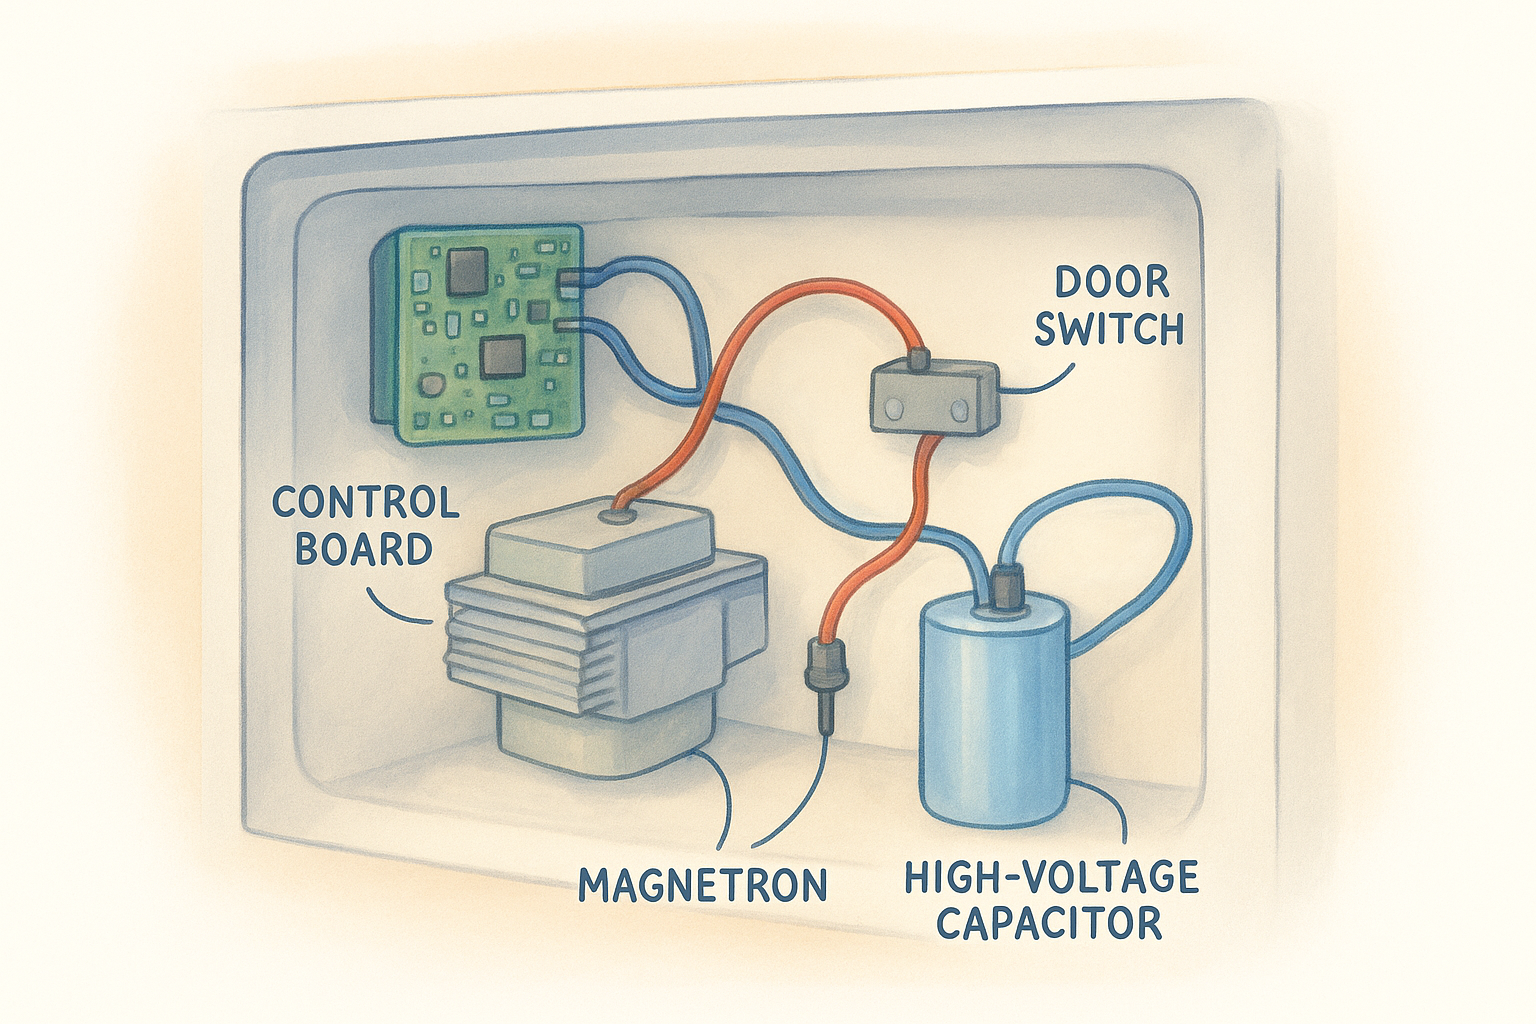
A failed diode sometimes causes a loud humming sound during operation, which is a useful clue when you're narrowing down the cause before calling a technician.
Confirm the no-heat condition with a simple test: place a microwave-safe cup of water in the unit, run it on full power for 60 seconds, and check whether the water temperature has changed at all. If the water is completely cold, the heating circuit has failed and the unit needs internal diagnosis by a qualified technician.
Why you should not open the microwave cabinet yourself
The high-voltage capacitor inside a microwave stores a charge of up to 2,100 volts even after the unit is unplugged. Unlike most electrical components that lose their charge when power is removed, a capacitor holds that energy until it is deliberately discharged using the correct tools and procedure. Opening the outer cabinet without discharging the capacitor first is genuinely dangerous and has caused serious injuries. Internal microwave repairs are not a DIY task regardless of your general comfort level with RV electrical systems.
Next steps if it still won't work
If you've worked through every step in this guide and your rv microwave not working problem persists, the issue lives inside a component that requires professional diagnosis. A failed magnetron, a shorted capacitor, or a damaged control board all need a technician with proper discharge tools and a meter capable of testing high-voltage circuits. Attempting those repairs without the right equipment puts you at serious risk of injury.
Your best move at this point is to find a qualified mobile RV technician who can come directly to your campsite or driveway and test the unit in place. You avoid towing, dealership wait times, and the hassle of scheduling around a fixed shop's hours. MobileRVService.com makes that process straightforward: search by zip code, filter by service type, and connect with a vetted technician near you. Find a mobile RV repair technician in your area and get your rig back to full operation.