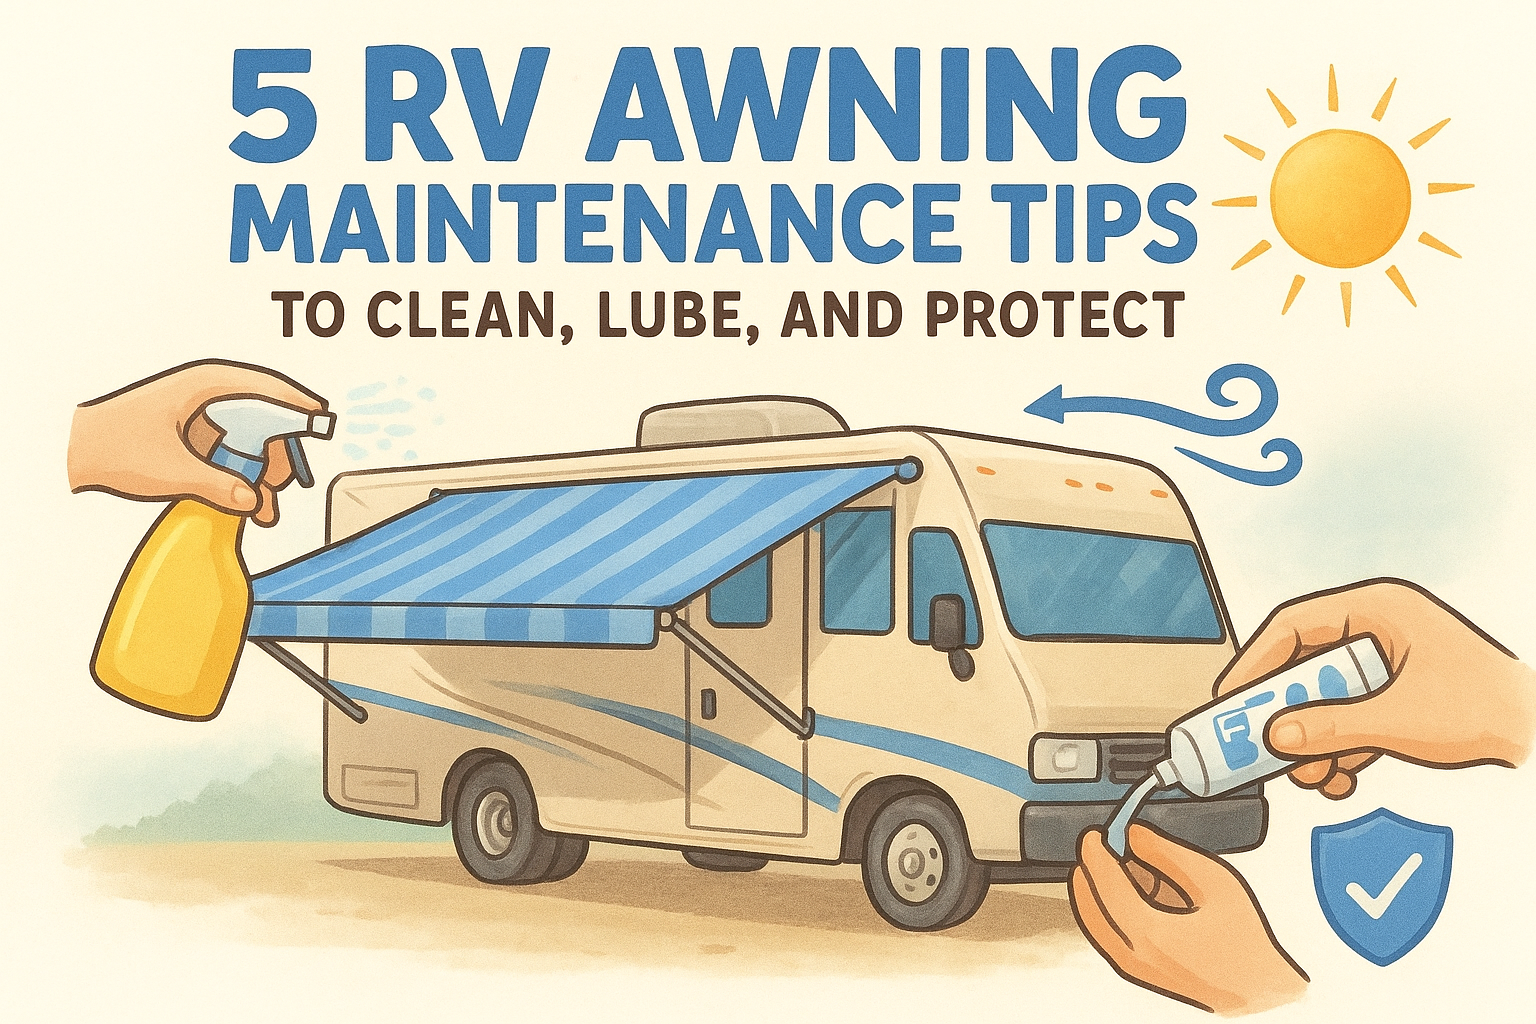
5 RV Awning Maintenance Tips to Clean, Lube, and Protect
Your RV awning takes a beating. Sun, rain, wind, bird droppings, tree sap, it all adds up. Without regular RV awning maintenance tips put into practice, that fabric or vinyl overhead goes from functional shade to a cracked, mildew-covered mess in just a couple of seasons. Replacing an awning isn't cheap, either. Depending on your rig, you're looking at $500 to $2,000+ for parts and labor.
The good news? Most awning care is straightforward and takes less than an hour. A little cleaning, some lubrication on the hardware, and proper storage habits will keep yours working for years. And if you do spot damage that's beyond a DIY fix, torn fabric, bent arms, a motor that won't retract, you can use MobileRVService.com to find a mobile technician near you who'll come to your campsite or driveway and handle it on the spot.
Here are five maintenance tips that cover everything from cleaning and lubrication to UV protection and seasonal storage.
1. Know when to call a mobile RV technician
Before you put any rv awning maintenance tips into practice, it helps to know where the line sits between a manageable DIY job and something that needs a trained set of hands. Awning work is mostly approachable, but a few specific problems can get worse fast if you tackle them without the right tools or experience.
Spot the jobs you can DIY safely
Routine upkeep is well within reach for most RV owners. Cleaning the fabric, lubricating the arm joints, tightening loose bolts, and inspecting the roller tube for visible wear are all tasks you can handle with basic supplies and an afternoon. You don't need special training to keep an awning in solid working shape through regular attention.
A good rule is this: if the problem is cosmetic or mechanical but the structure is still sound, you can probably handle it yourself. Stains, surface mildew, squeaky pivots, and minor hardware looseness all fall into that category.
Watch for warning signs that need a pro
Some problems go past routine care. If your retraction motor hums but won't move, the awning arm is visibly bent, the fabric has torn along the roller seam, or the mounting brackets have pulled away from the sidewall, stop and call a technician. Forcing a motor or trying to reattach a bracket without knowing the wall construction behind it can cause expensive secondary damage.
If your awning won't retract fully before a storm or a drive, don't force it. A mobile tech can reach you faster than you can reach a dealer.
Describe what to tell a tech for faster help
When you contact a technician, give them the awning brand and model if you can find it stamped on the roller tube or listed in your owner's manual. Tell them whether it's manual or motorized, describe the specific symptom, and note how long the issue has been present. This preparation lets the tech arrive with the right parts and cuts your repair time down significantly.
Use MobileRVService.com to find on-site service
You don't have to haul your rig to a dealer for awning repairs. MobileRVService.com connects you with mobile technicians who come directly to your location, whether you're at a campground, a storage facility, or your driveway. Search by zip code, filter by service type, and contact a qualified provider near you without moving your rig an inch.
2. Clean your awning fabric the right way
Cleaning is one of the most impactful rv awning maintenance tips you can act on. Dirt, tree sap, bird droppings, and pollen build up fast, and if you leave them long enough, they bond to the fabric and become much harder to remove without scrubbing hard enough to cause damage.
Identify your awning material and cleaner limits
Most RV awnings use vinyl or acrylic fabric. Vinyl wipes down easily and resists water, while acrylic breathes better but holds dirt in its weave. Check your owner's manual before buying a cleaner, because harsh solvents and bleach-heavy products can strip protective coatings and accelerate wear.
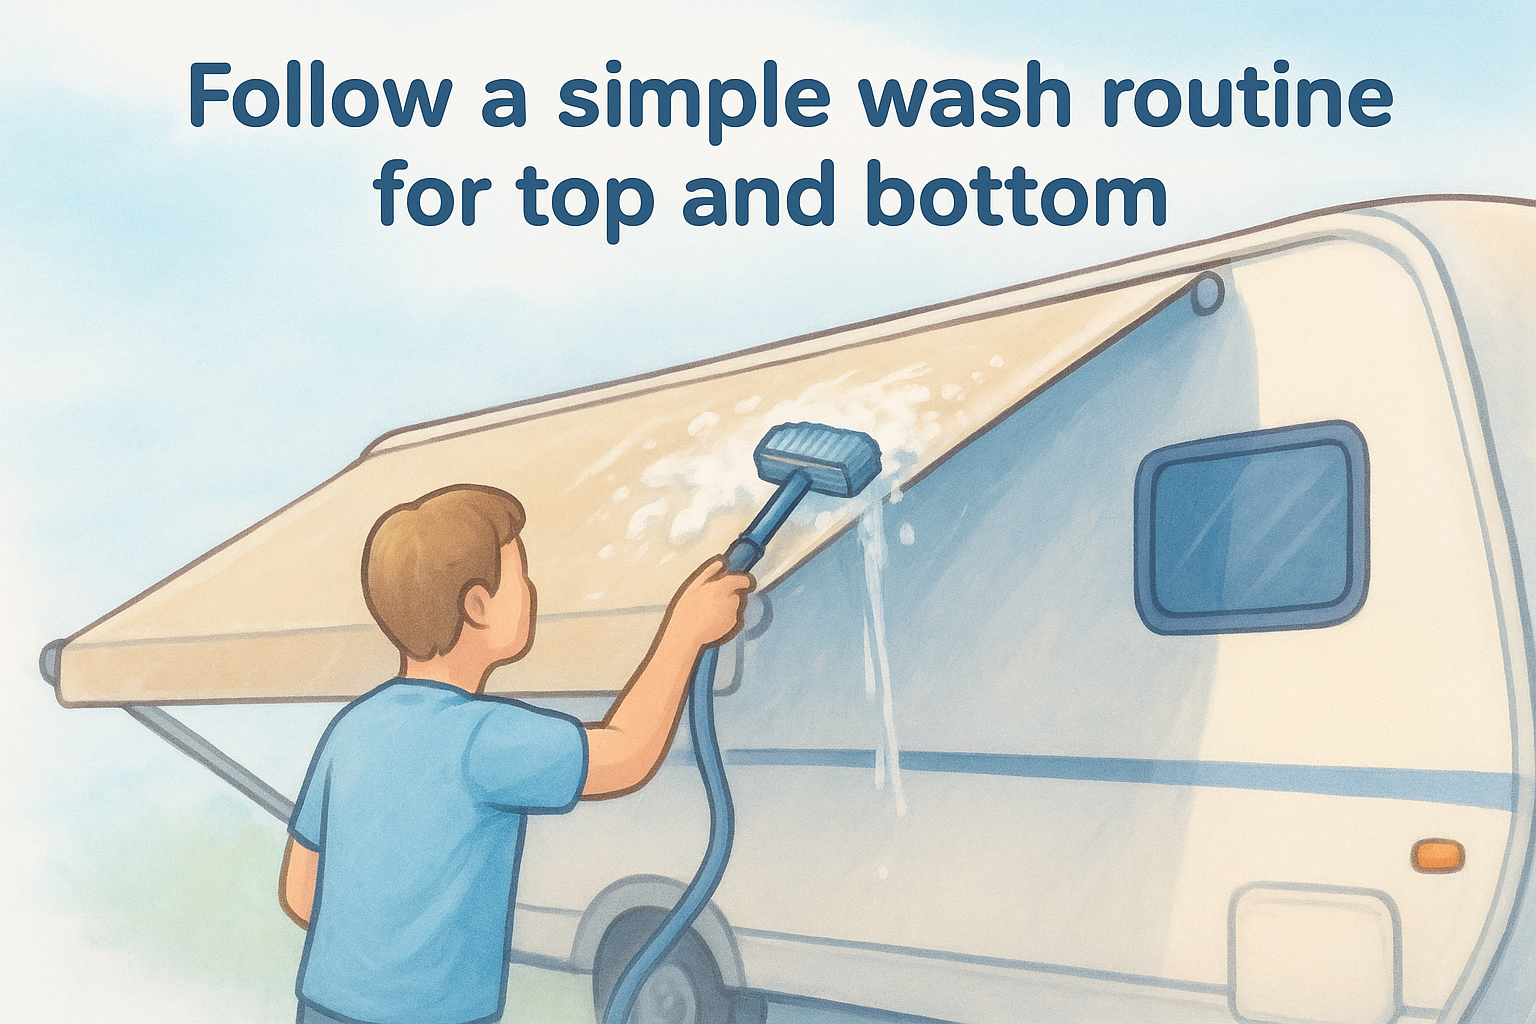
Follow a simple wash routine for top and bottom
Extend the awning fully and rinse both surfaces with a garden hose to knock off loose debris first. Then apply a fabric-safe RV awning cleaner with a soft brush, working in sections from one end to the other. Scrubbing in one direction keeps you from grinding grit into the material.
Remove mildew and stains without damaging coatings
For mildew spots, mix a diluted water and white vinegar solution and let it sit on the stain for five minutes before scrubbing gently. Avoid bleach on acrylic. On vinyl, a small amount of oxygen-based cleaner handles tough stains without attacking the surface finish.
Always rinse thoroughly after cleaning. Residue left on the fabric attracts new dirt faster and breaks down the material over time.
Prevent new grime with smart parking and rinsing
Park away from trees when you can to limit sap and debris. After rain, extend the awning briefly to let it rinse naturally, then dry it before rolling up. A quick post-trip hose rinse takes two minutes and prevents buildup between full cleanings.
3. Dry it fully and store it to prevent mildew
Moisture is the biggest threat to awning longevity that most people overlook. Rolling up a damp awning traps humidity inside the roller tube for hours or days, which creates exactly the conditions mildew needs to grow. A few consistent dry and store habits make a significant difference.
Understand why "rolling up wet" causes damage
When you roll up a wet awning, the layers press together and the interior never gets airflow. Mildew spores thrive in that environment, and within 24 to 48 hours you can have visible growth working into the fabric weave. Over time, mildew weakens the material and creates stains that are nearly impossible to fully remove.
Use a drying routine that works in humid weather
In humid conditions, extend the awning fully after a rain shower and leave it open for at least 30 to 60 minutes before rolling it up. If the air is particularly heavy, tilting the awning slightly forward to shed pooled water and improve airflow speeds up the drying process.
Even a partially wet awning holds enough moisture to cause mildew if you travel through several rainy days back to back.
Store it for travel so it can't unroll on the road
Before driving, retract the awning completely and engage any travel locks or straps your model includes. Wind at highway speed can catch a partially extended awning and bend the arms or tear the fabric beyond repair within seconds.
Handle wet-weather pack-ups without inviting mold
Sometimes conditions force you to roll up wet. When that happens, open the awning at your next dry opportunity and let it air out fully before retracting again. This single rv awning maintenance tip prevents most long-term mildew buildup that owners only discover once the damage is already done.
4. Lube moving parts and tighten hardware
The mechanical parts of your awning need just as much attention as the fabric. Dry joints and loose hardware cause noise, binding, and early mechanical failure, and these rv awning maintenance tips for lubrication and hardware checks take only a few minutes to complete properly.
Choose the right lubricant for RV awning joints
Use a silicone-based spray or dry lubricant on awning arms and pivot points. Avoid petroleum-based products on plastic components because they degrade the material over time. Silicone lubricants stay cleaner longer and won't attract grit the way oil-based sprays do.
Lubricate arms, pivots, and the roller area correctly
Extend the awning fully before you start. Apply lubricant to each pivot point, the arm hinges, and both ends of the roller tube where it meets the mounting hardware. Work the awning in and out two or three times after applying so the lubricant distributes evenly across every contact surface.
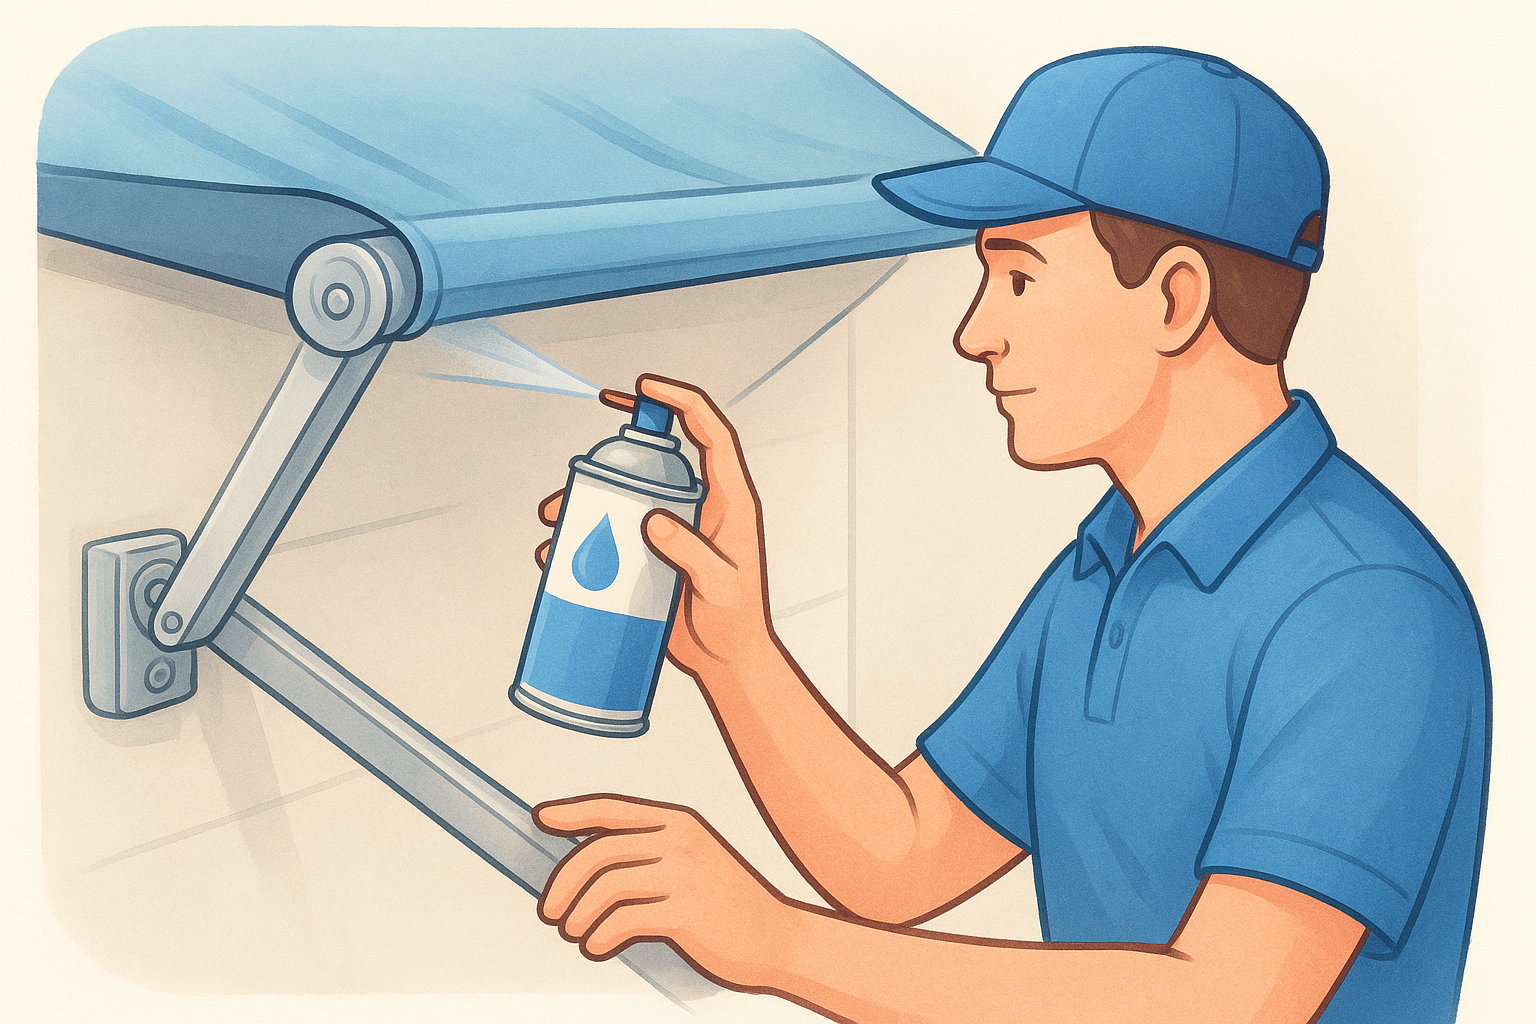
Rafter arms on dome-style awnings seize up just as fast as main pivot points, so include them in your lubrication routine every time.
Inspect bolts, brackets, rivets, and mounting points
Check every visible fastener along the mounting rail and wall brackets each time you lubricate. Vibration from road travel loosens hardware gradually, so tighten any bolt that shows movement. Loose rivets need a technician since replacing them correctly requires knowing what sits behind your sidewall panel.
Troubleshoot noises, binding, and uneven retraction
Squeaking usually points to a dry pivot or hinge that needs lubrication. Binding during retraction often signals a bent arm or a roller tube that has shifted out of alignment. If lubrication doesn't clear the noise or resistance, stop operating the awning and contact a mobile technician before the problem causes additional damage.
5. Protect it from wind, rain, sun, and bad habits
Protection is the final piece of any complete set of rv awning maintenance tips, and it's where most owners fall short. Cleaning and lubricating won't do much if poor daily habits slowly cut your awning's working lifespan down to nothing.
Set wind and storm rules that prevent failures
Wind damage is fast and often total. Retract the awning whenever wind exceeds 20 mph or a storm moves into the forecast, with no exceptions.
A single strong gust past the arm's tolerance can bend or snap the mechanism in seconds, turning a manageable situation into a full replacement job.
Retract before the storm arrives, not while it's already on top of you.
Tilt and drain correctly to stop water pooling
Pooled water creates dangerous sag and seam stress across the fabric. Tilt the awning 5 to 10 degrees forward so rain runs off the leading edge rather than collecting in the center.
If heavy rain pools faster than it drains, retract the awning partially to break the water pocket before the fabric stretches past its design limits.
Reduce UV damage with shade discipline and timing
Direct sun degrades fabric coatings and stitching faster than most owners expect. Retract the awning during peak sun hours when you're not actively using the shade.
Apply a UV-protective fabric treatment once per season to slow surface breakdown between your regular cleaning sessions.
Avoid common user mistakes that shorten awning life
Routine bad habits cause more awning failures than weather events do. Leaving the awning out overnight unsupervised, driving with it extended, and forcing a stuck retraction are the three most common causes of preventable damage.
Check your awning position before every drive and every time you turn in for the night.
Quick Recap and Next Steps
These five rv awning maintenance tips cover the full cycle of awning care. You now know when to call a technician instead of pushing through a repair yourself, how to clean and dry your fabric without trapping mildew, which lubricants work on moving parts, and what daily protection habits keep wind, sun, and user error from cutting your awning's lifespan short.
Consistent follow-through on each step is what separates an awning that lasts a decade from one that needs replacing after three seasons. None of these tasks require special equipment or significant time, just regular attention and the discipline to retract before a storm and dry before rolling up.
If you run into a problem beyond routine upkeep, don't wait for it to worsen. MobileRVService.com connects you with mobile technicians who come directly to your location, and you can explore remote assistance and membership options to keep expert help close whenever you need it on the road.