How To Manually Retract RV Slide Out In An Emergency
You're parked at a campground, ready to hit the road, and your slide-out won't budge. The motor hums but nothing moves, or worse, there's complete silence. Knowing how to manually retract RV slide out mechanisms is one of those skills you hope you'll never need, but when you do, you need it right now. A stuck slide-out means you can't safely drive your rig, and that can derail an entire trip in minutes.
The good news: nearly every RV slide-out system has a manual override built in by the manufacturer. Whether you're dealing with a hydraulic, electric motor, or rack-and-pinion setup, there's a way to get that room pulled back in so you can move. The process varies by system type, but none of it requires specialized tools or professional training.
This guide walks you through the exact steps for each major slide-out mechanism, from locating the override to safely securing the slide for travel. And if you hit a wall or the situation turns out to be more than a simple override, MobileRVService.com connects you with mobile RV technicians across North America who come to your location, because the last thing you need when your slide is stuck is to figure out how to tow your rig to a shop. Let's get that slide-out retracted and get you back on the road.
Prerequisites and safety checks
Before you touch any override mechanism, run through a few quick checks first. Skipping these steps can turn a simple fix into a bigger problem, or put you and anyone nearby in danger. Manual slide retraction involves moving heavy components, and going in without preparation adds unnecessary risk to an already stressful situation.
Never attempt a manual slide override while anyone is inside the slide room or standing in its path of travel.
Check your power and battery first
The most common cause of a stuck slide is not a mechanical failure but a low or dead house battery. Before assuming you need a manual override, check your battery voltage with a multimeter or the RV's built-in monitor panel. If your voltage reads below 12.0 volts, connect to shore power or use a jumper to boost the battery, then try the switch again. You may not need the manual retraction process at all.
Gather what you need before you start
Once you confirm the slide actually needs manual retraction, collect the right tools before you start. Most overrides require a hex key set or a hand crank rod that shipped with your RV. Check your owner's manual to confirm which tool your specific slide system uses. If you don't have the manual handy, search your RV's make and model on the manufacturer's website to download a copy.
- Hex key / Allen wrench set (typically 3/8" or 1/2")
- Manual crank rod (often stored under the bed or in a basement storage bay)
- Flashlight or headlamp
- Work gloves
- A second person to assist if possible
Step 1. Confirm the failure and prep the slide
Before touching any override, confirm the system has actually failed rather than just glitching. Try the slide switch two or three times with a pause between attempts. A running motor with no movement signals a mechanical problem; complete silence points to an electrical one.
Rule out simple fixes
Check that your parking brake is fully engaged, since many RVs disable slide controls until it's set. Also verify that no rugs or furniture inside the coach are blocking the slide track.
A floor mat caught on the track mimics a complete motor failure. Always clear the path before assuming you need a manual override.
Confirm the exterior track is clear too, then try the switch one more time before proceeding.
Clear the travel path
Walk outside and remove any chairs, mats, or gear from the slide's exterior path. With the area clear, you're set to find and use the correct manual override for your specific system.
Having a second person stand watch outside is useful. They can spot any binding as the slide moves.
Step 2. Manually retract a rack and pinion slide
Rack and pinion slides use a gear motor and toothed rack to move the room in and out. This common system has a built-in hex shaft on the motor housing that lets you crank the slide closed by hand when the electric drive fails.
Locate the override shaft
The hex shaft sits on the end of the motor housing, typically near the floor inside the coach or accessible from a basement compartment. Remove the protective cap covering it to expose the fitting.
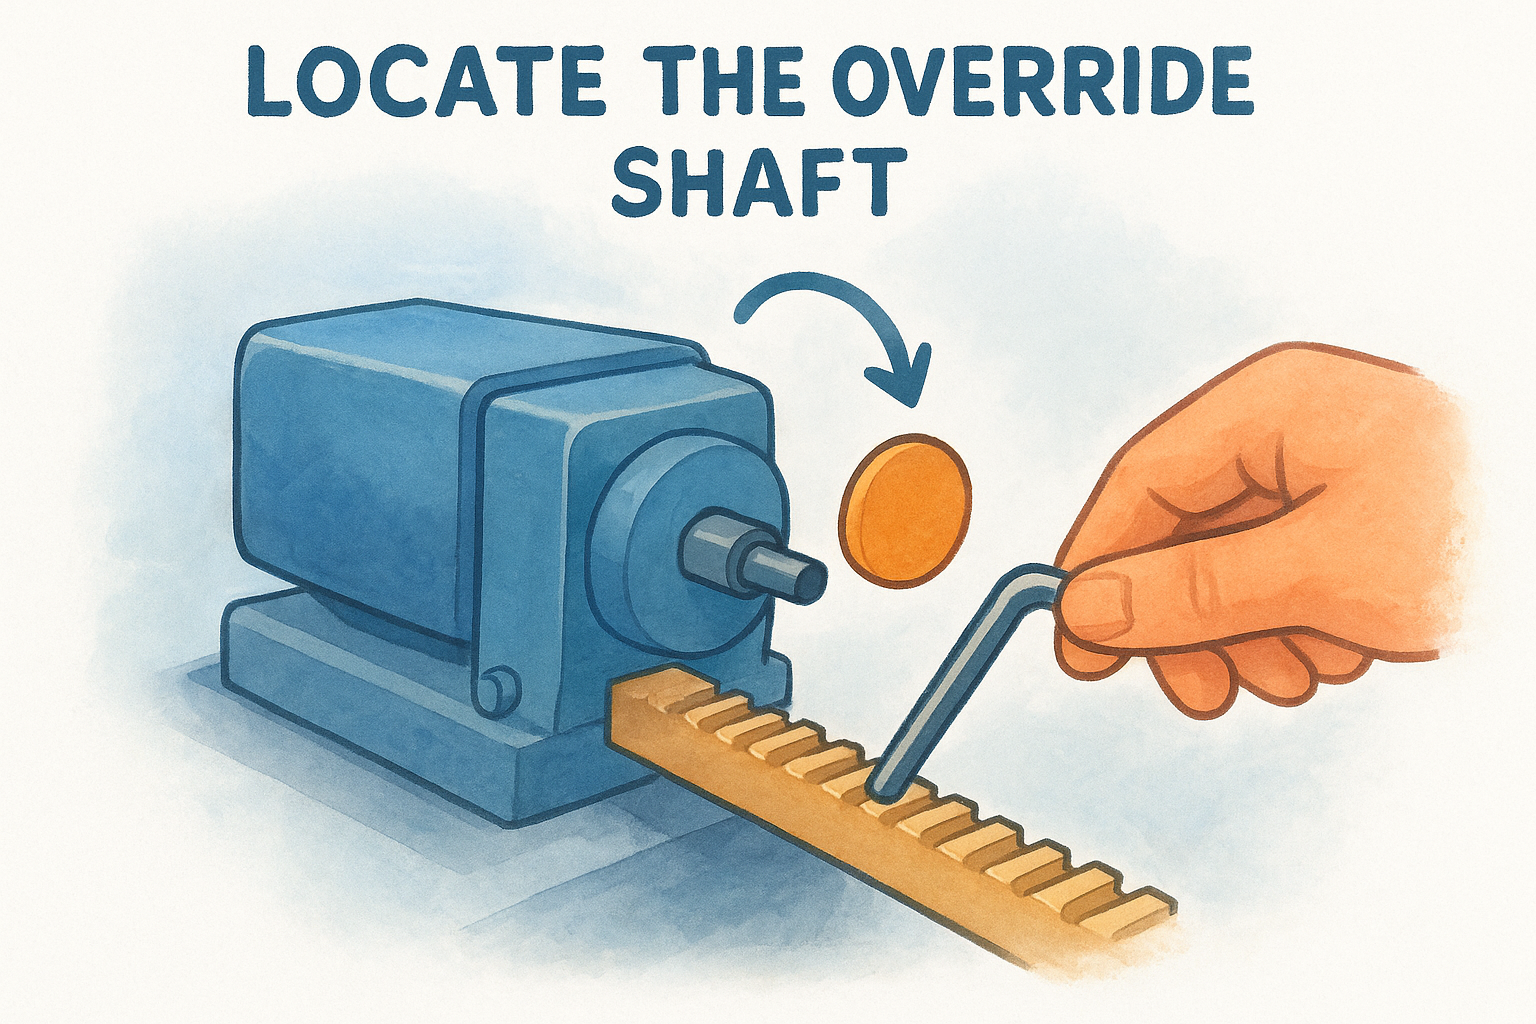
Your owner's manual shows the exact shaft location for your specific model. Without one, trace the slide motor wiring from the wall switch back to the motor housing to find it.
The hex shaft is usually 3/8" or 1/2" on most rack and pinion systems, but confirm the size before you start cranking.
Turn the shaft to retract
Insert your hex key or Allen wrench into the shaft and turn clockwise. Apply steady pressure and check the track for binding after every few turns by glancing at the slide from outside.
Once the slide is fully retracted and flush with the RV wall, stop cranking. You'll feel increased resistance when the room reaches its travel stop position.
Step 3. Manually retract other electric slide types
Not every electric slide uses a rack and pinion gear. Schwintek and in-wall slide systems run on a different motor design, and knowing how to manually retract RV slide out mechanisms on these setups takes a slightly different approach than what you used in Step 2.
Find the motor's manual drive point
Schwintek slides mount two small motors along the top and bottom rails of the slide frame. Each motor has a 1/4" hex fitting on its face. Before you start, confirm you have these items ready:
- 1/4" hex socket or drill bit
- Cordless drill or ratchet
- A second person to match your pace
Always engage both motors at the same rate during retraction, or the slide will rack and bind hard against the frame.
Turn both motors evenly
Insert a 1/4" hex socket into the first motor and have your assistant do the same on the second. Turn both clockwise at the same pace, pausing every few rotations to confirm the slide travels straight and doesn't shift to one side.
Stop cranking once the slide sits flush with the RV wall and you feel resistance at the travel stop.
Step 4. Manually retract a hydraulic slide
Hydraulic slides are common in Class A motorhomes and large fifth wheels, using fluid pressure instead of a gear motor to move the room. On this type of system, knowing how to manually retract RV slide out mechanisms means working with a bypass valve and a hand crank, not a hex key.
Locate the bypass valve
Your hydraulic power unit sits in a basement or mechanical compartment, usually near the coach centerline. Find the bypass valve or knob on the pump body, often labeled "bypass" or "manual," and confirm its exact location in your owner's manual before touching anything.
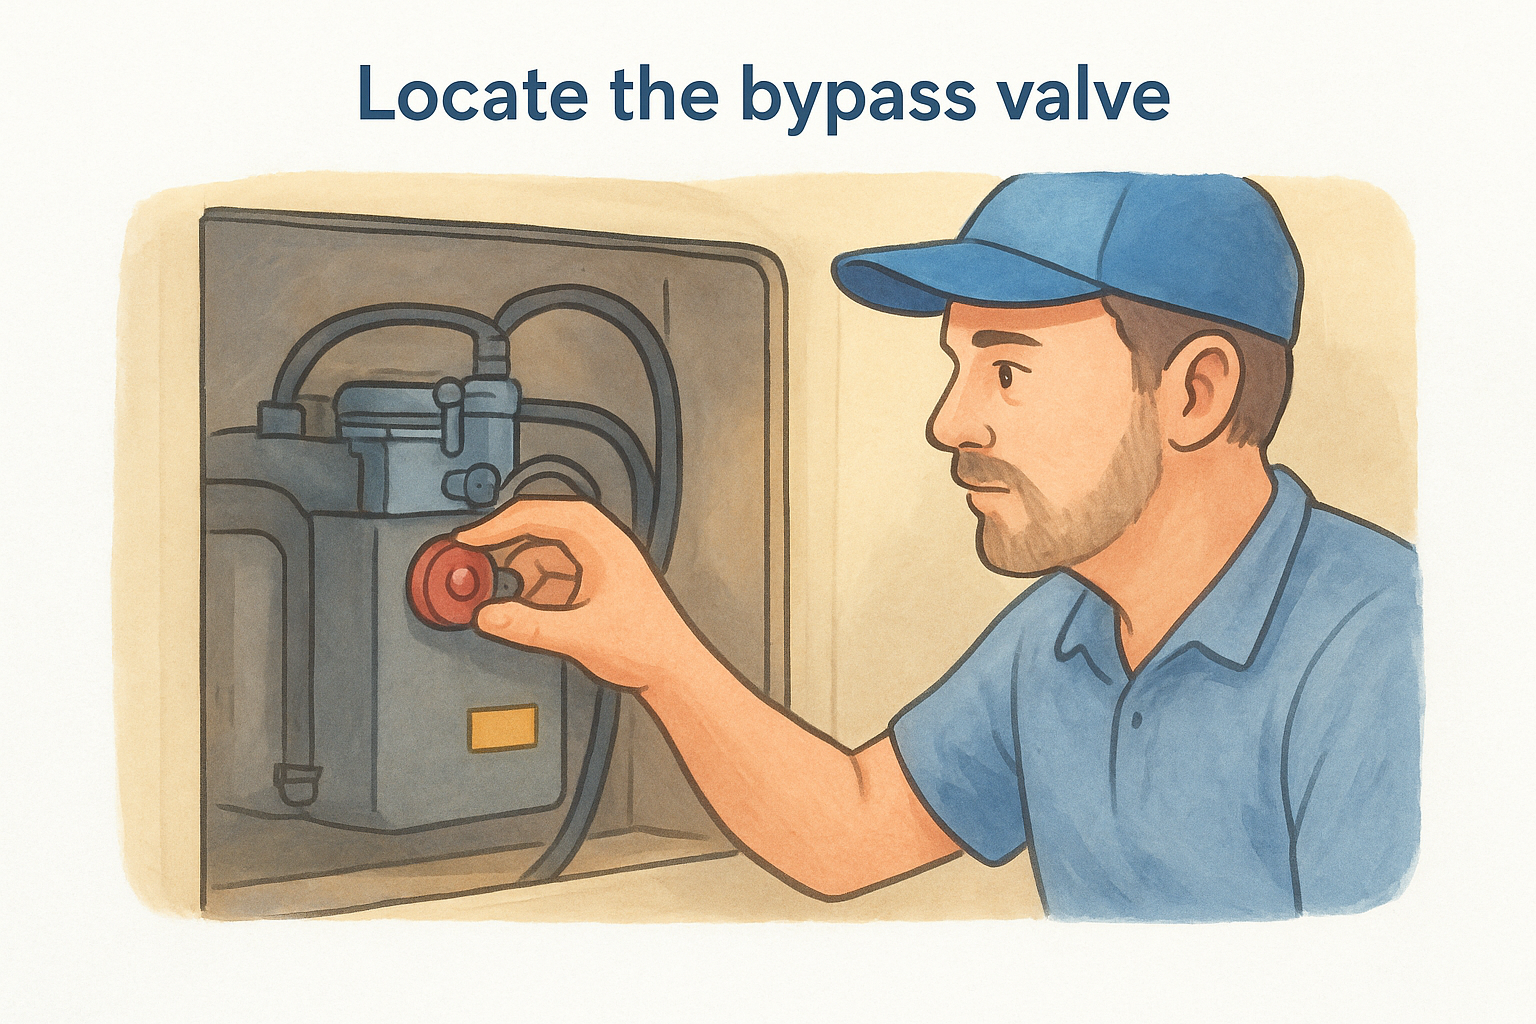
Never open the bypass valve while the hydraulic pump is running, or you will lose all pressure control instantly.
Crank the slide closed
Turn the bypass valve a quarter turn to release line pressure, insert the manual crank rod into the drive shaft, and rotate clockwise until the slide reaches its travel stop.
Close the bypass valve back to its original position once the slide is fully in. This step restores hydraulic circuit pressure so the system can be properly diagnosed and repaired later.
Step 5. Secure the slide and troubleshoot after
Getting the slide closed is only half the job. Before you drive, you need to physically secure the slide so it can't shift under road vibration and damage the seals or frame.
Lock the slide for travel
Most RVs have travel locks or slide pins that engage once the room is fully retracted. Check your owner's manual for the exact lock location, then engage them before you move the rig an inch. If your locks are part of the same system that failed, use ratchet straps around the exterior of the slide as a temporary backup.
Never drive with a manually retracted slide that hasn't been secured, even for a short distance.
Log the failure details
Once you're safely parked again, write down exactly what happened: the slide type, the symptoms you noticed, which override method you used, and how the slide responded. This log helps any technician diagnose the root cause faster, especially when you had to learn how to manually retract RV slide out mechanisms on the spot and aren't certain what failed mechanically.
If you still can't get the slide in
Some slide failures go beyond what a manual override can fix. If you followed every step in this guide on how to manually retract RV slide out mechanisms and the room still won't move, you're likely dealing with a broken gear, stripped rack, bent slide frame, or a hydraulic line failure that needs hands-on diagnosis. Forcing it further risks damaging the slide seals, floor, or structural frame, which turns a manageable repair into a much more expensive rebuild.
Getting a qualified mobile RV technician to your location is the fastest path forward in this situation. You don't need to tow your rig or wait days for a dealership appointment slot. MobileRVService.com connects you with vetted mobile technicians across North America who come directly to your campsite or roadside location. Take a look at our remote assistance and membership options to get qualified help fast, wherever you're parked and whenever you need it.